
To protect your floors during DIY projects, start by clearing the space and laying down suitable coverings like drop cloths, plastic sheeting, or foam mats, depending on the activity. Use furniture sliders or pads when moving heavy items, and place protective mats in high-traffic areas. Be ready to quickly clean spills and manage debris to prevent stains or damage. Keep your workspace organized, and you’ll find out more tips for a safe, damage-free project.
Key Takeaways
- Use drop cloths, plastic sheeting, or protective mats to cover floors in high-traffic or vulnerable areas.
- Apply furniture sliders and felt pads under heavy furniture to prevent scratches during movement.
- Protect surfaces with painter’s tape and seal edges to prevent paint spills and splatters.
- Clean spills immediately with absorbent materials to avoid stains and long-term damage.
- Secure cables and tools to prevent trips and accidental floor damage during the project.

Salt Earth Canvas Drop Cloth 1Pc, Reusable Paint Drop Cloth, 100% Recycled Cotton Canvas Tarp Cover for Painter, Furniture, Floor Protection, All Purpose Painters Dropcloth for Christmas DIY (6×9 FT)
Premium Cotton Canvas Material : Salt Earth drop cloths are made with premium quality thick cotton canvas material…
As an affiliate, we earn on qualifying purchases.
As an affiliate, we earn on qualifying purchases.
Why Protecting Your Floors Is Critical During DIY Projects
Protecting your floors during DIY projects is essential because accidents happen quickly, and damage can be costly to repair. Without proper floor protection, tools, paint spills, or falling debris can leave permanent marks, dents, or stains. This not only increases repair costs but can also cause delays in completing your project. Prioritizing DIY safety includes safeguarding your flooring to prevent slips, trips, or unnecessary damage. Using mats, drop cloths, or protective coverings ensures your floors stay intact, saving you time and money. Proper floor protection also helps you focus on your project without worry, making the process smoother and more enjoyable. Additionally, understanding the importance of seasonal considerations can help you choose the right timing for your DIY tasks to minimize weather-related risks. Planning ahead for weather conditions can further reduce the likelihood of accidental damage or delays. Being aware of seasonal weather patterns allows you to schedule projects during optimal times, decreasing the chance of weather-related setbacks. Considering seasonal weather can also help you select appropriate protective gear and materials to better withstand specific conditions. Incorporating seasonal planning into your project timeline can ensure you adapt your protection methods effectively. Remember, a little preparation with the right safety measures can markedly reduce risks and keep your floors looking new long after your DIY work is done.

New Upgrade Furniture Sliders, Multi-Surface 3-in-1 Furniture Movers Sliders, Heavy Moving Pads with 8PCS 4.3" Carpet Sliders+4PCS Hard Floor Socks+1 Lifter, Protect Floor and Easily Move Furniture
【Patent Pending】This Furniture sliders has a unique patent design
As an affiliate, we earn on qualifying purchases.
As an affiliate, we earn on qualifying purchases.
Which DIY Projects Are Most Likely to Damage Your Floors
Certain DIY projects pose a higher risk of damaging your floors, especially when you’re moving heavy furniture or painting. Spills and splatters from paint or other liquids can leave lasting stains if not addressed quickly. Being aware of these common hazards helps you take better precautions to protect your floors. Additionally, understanding how to properly handle water damage and rug cleaning can prevent long-term issues and maintain your flooring’s appearance. Proper project planning includes considering the potential impact on your flooring and taking steps to minimize damage. Consulting vetted resources or professionals for advice on specific projects can further safeguard your floors during renovation efforts. Knowing how to choose the right precious metals IRA investments can also help you plan your financial future more securely. Recognizing the importance of floor protection measures can make a significant difference in preserving your home’s durability during DIY endeavors.
Heavy Furniture Moving
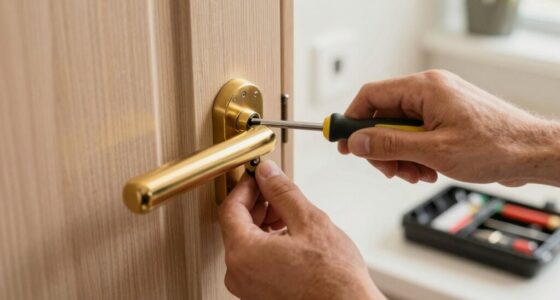
Moving heavy furniture during DIY projects can quickly damage your floors if you’re not careful. To prevent scratches and dents, use furniture sliders or protective pads under the furniture legs. Furniture sliders make it easier to shift heavy pieces without dragging, which reduces friction and potential damage. Protective pads, like felt pads, stick to the bottom of furniture legs and act as a cushion between the furniture and the floor. Before moving any heavy items, clear the area of obstacles and plan your route. Lifting the furniture instead of dragging it also minimizes floor damage. Taking these precautions ensures you can move heavy furniture safely without jeopardizing your flooring’s integrity. Proper tools and techniques make all the difference in protecting your floors during furniture relocation. Additionally, understanding consumer deal pitfalls like hidden costs or misleading offers can help you save money when purchasing moving supplies or protective equipment. Using correct lifting techniques can further reduce the risk of floor damage and personal injury. Incorporating proper planning can help you execute the move more efficiently and safely. Being aware of floor material types can also guide you in selecting the most suitable protective measures for your specific flooring. Also, choosing the right protective gear can enhance safety and prevent accidental damage during the move.
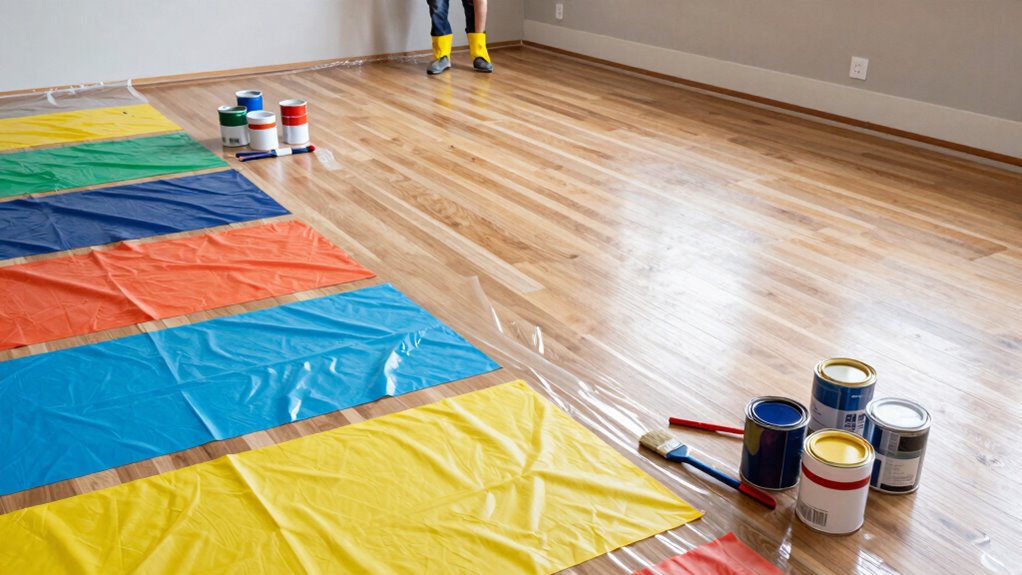
Painting and Spills
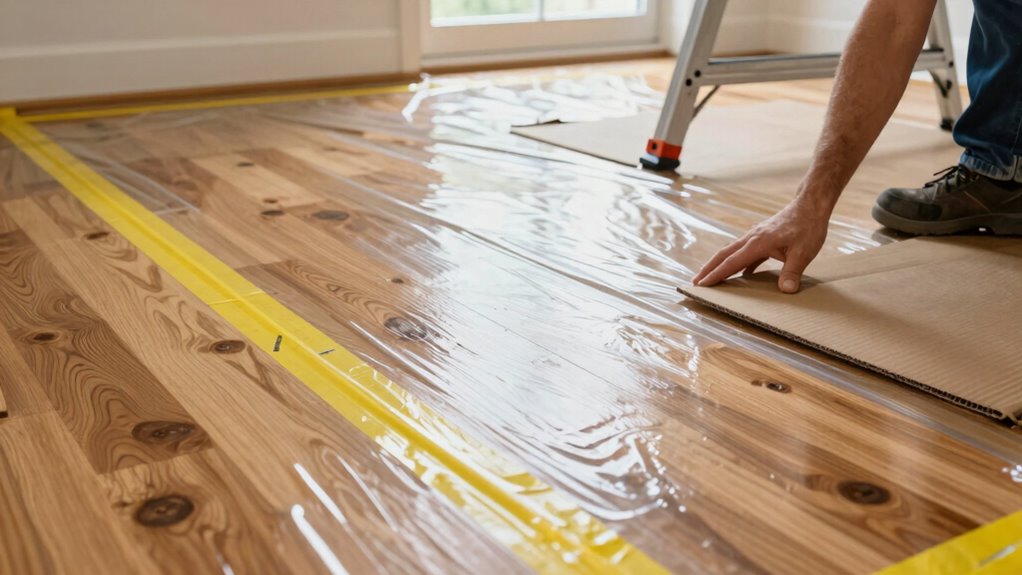
Painting projects and spills are among the most common ways DIY activities can damage your floors. To protect them, use drop cloths or plastic sheeting to catch drips. Choosing eco-friendly materials, like low-VOC paints, reduces fumes and potential damage. Be mindful of flooring trends; hardwoods and polished surfaces are more susceptible to stains and scratches.
| Tip | Benefit |
|---|---|
| Use painter’s tape | Prevents paint from seeping onto edges |
| Place protective mats | Guards high-traffic areas from spills |
| Opt for eco-friendly paints | Minimizes harmful fumes and stains |
| Clean spills immediately | Prevents permanent damage or staining |
Proper preparation guarantees your floors stay pristine despite inevitable paint mishaps.

Splat Mat for Under High Chair/Arts/Crafts, WOMUMON Washable Spill Mat Waterproof Anti-Slip Floor Protector Splash Mat, Messy Mat and Table Cloth
SAFE MATERIAL – The fabric of our splash mat is polyester, lead free, phthalate and BPA free, odor…
As an affiliate, we earn on qualifying purchases.
As an affiliate, we earn on qualifying purchases.
How to Choose the Right Floor Protection Materials
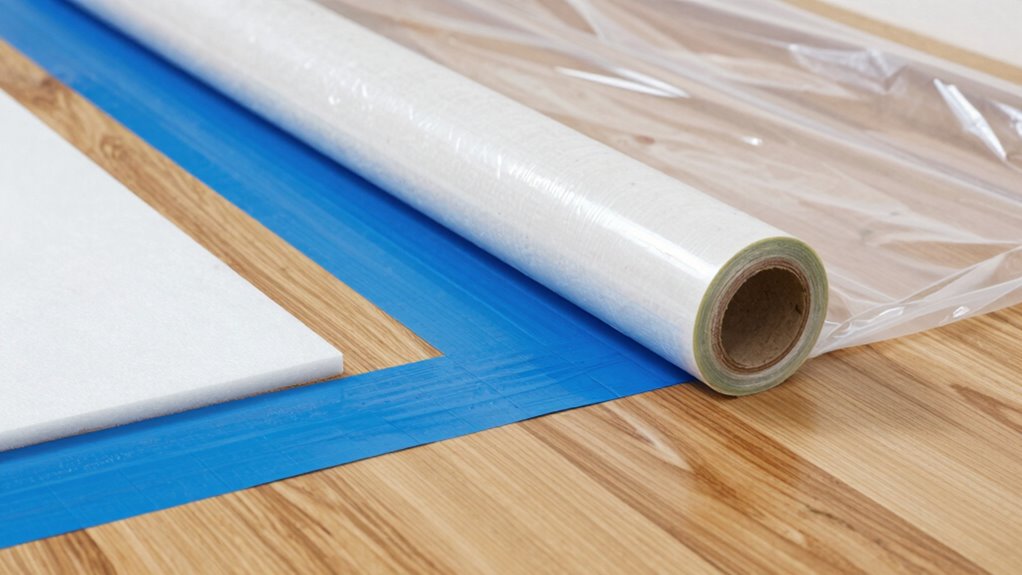
Choosing the right floor protection materials is essential to prevent damage during your DIY projects. Start by considering decorative floor coverings that add style while shielding your floor from scratches and stains. These can include rugs or foam mats that are easy to move and clean. Additionally, explore protective film options, such as clear plastic sheets or specialized floor films, which provide a thin yet durable barrier against spills, paint splatters, and debris. Your choice depends on the type of project, the floor surface, and how much protection you need. For heavy-duty tasks, thicker mats or multiple layers of protective film work best. Always select materials that are easy to install, remove, and won’t leave residue or damage your flooring when taken off. Using appropriate protective gear ensures your safety as well as your floor’s integrity during the work. Incorporating AI-powered tools to plan your project can help in selecting the most suitable protective materials based on your specific flooring type and project requirements. For example, understanding the horsepower of electric dirt bikes can be useful when considering the energy needs of high-powered tools or equipment used during renovations. Moreover, assessing floor type compatibility can guide you toward the most effective protection solutions tailored to your flooring material.

12 x 9 Ft Plastic Drop Cloths (6-Pack) – Disposable Painter's Sheeting & Tarps for Painting, Waterproof Furniture/Couch/Floor Protection
1. Versatile Floor and Furniture Protection: More than just for painting, these durable plastic sheet protect floors, furniture,…
As an affiliate, we earn on qualifying purchases.
As an affiliate, we earn on qualifying purchases.
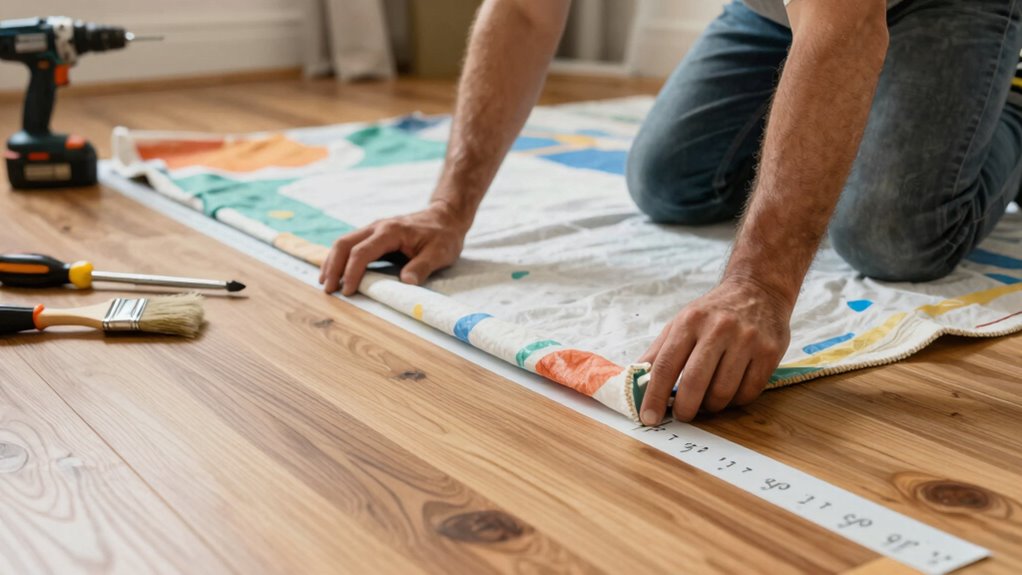
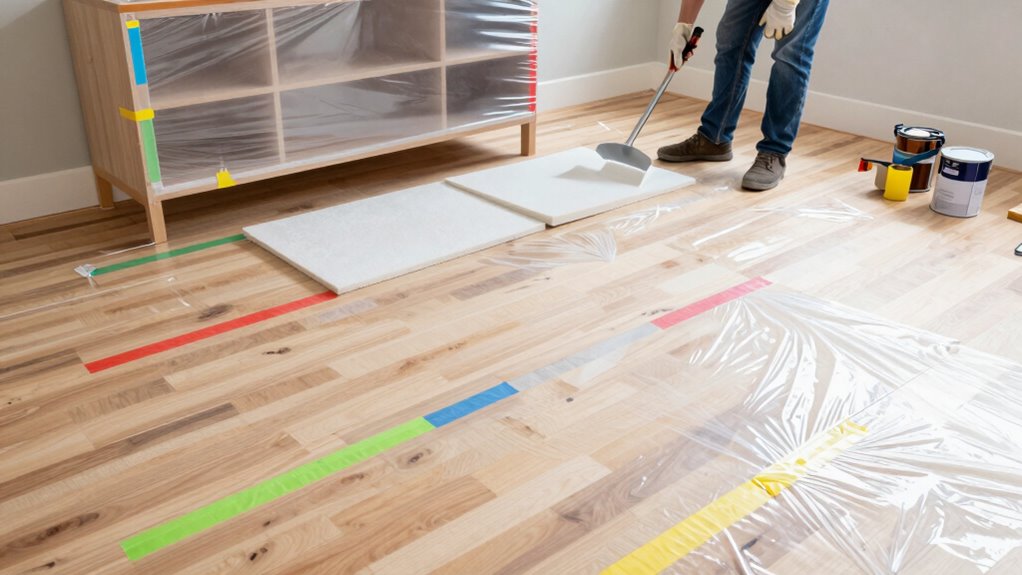
Getting Your Space Ready and Materials Together
Before you start your DIY project, it’s important to clear and prepare your space to guarantee a smooth process. Begin with proper floor prep by removing furniture, rugs, and any items that could get in your way. Sweep or vacuum the area to eliminate dust and debris that might interfere with your work or floor protection. Next, gather all necessary materials and tools, organizing them for easy access. Use a dedicated container or toolbox to keep your tools sorted and within reach, preventing unnecessary movement and accidents. Well-organized tools reduce interruptions and help you work efficiently. Additionally, consider implementing power distribution solutions for your AV gear to ensure a safe and efficient setup during your project. Taking these steps ensures your workspace is ready, minimizes the risk of damaging your floors, and sets a solid foundation for the project ahead. Incorporating emotional well-being practices can also help you stay relaxed and focused, making your DIY experience more enjoyable and less stressful. To further protect your floors from potential stains or damage, consider applying a temporary floor covering during messy tasks. Also, ensure that your cable management is secure to prevent tripping hazards and accidental damage to your equipment. Creating a comfortable environment with proper lighting and humidity control can further enhance your focus and overall experience during your project.
How to Apply Floor Protection Properly During Your Project
To protect your floors effectively, you need to choose the right materials that suit your project and flooring type. Once selected, guarantee you install them correctly, covering all areas that might be exposed to damage. Proper installation techniques help create a seamless barrier, preventing accidents and stains during your DIY work. Additionally, understanding early detection signs can help prevent further damage or issues related to your flooring.
Selecting Suitable Protective Materials
Selecting the right protective materials is essential to guarantee your floors stay undamaged during your DIY project. You have several floor protection options, so choosing suitable protective material types depends on your project’s scope and flooring. Consider durable options like heavy-duty plastic sheeting for large areas, or foam pads for lighter tasks. Always evaluate the potential for sharp tools or heavy equipment that could cause dents or scratches. Proper selection ensures your floors are shielded effectively and reduces cleanup time afterward. Remember, different protective materials serve different purposes; using the wrong type can compromise your efforts. To conclude, assess your project needs carefully, choose materials that are compatible with your flooring, and ensure they provide sufficient coverage and protection throughout your DIY task.
Proper Installation Techniques
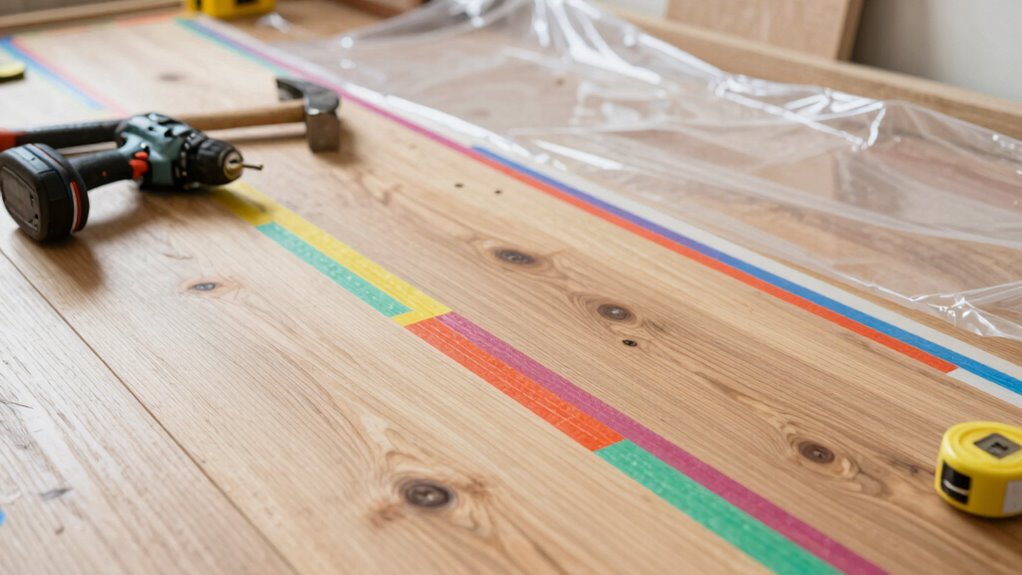
Proper installation of your chosen protective materials is key to guaranteeing your floors stay safe throughout your DIY project. Start with thorough subfloor preparation to create a smooth, clean surface that helps protect against uneven wear or damage. Before applying floor sealing or protective coverings, guarantee the subfloor is dry and free of dust or debris. When laying down floor protection, secure it firmly, avoiding gaps or wrinkles that could cause tripping hazards or expose the floor. Use appropriate adhesives or tapes designed for your protective material to prevent shifting. Proper sealing around edges also helps prevent dust, paint, or debris from seeping underneath. Taking these careful steps ensures your floor remains protected and your project proceeds smoothly without unnecessary damage.
Handling Spills and Cleaning Up After Your DIY Project
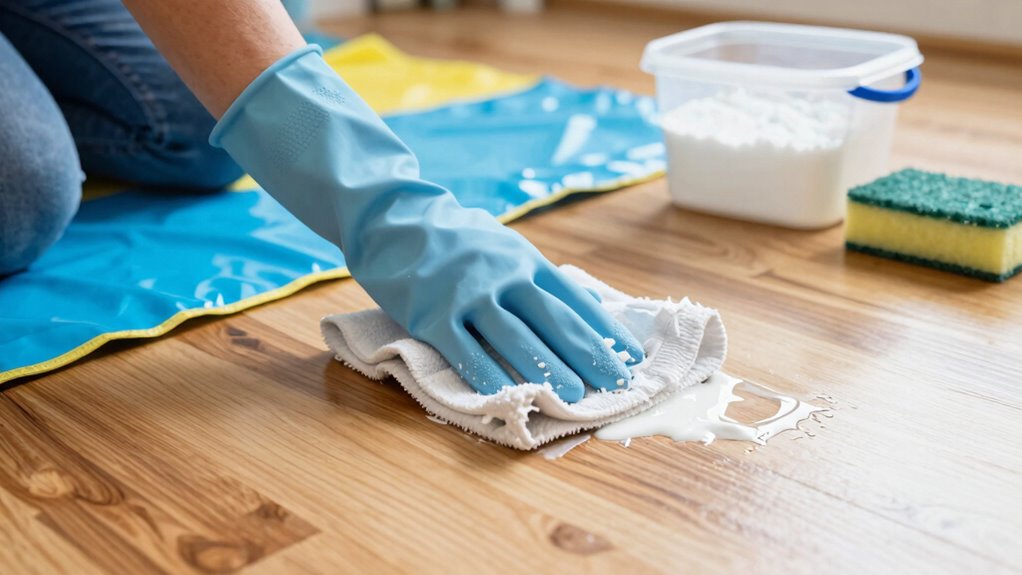
Even with careful planning, spills are almost inevitable during DIY projects, so knowing how to handle them quickly can prevent damage to your floors. Effective spill management and cleanup techniques are essential to protect your surface. Act immediately to contain the spill, using absorbent materials like paper towels or rags. For liquid spills, gently blot rather than wipe to avoid spreading. For stubborn stains, consider appropriate cleaning solutions based on the spill type. Remember, timely action minimizes potential damage and makes cleanup easier. Keep these points in mind:
Quickly blot spills to prevent spreading and minimize damage during DIY projects.
- Promptly address spills to prevent absorption
- Use absorbent materials to soak up liquids
- Avoid spreading spills by blotting gently
- Select suitable cleaning agents for different stains
Mastering spill management ensures your floors stay pristine throughout your DIY projects.
Frequently Asked Questions
Can Floor Protection Materials Be Reused for Multiple Projects?
Yes, floor protection materials can be reused for multiple projects, especially if you choose reusable materials like heavy-duty tarps or mats. These eco-friendly options are designed to withstand wear and tear, making them a smart investment. To maximize their lifespan, clean and store them properly after each use. Reusing protective materials reduces waste and helps you save money on future DIY projects while being environmentally conscious.
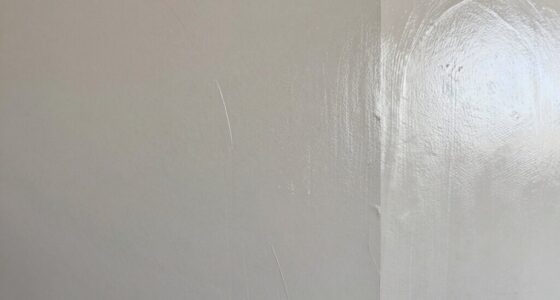
What Are the Signs That Floor Protection Has Failed?
Think of your floor protection as a shield—if it cracks or shifts, it’s failing. Signs of protection failure include visible floor damage, scratches, or dents where the cover has shifted or worn through. You might also notice dirt or debris trapped underneath, indicating gaps. When these issues appear, it’s clear your protection has failed, and your floors are vulnerable to damage. Act quickly to replace or reinforce your safeguards to prevent further harm.
How Do I Remove Protective Film Without Damaging the Floor?
To remove protective film without damaging your floor, gently peel back the edges at a sharp angle. If adhesive residue remains, use a soft cloth dampened with a mild adhesive remover or warm soapy water, preventing floor scratches. Work slowly and carefully to avoid tearing the film or scratching the surface. This method guarantees your floor stays pristine while effectively removing the film and adhesive residues.
Are There Eco-Friendly Options for Floor Protection Materials?
Imagine you’re in a time machine, and today’s eco-friendly floor protection options are more advanced than ever. You can choose recyclable options like recycled cardboard or rubber mats, which are both effective and gentle on the planet. Biodegradable solutions, such as plant-based films or cork mats, break down naturally without harming the environment. These eco-conscious choices help keep your floors safe while reducing your carbon footprint.
How Long Can Protective Coverings Stay on the Floor Safely?
You can keep protective coverings on your floor for several days or even weeks, depending on the material and your project’s duration. To maximize their lifespan and prevent damage, follow damage prevention tips like avoiding heavy furniture placement and checking regularly for tears or shifts. Always remove the coverings promptly once your project is complete, as prolonged use can cause issues like moisture buildup or adhesive residue, risking floor damage.
Conclusion
Did you know that nearly 60% of homeowners experience floor damage during DIY projects? Protecting your floors isn’t just about avoiding costly repairs; it keeps your space looking great long-term. By choosing the right materials and applying them carefully, you can prevent scratches, stains, and dents. Remember, a little preparation goes a long way. Stay vigilant, clean spills promptly, and your floors will stay pristine, no matter how ambitious your DIY plans are.