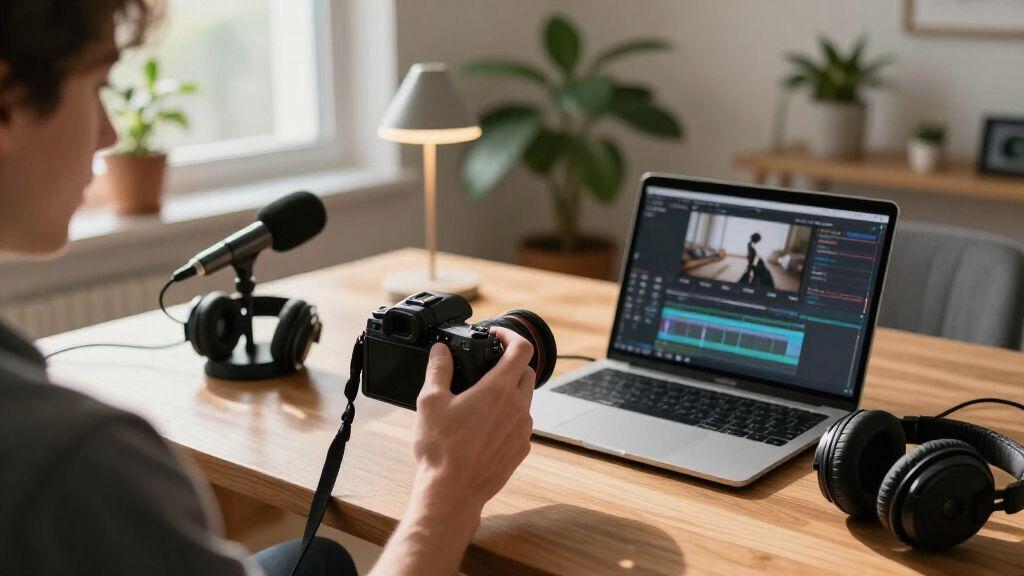
This checklist is for creators setting up or refreshing a workspace for recording, streaming, and video production. It covers audio, lighting, and camera gear, with a few practical setup considerations to help you match each item to the way you work.

Get the latest gadgets delivered free with Prime
- Fast, free delivery on millions of items
- Prime Video, Amazon Music and more included
- Member-only deals all year
The sections follow the gear categories in order: USB microphones, webcams, LED lighting, capture cards, wireless lavalier microphones, and monitor arms. The webcam section offers selection advice without a product pick; the other sections focus on the named product and its role in a setup.
Use each section to check your current equipment and connections before shopping. Confirm device compatibility, placement, and fit for your desk or room, then prioritize the gaps that most affect your recordings and daily workflow.
USB Microphones
A USB microphone is a straightforward option when you want to record voice directly to a computer. The RØDE NT-USB+ Professional USB Condenser Microphone is the pick in this slot; before choosing it, check how you plan to connect it and where it will sit during recording. Desk space, the position of your computer, and whether you speak seated or standing all affect a comfortable setup.
A common buying mistake is choosing a microphone without considering the room or the distance between speaker and mic. Think through where you will record, whether the microphone can be placed close enough for your preferred workflow, and whether nearby equipment could crowd the setup. Check the product’s listed connections and compatibility against your computer and intended recording software. Also confirm what is included and whether any additional mounting or connection accessories are needed. Fit the microphone to your recording space and routine rather than assuming one placement works for every desk.
What to look for:
- Confirm the listed USB connection works with your computer.
- Check compatibility with your recording software and operating system.
- Measure available desk space and consider microphone placement.
- Review included accessories and mounting requirements.
- Plan a recording position that keeps the microphone within comfortable reach.
RØDE NT-USB+ Professional USB Condenser Microphone

The RØDE NT-USB+ is a professional-grade USB condenser microphone featuring a studio-quality capsule, ultra-low-noise circuitry, and versatile controls. It offers high-resolution audio, zero-latency monitoring, and includes a pop filter and desktop stand, making it ideal for podcasting, music recording, and streaming.
Pros:
- High-quality studio-grade sound with low noise
- Versatile controls and audio processing features
- Includes pop filter and desktop stand for convenience
- Compatible with computers, tablets, and smartphones
Cons:
- Requires USB-C port, may need adapters for some devices
- Premium features may be complex for beginners
Best for: Creators who want a USB microphone for computer recording.
Not ideal for: Setups that require a different connection or mounting arrangement.
Bottom line: Check your computer, recording software, and desk layout before choosing the RØDE NT-USB+.
Webcams
A webcam can simplify video calls, livestreams, and recordings when you want a camera at your computer. Start with the way you plan to use video: consider whether the camera will stay attached to a monitor, sit on a separate mount, or need to move between work areas. Your screen’s shape and available mounting space can affect how securely and naturally it sits.
A common mistake is selecting a webcam based only on its headline specifications without checking its field of view, connection, and software support for your actual setup. Consider how much of the room should appear in frame, how far you sit from the camera, and whether it can be aimed at eye level. Verify that the listed connection works with your computer and that any controls or software features are supported by your operating system and recording tools. Check the cable reach, mounting method, and available privacy cover if those details matter to your workspace. Match framing and placement to the desk and camera position you already use.
What to look for:
- Check operating system and software compatibility.
- Confirm the connection type and cable reach suit your computer.
- Choose a field of view that fits your seating distance and background.
- Verify the mount fits your monitor or intended camera position.
- Review aiming, privacy, and control features you expect to use.
LED Panel Lights
Lighting affects how clearly you appear on camera, so plan where a light will sit before bringing one into a creator setup. The named pick is a Dimmable LED Arc Floor Lamp with Remote and Foot Switch. Because it is a floor lamp, check that the arc can be positioned to illuminate your recording area without obstructing a walkway or crowding your desk.
A common mistake is buying a light without accounting for the room’s layout or the direction it will shine. Measure the area where the base and arc would go, and consider where you sit relative to the camera and background. Verify the product listing for the lamp’s dimensions, dimming controls, and any details about how the remote and foot switch operate. Do not assume the lamp’s shape or reach will suit every desk or room; compare its measurements with your intended placement. Check footprint and reach before deciding whether a floor lamp is a practical fit for your filming space.
What to look for:
- Measure floor space for the lamp base and arc.
- Check the listed dimensions against your desk and camera position.
- Confirm the dimming controls suit your lighting routine.
- Review how the remote and foot switch operate.
- Plan a position that illuminates you without blocking paths or equipment.
Dimmable LED Arc Floor Lamp with Remote and Foot Switch

This 20-watt LED arc floor lamp produces up to 2,000 lumens and offers dimming plus adjustable color temperature from 3000K to 6000K. It includes a remote control and foot switch, with a weighted metal base and a stated 50,000-hour LED lifespan.
Pros:
- Bright output suited to reading and working
- Adjustable brightness and color temperature
- Remote and foot switch provide convenient control
- Weighted metal base helps keep the lamp stable
Cons:
- Not waterproof or water resistant
- Requires a corded electrical outlet
Best for: Creators with floor space for an adjustable lamp near their recording area.
Not ideal for: Compact setups without room for a floor lamp base.
Bottom line: Compare the lamp’s dimensions and placement options with your filming space before buying.
Camera Capture Cards
A capture card connects a camera or other video source to a computer for a production workflow. The pick here is the Elgato 4K X HDMI 2.1 Capture Card. Before choosing it, check that the video source, computer, and software you plan to use support the connections and formats listed for the card.
A common buying mistake is focusing on the capture card alone while overlooking the rest of the signal path. Confirm the source device’s output, the computer’s available ports, and the cable type required for your setup. Check the product documentation for supported resolutions, refresh rates, and operating system or software compatibility, then compare those details with what your camera or console can send. Make sure the cables can reach between the devices without forcing awkward placement, and consider whether your computer has the space and ports needed alongside other gear. Verify every connection in the chain before settling on a capture card.
What to look for:
- Confirm the source device provides a compatible HDMI output.
- Check the computer’s ports and listed system requirements.
- Compare supported video formats with your intended source and workflow.
- Verify software and operating system compatibility.
- Plan cable type, reach, and device placement.
Elgato 4K X HDMI 2.1 Capture Card

Capture and stream gameplay at up to 4K144 or 1080p240 with HDMI 2.1 and VRR passthrough. The USB capture card offers low-latency recording and works with common streaming apps and HDMI devices, including consoles, computers, and iPhone 15.
Pros:
- Captures up to 4K at 144 fps or 1080p at 240 fps
- HDMI 2.1 with VRR passthrough
- Low-latency capture and lag-free passthrough
- Compatible with popular streaming apps and a range of HDMI devices
Cons:
- Requires a USB 3.2 Gen 2 port for full capture resolution
- Requires a compatible computer and graphics hardware
Best for: Creators whose source and computer match the card’s listed requirements.
Not ideal for: Setups with incompatible outputs, ports, or software.
Bottom line: Check the full source-to-computer signal path against the Elgato 4K X specifications.
Wireless Lavalier Microphones
A wireless lavalier system can suit recordings where the speaker moves or needs the microphone clipped to clothing. This checklist’s pick is the Shure BLX14/CVL Wireless Lavalier Microphone System, H10 Band. Check that the system’s listed components and connection method fit your camera, mixer, or recording device before planning a shoot around it.
A common mistake is assuming a wireless system will work in every recording location without checking its band and local setup requirements. Review the product documentation for the H10 Band details, supported connections, and operating guidance, then compare these with your recording equipment and locations. Consider where the receiver can sit, how it connects to the recording device, and whether the microphone cable can be secured comfortably on clothing. Plan a basic movement and placement check in the actual recording space, especially if other wireless equipment is part of the setup. Confirm band and receiver compatibility before relying on a wireless workflow.
What to look for:
- Check the H10 Band information in the product documentation.
- Confirm receiver connections match your camera or recording device.
- Review what components and accessories are included.
- Plan comfortable clip and cable placement on clothing.
- Test receiver placement and wireless operation in your recording space.
Shure BLX14/CVL Wireless Lavalier Microphone System, H10 Band

This wireless lavalier system includes a single-channel receiver, bodypack transmitter, and cardioid clip-on microphone with windscreen for hands-free speech capture. It provides up to 300 ft (100 m) of line-of-sight range and up to 14 hours of operation on two AA batteries under typical conditions.
Pros:
- Includes the receiver, transmitter, and lavalier microphone for a complete setup
- Up to 14 hours of operation on two AA batteries
- Hands-free microphone with discreet clip-on placement
- Supports up to 12 compatible systems per band
Cons:
- The listed UHF frequency band may not be authorized in every region
- The stated range is line-of-sight and based on typical conditions
Best for: Creators who need a lavalier setup for moving recordings.
Not ideal for: Workflows that need a different band or connection arrangement.
Bottom line: Verify band, receiver, and recording-device compatibility before choosing the Shure system.
Desktop Monitor Arms
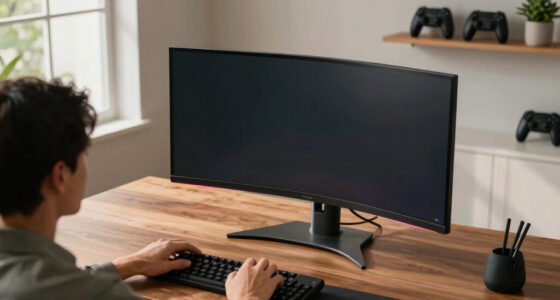
A monitor arm can free up desk surface and give you more control over screen position. The NB Extra-Height Gaming Monitor Arm for 32–60-Inch Screens is the named pick. Its stated screen-size range is one starting point; also confirm your monitor’s weight and mounting pattern against the product’s specifications.
A common buying mistake is relying on screen size alone. Check the monitor’s weight, VESA mounting pattern, and any listed thickness or clearance limits, then compare them with the arm’s requirements. Measure the desk thickness and inspect the area around its edge to ensure the clamp or mounting hardware has room. Extra height may be useful for some desk arrangements, but confirm the arm’s adjustment range against your seated position and monitor placement. Consider nearby shelves, walls, and other screens that could limit movement. Verify the mount and desk fit before removing your monitor’s existing stand.
What to look for:
- Confirm your monitor falls within the listed 32–60-inch range.
- Compare monitor weight and VESA pattern with the arm’s specifications.
- Measure desk thickness and check clamp clearance.
- Check adjustment range against your preferred screen height.
- Inspect nearby walls, shelves, and equipment for movement clearance.
NB Extra-Height Gaming Monitor Arm for 32–60-Inch Screens

This aluminum monitor arm supports 32–60-inch monitors weighing 2–20 kg and offers height adjustment up to 27 inches, with 360° rotation, ±50° tilt, and ±90° swivel. It includes built-in RGB lighting, cable management, quick-release installation, and clamp or grommet mounting options.
Pros:
- Supports large monitors up to 60 inches and 20 kg
- Wide range of height and angle adjustments
- Built-in RGB lighting and cable management
- Quick-release design with clamp and grommet mounting options
Cons:
- Compatibility is limited to monitors with 75 × 75 mm or 100 × 100 mm VESA patterns
Best for: Creators whose monitor and desk meet the arm’s mounting requirements.
Not ideal for: Monitors outside the listed size range or desks without suitable clamp clearance.
Bottom line: Check monitor weight, VESA fit, and desk measurements before choosing this NB arm.
Use the checklist as a final pass before placing an order: verify connections, measurements, software support, and placement in your actual workspace. A few minutes spent checking those details can make setup smoother and help you choose equipment that fits your routine. Build around your real recording needs and add gear one useful step at a time.
Halloween Picks
halloween
As an affiliate, we earn on qualifying purchases.