
To keep your home sealed and neat, choose the right caulk for your surfaces and prepare them by cleaning and drying thoroughly. Use a caulk gun to apply steady, smooth beads and finish by smoothing the seal with a finger or tool. Avoid common mistakes like over-application or poor prep. With the right tools and techniques, you’ll achieve a professional look—and discover simple tips that make caulking mess-free and easy.
Key Takeaways
- Choose the right caulk type (silicone, latex, polyurethane) for your surface to ensure a clean, durable seal.
- Prepare surfaces by cleaning, removing old caulk, and ensuring they are dry for better adhesion.
- Use a high-quality caulk gun and apply steady, even pressure to create neat, consistent beads.
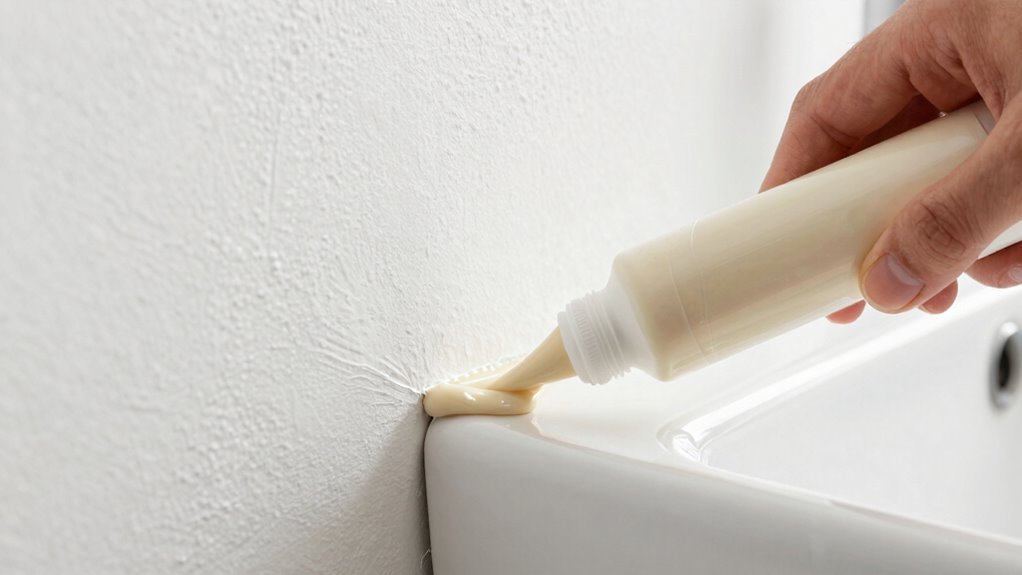
- Smooth the caulk immediately with a damp finger or tool to prevent mess and achieve a professional finish.
- Regularly inspect and maintain caulk seals, removing old material and reapplying to prevent leaks and damage.

GE Advanced Silicone Caulk for Kitchen & Bathroom, White, 2.8 fl oz Tube, 1 Pack – 100% Waterproof Silicone Sealant, 5X Stronger Adhesion, Shrink & Crack Proof
100% Silicone Caulk Protection: This silicone caulk white provides ultimate waterproof protection, ensuring a reliable seal against water…
As an affiliate, we earn on qualifying purchases.
As an affiliate, we earn on qualifying purchases.
What Is Caulk and Why Is It Important for Your Home?
Caulk is a versatile sealant used to fill gaps and cracks around your home, preventing air, water, and pests from getting in. Its history dates back centuries, evolving from natural materials like clay and animal fats to modern synthetic formulas. Today’s caulk options include silicone, latex, and polyurethane, each suited for different surfaces. Understanding its environmental impact is important; some caulks contain volatile organic compounds (VOCs) that can harm indoor air quality and contribute to pollution. Choosing eco-friendly options can reduce this impact. environmental impact is a key consideration when selecting the right caulk. Caulk plays a crucial role in maintaining energy efficiency, protecting your home from moisture damage, and enhancing comfort. Proper sealing with the right caulk ensures your home stays safe, dry, and well-insulated over time. Additionally, advancements in halal-friendly formulations aim to minimize harmful emissions, making eco-conscious choices more accessible. Recognizing the importance of material compatibility helps ensure the longevity and effectiveness of your sealing projects. Incorporating modern formulation technologies can further improve the durability and environmental friendliness of caulk products. For example, ongoing innovations in sustainable materials continue to enhance the eco-friendliness of these sealants.
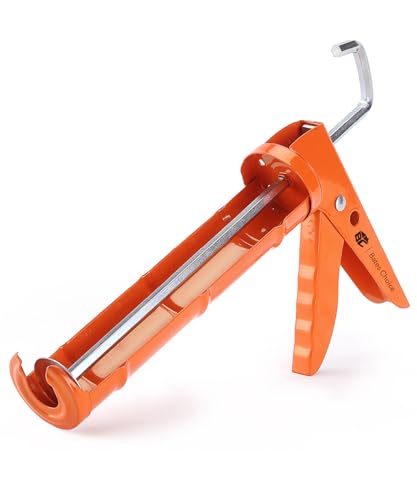
Bates – Caulking Gun, 10:1 Thrust Ratio, Silicone Gun, Dripless Caulk Gun, Silicone Caulk Gun, Hand Caulking Guns
Introducing the Bates caulking gun, your versatile companion designed to seamlessly dispense a variety of materials – from…
As an affiliate, we earn on qualifying purchases.
As an affiliate, we earn on qualifying purchases.
How to Choose the Best Caulk for Different Gaps and Surfaces
Choosing the right caulk depends on matching it to your surface and gap type. You need to contemplate whether your surface is porous, smooth, or flexible to pick the best option. By understanding these factors, you’ll select the most effective caulk for your project. Additionally, considering digital content formats can help you find instructional videos or tutorials to assist your sealing process. Remember that material compatibility is crucial to ensure your chosen caulk adheres properly and lasts over time. An understanding of cycling gear maintenance can further ensure your repairs are durable and effective over the long term. Recognizing how porous versus non-porous surfaces influence caulk selection can significantly improve your sealing results. Being aware of surface conditions can also help prevent future gaps and leaks.
Surface Compatibility Tips
When selecting the right caulk for your project, it’s vital to take into account the surface material and the type of gap you’re sealing. Surface texture plays a big role—smooth surfaces like glass or painted drywall require flexible, paintable caulk, while rough, textured surfaces like brick or stucco need a more adhesive, durable option. Material compatibility is key; silicone caulk works well on non-porous surfaces such as ceramic or metal, whereas acrylic or latex caulk is better suited for porous surfaces like wood or drywall. Always check the label to ensure the caulk adheres properly to your specific surface. Matching the right caulk to the surface texture and material helps guarantee a clean, long-lasting seal without mess or failure. Surface compatibility considerations are essential for ensuring that your seal remains effective over time. Additionally, considering environmental conditions such as exposure to moisture or sunlight can influence your choice of caulk to maintain its effectiveness. Being aware of surface porosity can further refine your selection process for optimal results. For outdoor applications, selecting weather-resistant caulk ensures durability against the elements, extending the life of your seal.
Caulk Type Selection
Finding the right caulk for your project can seem overwhelming, but understanding your specific gap size and surface type makes the process much easier. Different caulk materials, or sealant options, are designed for various applications. For example, silicone caulk works well on non-porous surfaces like glass and ceramic, offering flexibility and durability. Acrylic latex is better for interior projects and easy to clean, but isn’t as water-resistant. Polyurethane provides strong adhesion for outdoor use and heavy-duty gaps. Consider your needs: if you need a flexible, weatherproof seal, choose silicone. For easy cleanup and paintability, go with acrylic latex. Knowing your surface and the caulk material guarantees a tight, lasting seal without mess or frustration. Additionally, selecting a high-quality applicator tool can help you apply the caulk more smoothly and precisely, reducing mess and ensuring an even seal. Proper surface preparation — such as cleaning and drying the area thoroughly — can greatly improve adhesion and longevity of your seal. Using appropriate caulk for the specific application can also prevent future issues like cracking or peeling, ensuring your project remains intact over time. For best results, consider proper application techniques, which can further enhance the durability and appearance of your sealed gaps.

DAP Alex Plus Acrylic Latex Caulk, White, 10.1 Oz (7079818152)
Paintable caulk has strong multi-surface adhesion and won't shine through or discolor paint
As an affiliate, we earn on qualifying purchases.
As an affiliate, we earn on qualifying purchases.
How to Prepare Surfaces for a Clean, Effective Seal
To guarantee a strong, lasting seal, you need to start by thoroughly preparing the surfaces. Begin by cleaning surfaces to remove dirt, grease, and old caulk, ensuring the area is spotless for better adhesion. Use appropriate cleaning methods, like a damp cloth or a mild cleaner, depending on the material. Next, choose tools that suit the job—such as a putty knife or scraper—to carefully remove any loose or damaged caulk. Proper cleaning and tool selection prevent debris from compromising the seal. Make sure the surface is dry before applying new caulk, as moisture can weaken the bond. Taking these steps creates a clean, smooth base that allows the caulk to adhere properly, resulting in a neat, effective seal that lasts. Additionally, ensuring proper air purifier maintenance can help keep indoor air quality high during the cleaning process.

Goopreen 5 in 1 Caulking Tool Silicone Caulking Grout Removal Sealant Finishing Tool with Stainless Steel Head, 6 Replaceable Pads, Gap Seam Repair Kit for Kitchen Bathroom Sink Toilet Caulking
❤️【Multifunctional Caulking Tools】The 5 in 1 upgraded caulking remover tools can not only help you repair the gap…
As an affiliate, we earn on qualifying purchases.
As an affiliate, we earn on qualifying purchases.
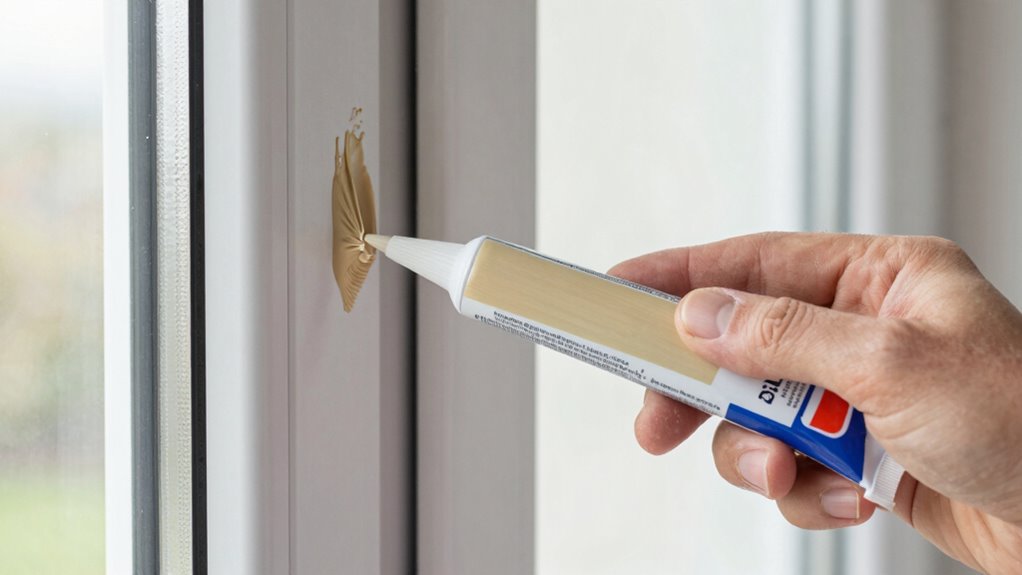
How to Apply Caulk Neatly and Smoothly in Easy Steps
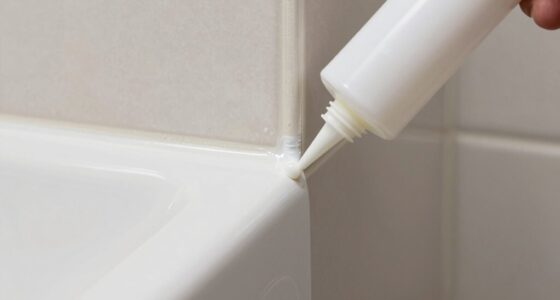
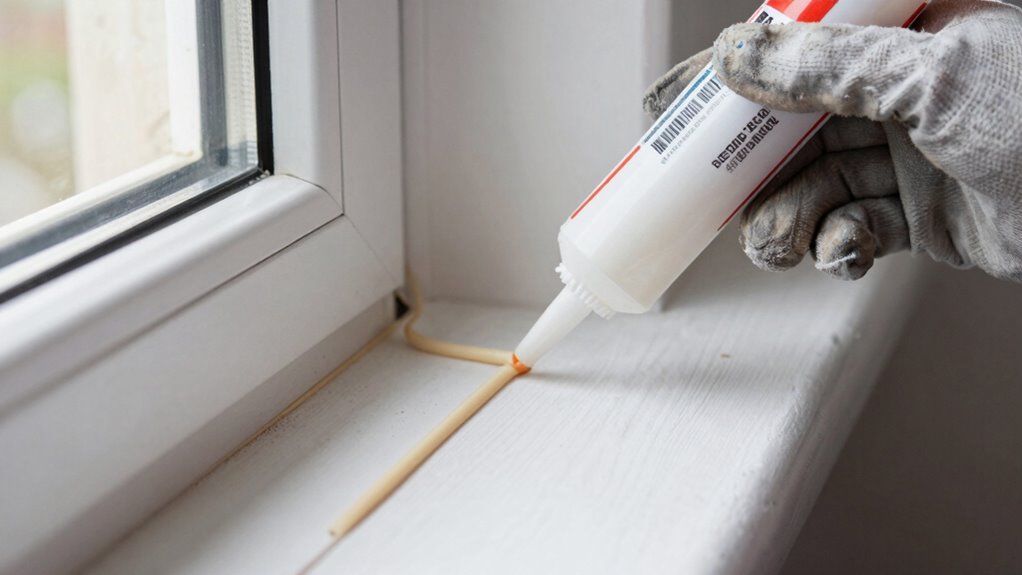
Applying caulk neatly and smoothly might seem challenging at first, but with the right technique, you can achieve professional-looking results every time. Start by loading your caulk gun with the right amount of caulk, then cut the tip at a 45-degree angle for a clean flow. Use steady pressure to apply a continuous bead along the gap, maintaining consistent speed. For neat caulking tips, hold the gun at a 45-degree angle and keep it steady. Once applied, smooth the bead with a damp finger or a caulk smoothing tool, pressing gently to shape the seal. Practice caulk application techniques on scrap material if needed. With patience and attention to detail, you’ll master neat caulking and get perfect, clean lines every time.
Common Caulking Mistakes and How to Avoid Them
Even experienced DIYers can make common mistakes when caulking, but recognizing and avoiding these errors can save you time and improve your results. One mistake is rushing the process, which can lead to uneven or messy seams, increasing caulking hazards like gaps or leaks. Over-application can also cause excess caulk to spill out, creating a mess and wasting material. Not preparing the surface properly can result in poor adhesion, leading to future damage and environmental impact from deteriorating seals. Additionally, using the wrong type of caulk or neglecting to smooth the bead can compromise durability. Paying attention to regional flavors and material choices can help you select the right caulk for your environment and application. Being mindful of these pitfalls helps ensure a clean, effective seal that minimizes environmental impact and keeps your space protected. Proper technique makes all the difference in avoiding costly mistakes.
Essential Tools and Tips for a Professional-Looking Caulking Job

To achieve a professional-looking caulking job, choosing the right tools and preparing your surfaces properly is vital. You’ll want to select the appropriate caulking gun, scraper, and smoothing tools to guarantee a clean finish. Mastering application and finishing techniques will make your work look smooth and professional every time. Incorporating proper balance and motivation techniques can also help you stay focused and precise throughout the process. Additionally, understanding household safety measures ensures that your work environment remains secure and accident-free. Being aware of emerging trends in digital publishing can also inspire innovative ways to share your projects and tips with a wider audience.
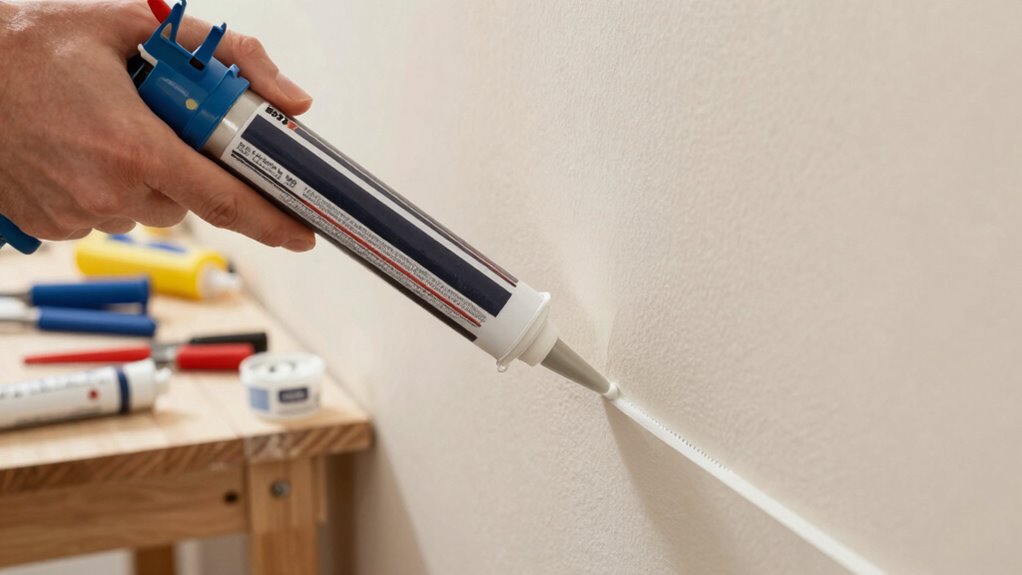
Proper Tool Selection
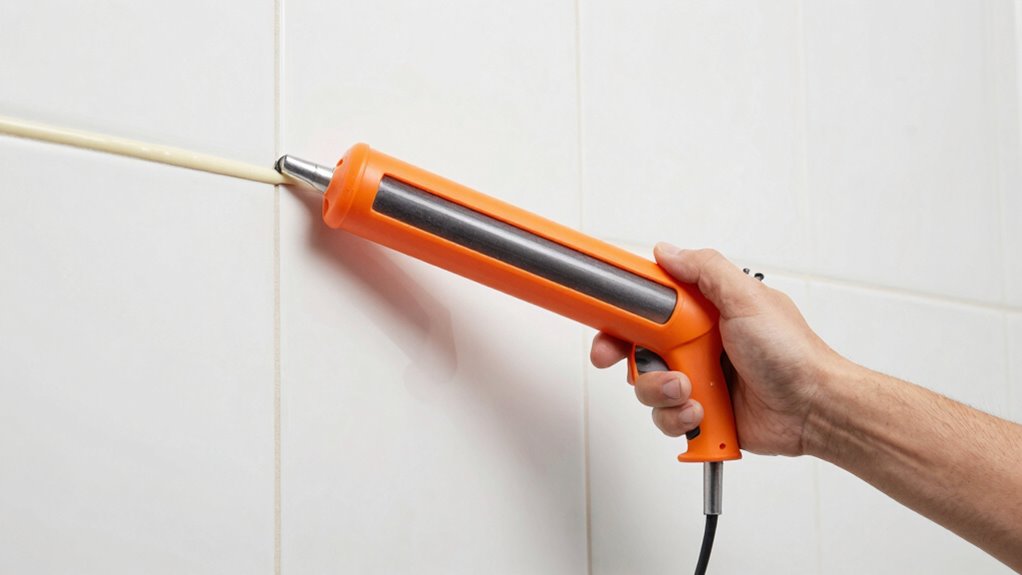
Choosing the right tools is essential for achieving a smooth and professional caulking finish. Your primary tool should be a good-quality caulk gun, which provides control and steady application. Select a caulk gun suited for the size of your project, whether manual or cordless. Along with the gun, use sealing tools like a caulk removal tool or a damp finger to smooth the bead and remove excess caulk. These tools help create clean, even lines and prevent messes. Make sure your sealing tools are clean and sharp for precise work. Using the right tools not only improves the appearance but also makes the job easier and faster. Invest in quality tools to ensure a neat, professional-looking seal every time.
Surface Preparation Techniques
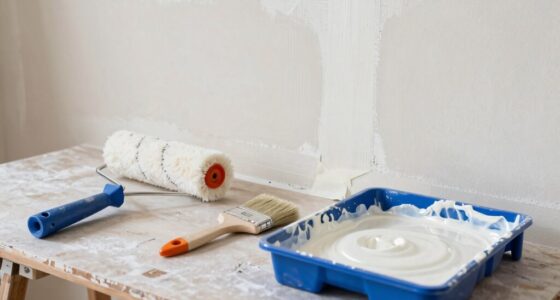
Proper surface preparation is essential for a smooth, durable caulking job. Begin by cleaning the area thoroughly, removing dirt, grease, and loose paint. If the surface has old paint, consider gently sanding or scraping it to guarantee proper paint preparation, which helps the new caulk adhere better. Dust removal is crucial—use a damp cloth or a vacuum to eliminate fine particles that could cause gaps or prevent sealing. Make sure the surface is completely dry before applying caulk. For painted surfaces, ensure any peeling or chipped paint is repaired and smooth. Taking these steps guarantees the caulk bonds properly and lasts longer, resulting in a professional-looking finish. Proper surface prep minimizes mess and rework, saving you time and effort later.
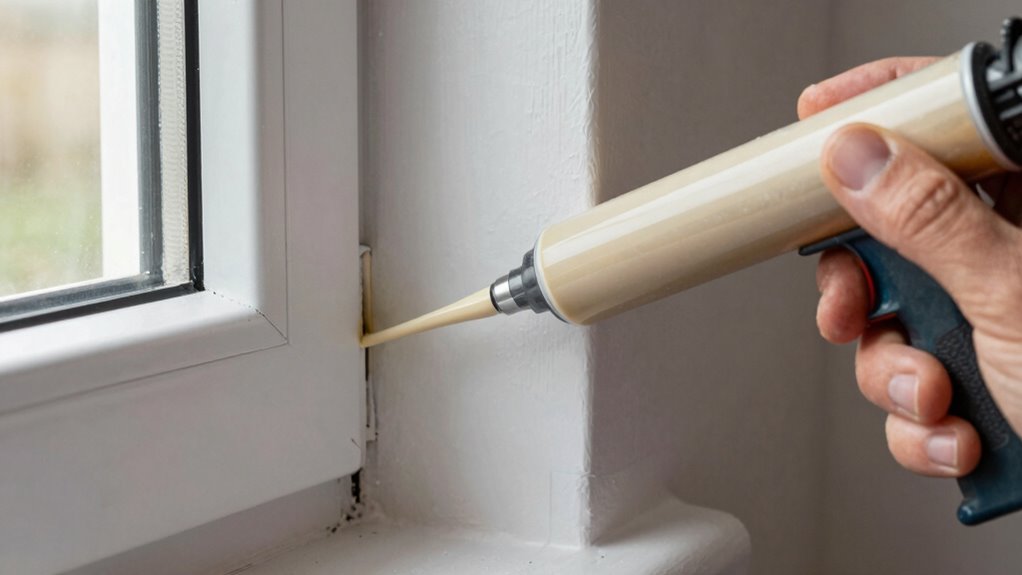
Application and Finishing Tips
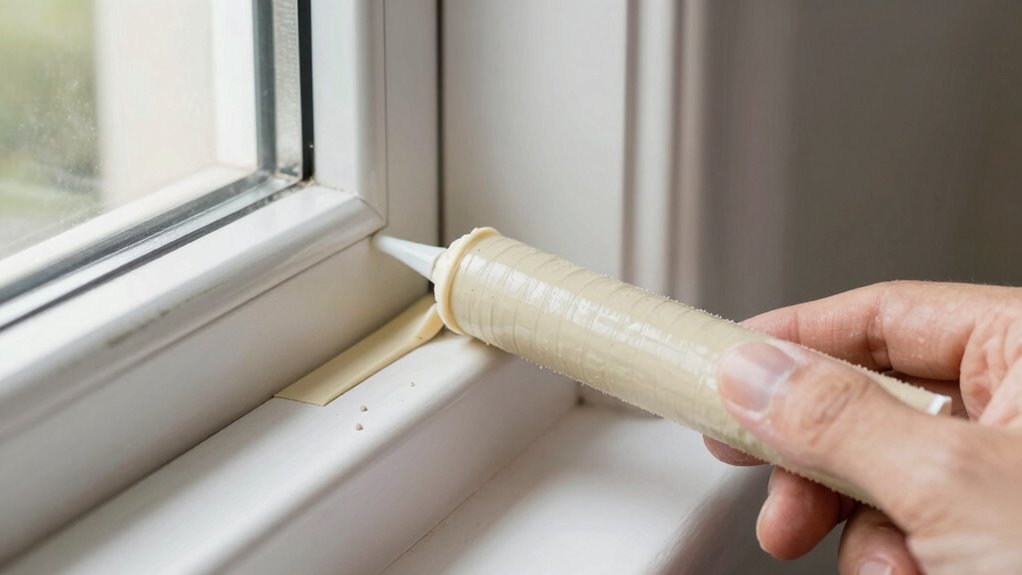
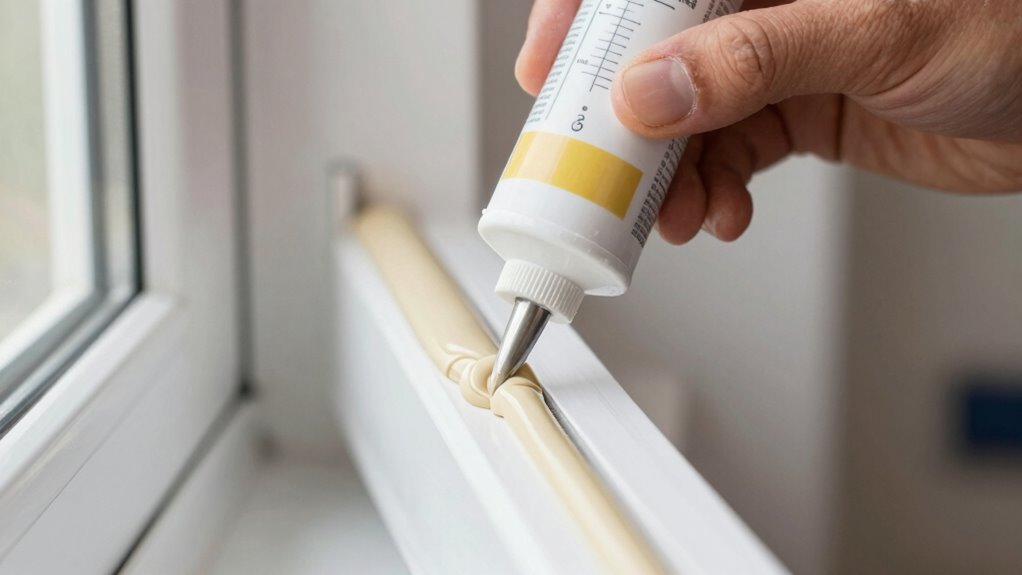
After preparing the surface, focus on applying the caulk smoothly and accurately. Use tools with good ergonomics to reduce hand fatigue and maintain control. Hold your caulking gun at a consistent angle, typically around 45 degrees, for even flow. For a seamless look, choose a caulk color that matches your surface, ensuring it blends in or creates a clean finish. When applying, steady your hand and use slow, steady pressure to avoid gaps or blobs. Once you’ve dispensed the caulk, smooth it with a damp finger or a caulk finishing tool for a professional finish. Proper tool ergonomics and color matching make a noticeable difference, helping you achieve clean, precise lines without messes or uneven edges.
How to Maintain and Re-Apply Caulk for Long-Lasting Results
Maintaining and reapplying caulk regularly is essential to guarantee it continues to protect and seal effectively. Over time, caulk wears down, cracking or shrinking, which reduces its caulk lifespan. To keep your sealing intact, inspect the caulk every 1 to 2 years and look for signs of damage or gaps. The reapplication schedule depends on the area’s exposure to moisture, temperature changes, and wear. When reapplying, remove the old caulk thoroughly with a caulk remover or a utility knife, then clean the surface well. Applying fresh caulk in a clean, dry surface ensures a strong bond and long-lasting seal. Proper maintenance prevents leaks, mold, and damage, saving you time and money in the long run.
Troubleshooting Caulking Problems: Fixing Gaps, Cracks, and Messes
When caulk develops gaps, cracks, or messes, addressing these issues promptly guarantees your seal remains effective. Start by carefully removing the damaged caulk using a caulk remover or a utility knife, ensuring caulking safety by wearing gloves and eye protection. Clean the area thoroughly to remove debris and old residue, minimizing environmental impact by disposing of waste responsibly. Apply fresh caulk smoothly, using a steady hand and a caulking tool for precision. If you notice ongoing cracking or shrinking, consider switching to a different type of caulk better suited for your environment. Regularly inspecting your seals helps prevent larger problems and reduces the need for frequent repairs, keeping your space airtight and eco-friendly. Proper troubleshooting maintains both your home’s integrity and the environment.
Frequently Asked Questions
Can I Use Caulk Outdoors and Indoors Interchangeably?
You can’t always use caulk interchangeably indoors and outdoors. Indoor caulk is designed for indoor use, offering easy application and a smooth finish, but it may lack outdoor durability against weather and moisture. Outdoor caulk is formulated to withstand elements like rain, UV rays, and temperature changes. So, for best results, select caulk specifically labeled for either indoor or outdoor use to guarantee longevity and effective sealing.
How Long Does Caulk Typically Last Before Reapplication?
You can expect caulk durability to last between 5 to 10 years, depending on the type and conditions. The lifespan of caulk varies with exposure to weather, sunlight, and movement. For outdoor use, it might need reapplication sooner, especially in harsh climates. Regularly inspect your sealed areas; if you notice cracking or gaps, it’s time to reapply to maintain an effective seal and prevent water damage.
Is It Safe to Use Caulk Around Food Preparation Areas?
Yes, you can use food-safe caulk around food preparation areas, but only if it’s labeled specifically for that purpose. Always check the product label for food-safe caulk to make certain it’s non-toxic and safe for kitchen use. Follow kitchen sealing tips, like applying the caulk carefully and keeping the area dry during application, to prevent contamination. Properly cured, food-safe caulk provides a safe, durable seal in your kitchen.
What Are Eco-Friendly or Low-Voc Caulk Options?
You should look for eco-friendly or low-VOC caulk options that use natural ingredients and prioritize VOC reduction. These products are designed to emit fewer harmful fumes, making them safer for your home and the environment. Check labels for certifications like Green Seal or EcoLabel, and choose water-based formulations whenever possible. By selecting these eco-conscious options, you help reduce indoor air pollution while effectively sealing gaps.
How Do I Remove Old or Excess Caulk Effectively?
Removing old caulk is like peeling away a stubborn sticker. Start by softening it with a caulk remover or a heat gun, then use a utility knife or caulk removal tool to carefully scrape it off. For mold or grime, clean the surface with a mixture of water and mild detergent. Keep your tools clean during the process, and make sure you wear gloves for safety. Patience makes the job easier.
Conclusion
Mastering caulking keeps your home airtight and saves you money on energy bills—did you know that proper sealing can reduce energy loss by up to 15%? By choosing the right caulk, preparing surfaces well, and applying carefully, you’ll achieve neat, lasting results. Remember, a little patience and the right tools make all the difference. Keep practicing, and your DIY skills will improve with every project. Happy sealing!