Following a specific bathroom cleaning order saves you time by preventing re-cleaning and cross-contamination. Start from the farthest corner and work your way systematically, cleaning high surfaces first and floors last. Tackle dirty areas like the toilet and sink early to reduce bacteria, then move on to less contaminated surfaces. Finish with mirrors and fixtures for a sparkling finish. Keep learning more tips to make your routine even more efficient.
Key Takeaways
- Start cleaning from the farthest corner, working systematically toward the door to avoid re-cleaning.
- Begin with high surfaces like ceilings and shelves to prevent debris from falling onto cleaned areas.
- Tackle high-touch and contaminated surfaces like toilets and sinks early to reduce bacteria early.
- Clean floors last, starting from the far corner and moving outward, to prevent dirt spread.
- Finish with mirrors and fixtures for a polished appearance, saving time on final detailing.

Stardrops – The Pink Stuff Bathroom Cleaning Kit – Cleaning Paste, Bathroom Foam Spray, Toilet Foaming Powder, SQeeZY Sponge & 3 Microfiber Cloths – Tough on Stains, Grease & Soap Scum
Complete Bathroom Cleaning Kit – This all-in-one set includes The Pink Stuff Cleaning Paste, Bathroom Foam Spray, Toilet…
As an affiliate, we earn on qualifying purchases.
As an affiliate, we earn on qualifying purchases.
Why Following a Specific Bathroom Cleaning Order Saves You Time
Following a specific bathroom cleaning order helps you work more efficiently because it prevents you from wasting time backtracking or cleaning the same area twice. By sticking to a set routine, you can develop effective cleaning schedules that streamline your process. When you know which areas to tackle first and last, you avoid unnecessary steps and reduce the chances of missing spots. This organized approach minimizes downtime and keeps you focused on each task, boosting your overall time efficiency. Consistent routines also help you anticipate what’s next, making your cleaning faster and more systematic. Additionally, understanding cleaning tools and techniques enables you to choose the most effective methods for each task, further speeding up your process. Recognizing effective time management strategies can also help you stay on track and complete your cleaning more quickly. Using proper cleaning supplies ensures you have everything needed at hand, avoiding interruptions. Incorporating workflow efficiency into your routine guarantees you get the job done thoroughly and quickly, saving you valuable time and energy. Implementing a step-by-step cleaning process can further enhance your overall speed and effectiveness.

SIFANGKE Microfiber Cleaning Cloth, 12 Pack Assorted Color Cleaning Rags for Housekeeping, Colorful Reusable Microfiber Towels for Car, Kitchen, Bathroom and Household Cleaning Supplies, 11.8"X11.8"
Strong Absorbent & Streak-Free: Crafted with premium microfiber, these cleaning rags quickly absorb water and wipe away spills,…
As an affiliate, we earn on qualifying purchases.
As an affiliate, we earn on qualifying purchases.
Use the Top-to-Bottom Approach for Faster Bathroom Cleaning
Start cleaning your bathroom from the ceiling and work downward to guarantee dust and debris from falling onto cleaned surfaces. Tackle high surfaces like light fixtures and shelves first, then move to lower areas. Incorporating a long-term cleaning strategy can make the process even more efficient. Additionally, using appropriate DIY tools and safety tips can help prevent accidents and damage during cleaning. For example, selecting the right cleaning techniques ensures a thorough and streak-free finish. Regular maintenance, such as wiping down surfaces weekly, can also reduce the effort needed during deep cleaning sessions. It’s also beneficial to understand essential oils for cleaning to naturally freshen and disinfect your bathroom surfaces. Finish with the floors to ensure everything stays neat and streak-free.
Start From The Ceiling
Have you ever wondered why cleaning from the ceiling down makes the process more efficient? Starting at the top prevents dust and dirt from falling onto already cleaned surfaces. Begin by inspecting the ceiling for ceiling mold, which often develops in humid bathrooms. Use a damp cloth or a gentle cleaner to remove mold and prevent it from spreading. This also helps maintain your paint’s quality, avoiding discoloration or peeling caused by mold buildup. Clearing dust and cobwebs from the ceiling first ensures that debris doesn’t fall onto your sink, tub, or floors later. Additionally, understanding the importance of proper air quality maintenance can help prevent mold growth in the first place, since adequate ventilation reduces humidity levels that promote mold development. Regular cleaning routines are essential for controlling moisture and preventing mold from taking hold in your bathroom.
Tackle High Surfaces
Cleaning high surfaces first guarantees dust and dirt don’t fall onto lower areas already cleaned. Begin by wiping down wall surfaces, reaching up to remove any cobwebs, dust, or stains. This prevents debris from settling on your freshly cleaned floors later. Next, check bathroom vents; these often trap dust and can circulate dirt if not cleaned early. Use a microfiber cloth or a vacuum with a brush attachment to remove dust from vents and surrounding areas. Pay attention to corners and edges where dust tends to accumulate. By tackling these high surfaces first, you keep debris from falling onto surfaces you’ve already cleaned. This top-to-bottom approach streamlines your process and makes bathroom cleaning faster and more efficient.
Finish With Floors
After addressing the high surfaces, moving on to the floors completes your bathroom cleaning efficiently. Start by choosing the right floor finish to prevent future buildup and make cleaning easier. Since floors are your surface priority last, use a damp mop or microfiber cloth to remove dust, hair, and grime. Begin at the farthest corner and work your way toward the door to avoid stepping on cleaned areas. Avoid using excessive water, which can spread dirt or cause damage. Pay special attention to grout lines and edges where dirt tends to accumulate. Incorporating proper cleaning techniques ensures that your floors remain spotless and durable over time. Using a protective floor finish can also help reduce the frequency of deep cleans, saving you time in the long run. Applying eco-friendly cleaning products can further enhance your efforts by reducing chemical residues and environmental impact. Regularly maintaining your floors contributes to easier cleaning and longer-lasting surfaces. Finishing with the floors helps prevent recontamination of higher surfaces and leaves your bathroom spotless. Incorporating the top-to-bottom approach ensures a thorough and efficient cleaning process. By following this top-to-bottom approach, you’ll finish faster and achieve a thorough, streak-free shine.
Lysol Power Foaming Bathroom Cleaner, Multipurpose Cleaner for Showers, Bathtubs, Sinks, Disinfectant Spray Kills 99.9% of Germs, Zero Bleach Cleaning Spray, 32 Oz.
BATHROOM SPRAY: Add the power of Lysol to your bathroom cleaning supplies with our Power Bathroom Foamer; eliminates…
As an affiliate, we earn on qualifying purchases.
As an affiliate, we earn on qualifying purchases.
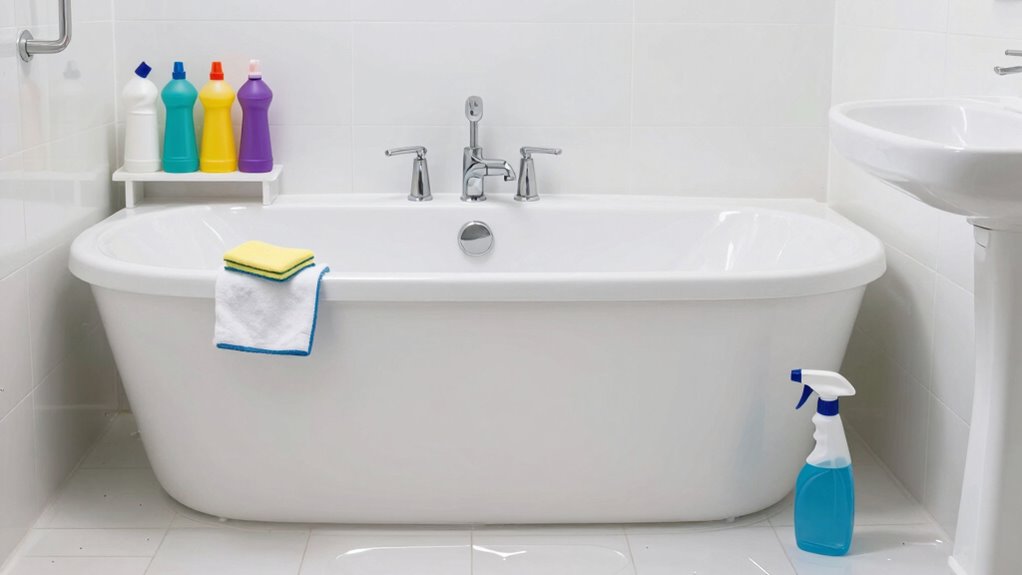
Tackle Dirty Areas First to Prevent Recontamination
Start by cleaning the toilet and sink first to remove the most contaminated areas early on. Then, mop the floor before moving on to the walls to prevent spreading dirt. Remember to use separate tools for different surfaces to avoid cross-contamination. Incorporating proper cleaning techniques for each area ensures thorough sanitation and efficiency.
Prioritize Toilet and Sink
Since the toilet and sink are the most frequently touched and dirtiest areas in the bathroom, tackling them first helps prevent recontamination of other surfaces. Focus on toilet maintenance by disinfecting the toilet bowl, seat, and flush handle thoroughly. For sink fixtures, clean and sanitize taps, handles, and surrounding surfaces to remove germs. Prioritizing these areas ensures you eliminate the highest contamination risks early on. Here’s what to do:
- Disinfect toilet surfaces, including the bowl and seat.
- Clean sink fixtures, paying attention to handles and spouts.
- Use separate cloths or brushes for toilet and sink to avoid cross-contamination.
- Wipe down with a disinfectant to eliminate bacteria before moving on to less touched areas.
- Consider the importance of contrast ratio in visual clarity to ensure your cleaning tools and surfaces are inspected for cleanliness and shine. Additionally, understanding cleaning efficacy helps optimize your method for removing germs efficiently.
- Regularly evaluate cleaning tools to maintain their effectiveness and prevent bacterial buildup. Incorporating effective disinfectants further enhances germ removal and ensures thorough sanitation.
Clean Floor Before Walls
To prevent spreading dirt and germs, you should clean the floor before tackling the walls. Use a proper mop technique, starting from the farthest corner and working your way toward the door. Focus on the tile grout, as it tends to trap dirt and bacteria. Scrub the grout lines with a brush if needed to loosen debris. Make sure to rinse your mop frequently to avoid redistributing dirt. Cleaning the floor first prevents dirty water from dripping onto freshly cleaned walls, reducing recontamination. Once the floor is spotless, you can confidently move upward, knowing the walls won’t get dirty again. This approach saves time and keeps your bathroom hygienic, ensuring dirt doesn’t spread from the floor to other surfaces.
Use Separate Tools
Using separate cleaning tools for different areas helps prevent cross-contamination and keeps your bathroom more hygienic. Start by designating specific cleaning gloves, brushes, and cloths for each zone—like the toilet, sink, and shower. This minimizes the risk of spreading germs. Consider storage solutions such as labeled bins or caddies to keep tools organized and accessible. When tackling dirty areas first, use a different set of tools to scrub surfaces, then switch to fresh ones for cleaner spots. This approach ensures dirt and bacteria don’t transfer back onto cleaned areas. Remember, always wash or replace your gloves after handling particularly dirty surfaces. Proper storage solutions and diligent tool separation streamline your cleaning routine and make your bathroom truly hygienic.

CLOROX Toilet Bowl Cleaner Clinging Bleach Gel, Ocean Mist, 24 Fl Oz, Pack of 2 (Package May Vary)
3X CLEANING ACTION: Get a sparkling clean with Clorox Toilet Bowl Cleaner Clinging Bleach Gel that destroys stains,…
As an affiliate, we earn on qualifying purchases.
As an affiliate, we earn on qualifying purchases.
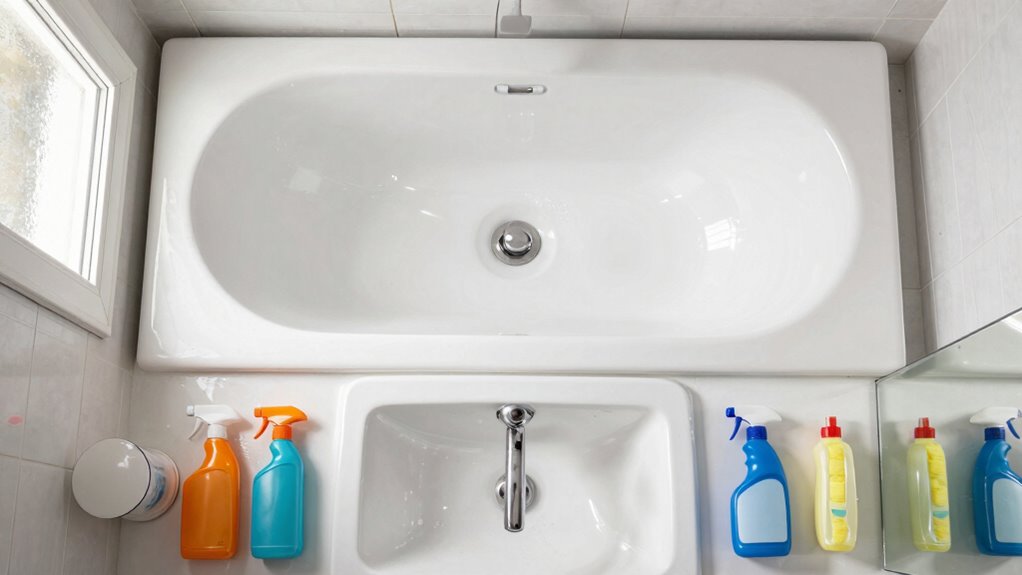
Start With Less Dirty Surfaces to Keep Your Supplies Clean

Starting with less dirty surfaces helps prevent spreading germs and keeps your cleaning supplies from getting contaminated too quickly. Begin your cleaning by tackling the least soiled areas first, such as shelves or mirrors, before moving to heavily used spots. This approach aligns with your cleaning schedule, saving time and effort. Proper supply organization ensures you use clean tools for each surface, reducing cross-contamination. To stay efficient, consider this quick reference:
| Surface Type | Cleaning Priority | Supplies Needed |
|---|---|---|
| Shelves & Mirrors | Less dirty, easy wins | Glass cleaner, cloth |
| Walls & Tiles | Light dusting | Microfiber cloth |
| Faucets & Handles | Touch points | Disinfectant spray |
| Shower Doors | Moderate dirt | Scrubber, cleaner |
| Toilet & Sink | Heavily used, last | Disinfectant, brush |
This strategy keeps your supplies cleaner and your bathroom hygienic.
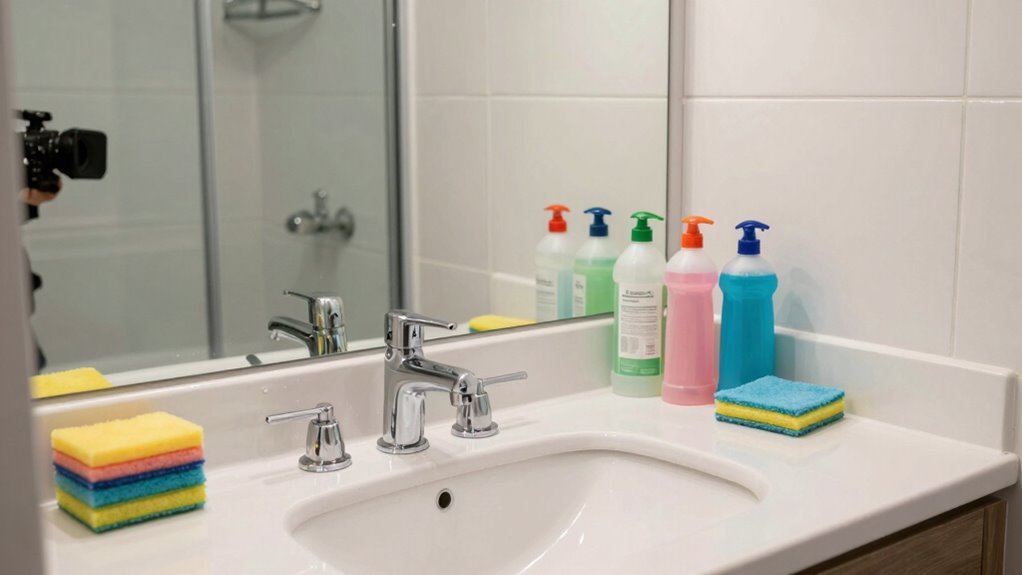
Clean the Vanity, Sink, and Toilet Effectively
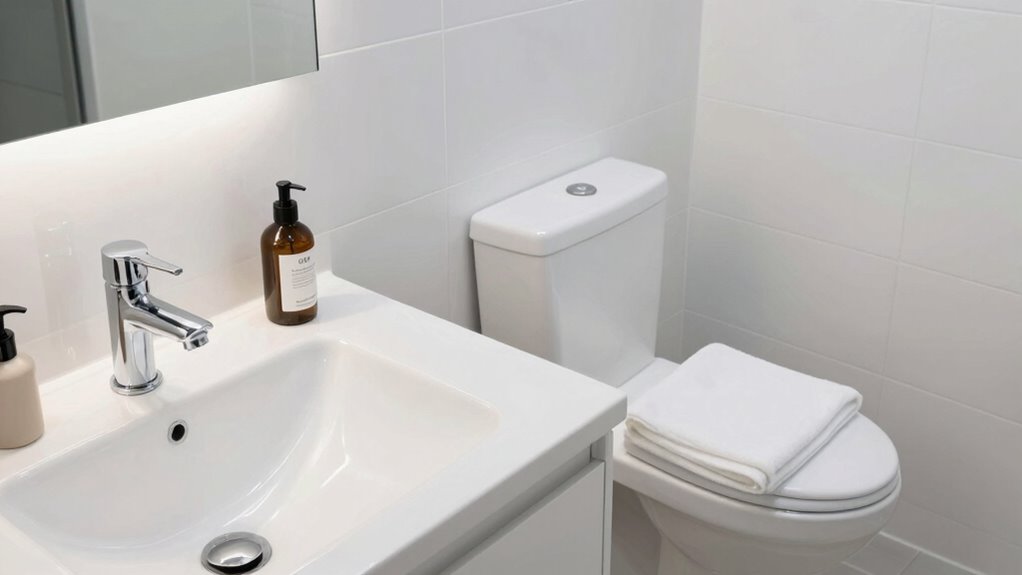
Wondering how to clean your vanity, sink, and toilet effectively? Start with these steps to guarantee a thorough job:
- Spray a bathroom cleaner on vanity surfaces and wipe with a microfiber cloth to remove dust and grime.
- Apply a cleaner specifically for sink fixtures, then scrub gently to restore shine.
- Use a toilet brush and cleaner to thoroughly clean inside the bowl, paying attention to the rim.
- Wipe down the exterior of the toilet, including the flush handle, with a disinfectant cloth.
Focusing on these areas first prevents dirt from spreading later. Keep your supplies clean by rinsing your cloths often. This approach saves time and results in a sparkling, hygienic bathroom.
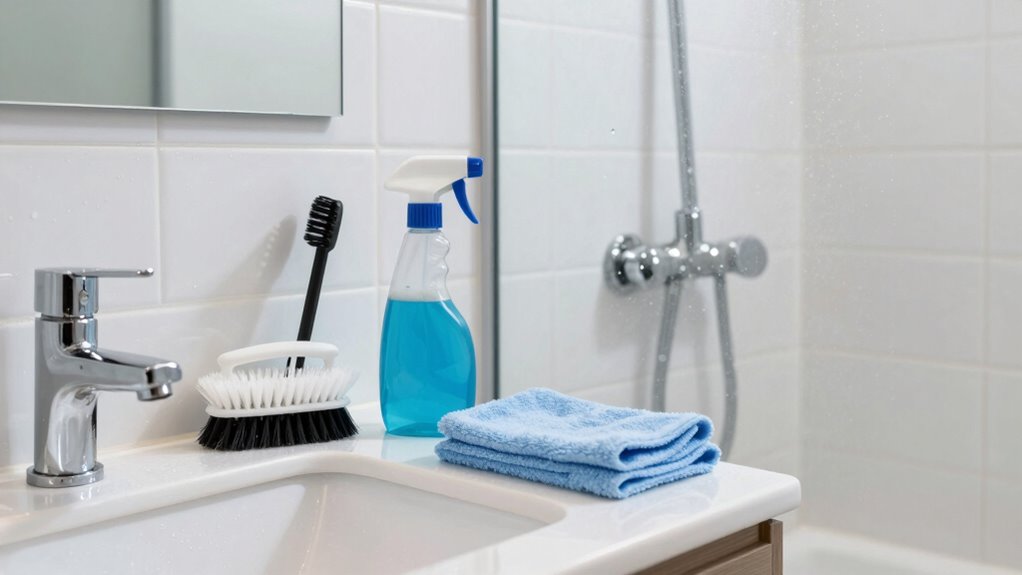
Clean the Shower and Bathtub Quickly
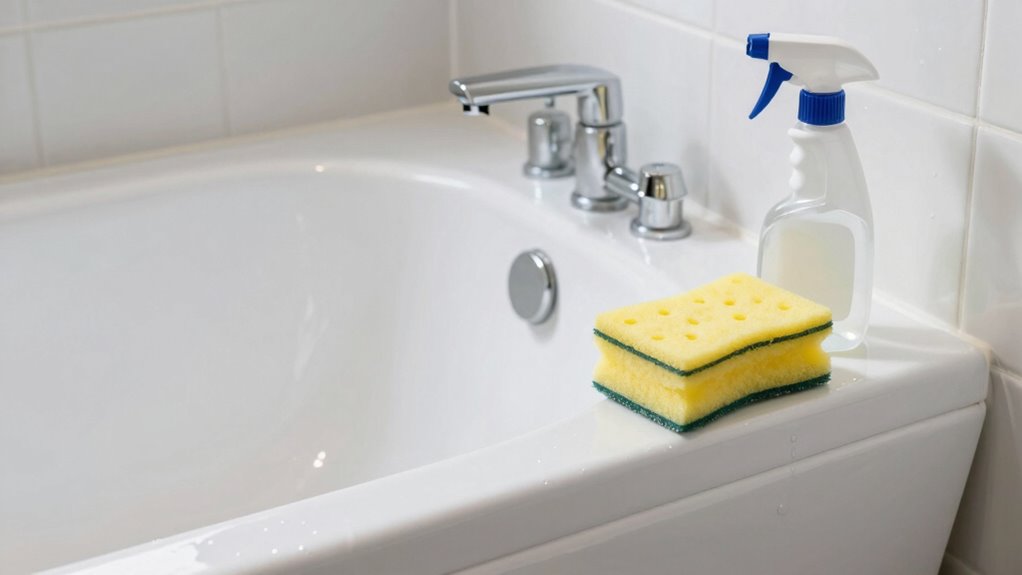
After cleaning the vanity, sink, and toilet, tackling the shower and bathtub becomes the next step to keep your bathroom spotless. Start by spraying a bathroom cleaner or a mix of vinegar and baking soda on the shower walls and around the bathtub. Let it sit for a few minutes to loosen soap scum and grime. Use a scrub brush or sponge to target shower mold in corners and grout lines. For bathtub stains, focus on stubborn spots with a gentle abrasive pad. Rinse thoroughly with warm water. Quickly wiping down surfaces prevents buildup of mold and stains, making future cleaning easier. Remember, a fast, consistent approach keeps your shower and bathtub looking fresh without spending too much time.
Wipe Down Mirrors and Fixtures Last for a Sparkling Finish
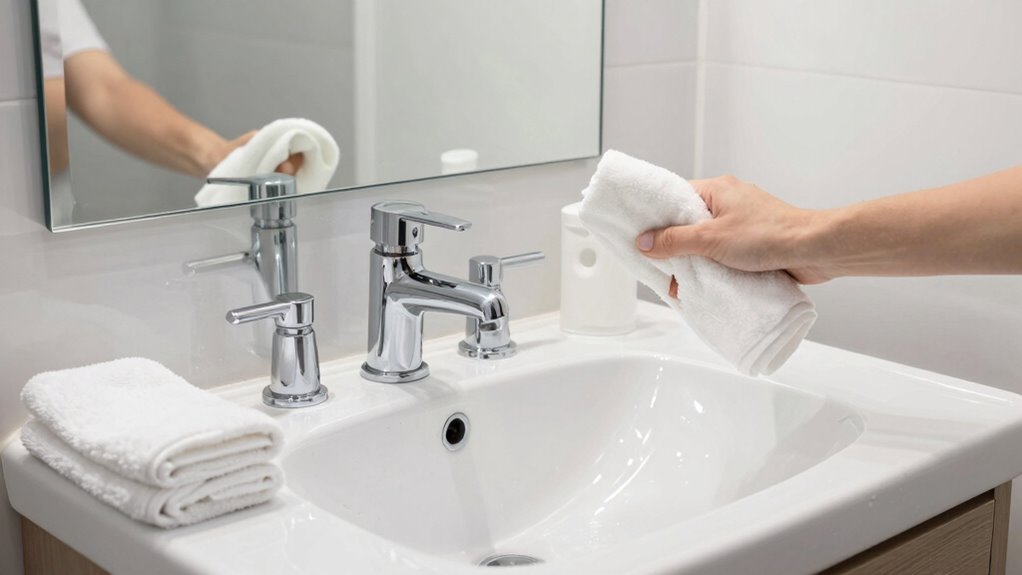
Once you’ve finished cleaning the bathroom surfaces, it’s important to wipe down the mirrors and fixtures last. This guarantees you don’t spread dust or water spots onto already cleaned areas. Proper mirror maintenance involves using a glass cleaner and a microfiber cloth to achieve a streak-free shine. For fixtures, apply a gentle polish to remove fingerprints and water spots, leaving them gleaming. Here are key steps:
Finish with mirrors and fixtures for a spotless, streak-free bathroom shine.
- Spray glass cleaner on the mirror and buff with a soft cloth.
- Use a fixture polish on sinks, faucets, and hardware.
- Wipe down edges and corners carefully for a spotless finish.
- Check for streaks or smudges, and re-polish if needed.
This final step provides a sparkling finish that elevates your entire cleaning effort.
Choose the Right Tools and Cleaning Products for Your Bathroom
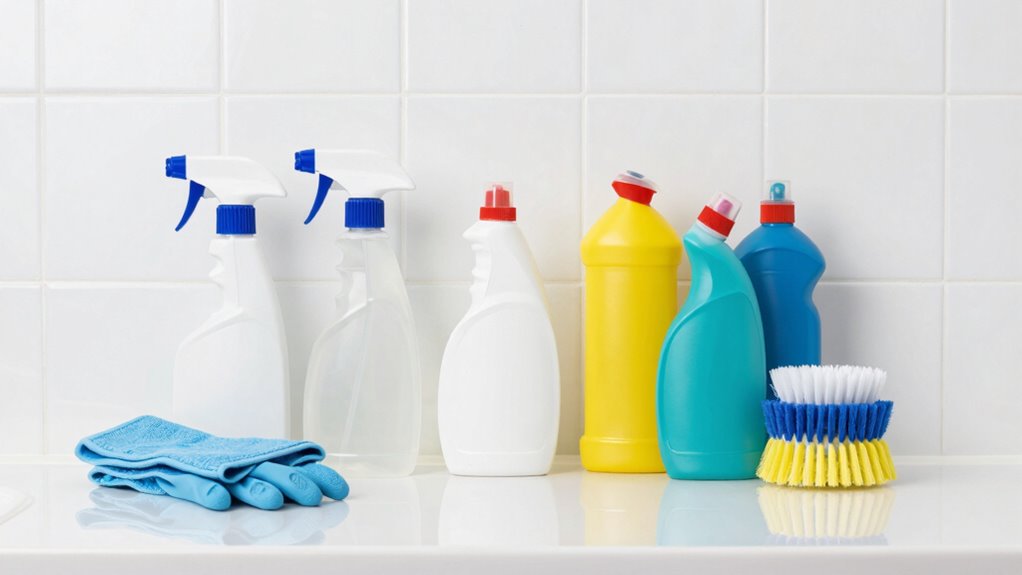
Choosing the right tools and cleaning products is essential for an effective bathroom cleaning routine. Proper tool selection guarantees you can reach every corner and clean thoroughly without damage. Use soft-bristled brushes or microfiber cloths for delicate surfaces, and sturdy scrubbers for tougher grime. When selecting products, prioritize those compatible with your bathroom surfaces to avoid damage or discoloration. For example, choose a gentle bathroom cleaner for tiles and a separate glass cleaner for mirrors. Always read labels to confirm compatibility and avoid mixing harsh chemicals that could create fumes or damage surfaces. Having the right tools and products on hand streamlines your cleaning process, saving you time and effort while achieving a spotless, hygienic bathroom.
Tips to Maintain Your Bathroom’s Cleanliness After Using This Cleaning Order
Maintaining your bathroom’s cleanliness requires consistent effort and simple habits that reinforce your cleaning routine. To keep it fresh and tidy, consider these tips:
Consistent habits and simple tips keep your bathroom fresh and tidy every day.
- Use an air freshener regularly to eliminate odors and maintain a clean scent.
- Establish a towel placement system—hang towels properly to prevent dampness and mold.
- Wipe down high-touch surfaces, like doorknobs and faucet handles, daily.
- Keep cleaning supplies accessible so you can quickly address spills or messes.
Frequently Asked Questions
How Often Should I Follow This Cleaning Order for Optimal Results?
You should follow this cleaning order at least once a week to maintain ideal results. Incorporate it into your maintenance schedule to keep your bathroom spotless and prevent buildup. For high-traffic or heavily used bathrooms, consider increasing the cleaning frequency to twice a week. Consistent cleaning not only keeps your space hygienic but also makes each cleaning session quicker and easier over time.
Can I Customize the Order Based on Bathroom Size or Layout?
Yes, you can customize the cleaning order based on your bathroom’s layout and cleaning tools. For example, if your bathroom is small with limited space, start by cleaning the sink and toilet first, then move to the shower. Adjust the order to match your bathroom layout and use cleaning tools suited for each area. This approach makes your cleaning more efficient and tailored to your space.
Which Cleaning Products Are Safest for Sensitive Skin or Pets?
You should choose cleaning products with natural ingredients that are labeled pet safe cleaners, ensuring they won’t harm your sensitive skin or your pets. Look for options free from harsh chemicals like ammonia, bleach, or artificial fragrances. Always read labels carefully, and consider using homemade solutions like vinegar and baking soda for a gentle, effective clean. These alternatives keep your bathroom fresh without risking irritation or harm to your loved ones.
How Can I Make Cleaning Easier for Hard-To-Reach Areas?
Imagine struggling to clean behind your toilet; using a long-reach scrub brush makes it easier. To tackle hard-to-reach areas, keep your tools organized with extendable brushes and microfiber cloths on a hanging rack. This setup helps you access mold-prone spots quickly, preventing mold buildup. Regularly maintaining your tools guarantees they stay effective, making cleaning less frustrating and more efficient, especially in those tricky corners.
What Are Quick Tips for Maintaining Cleanliness Between Deep Cleans?
To keep your bathroom looking fresh between deep cleans, do quick wipes of surfaces like sinks and counters daily. Use a microfiber cloth or disinfectant wipe for fast touch-ups on high-touch areas such as faucet handles and toilet seats. Regularly spray and wipe down mirrors and tiles to prevent buildup. These small daily habits save you time and make deep cleaning sessions much easier, keeping your bathroom consistently clean and fresh.
Conclusion
By following this proven bathroom cleaning order, you’ll transform a formidable chore into a swift, satisfying routine—like a seasoned artist completing their masterpiece with purpose and precision. Remember, a clean bathroom isn’t just about appearance; it’s your sanctuary of comfort and freshness. Embrace this method, and you’ll discover that, with each wipe and scrub, you’re creating a space as inviting as a homecoming, where cleanliness and calm reign supreme.