
To plan a small painting project without chaos, start by setting clear goals and defining the scope to keep things manageable. Gather your tools and organize supplies for easy access. Create a step-by-step schedule and prep your space by covering furniture and protecting surfaces. Choose the right paint colors and finishes, and use tape for clean edges. With a solid plan, you’ll finish smoothly—keep exploring for more tips to stay organized and stress-free.
Key Takeaways
- Define clear goals and scope to stay focused and prevent scope creep.
- Gather and organize supplies beforehand, labeling everything for quick access.
- Prepare the workspace by protecting surfaces and removing obstacles before painting begins.
- Schedule tasks realistically, allowing time for drying, touch-ups, and unexpected delays.
- Maintain a tidy, organized work area throughout to enhance efficiency and minimize chaos.

Mister Rui 4 Inch Paint Roller Kit, 12-Piece Mini Roller Set with 6 Microfiber Sleeves, Tray, Liner & Cover, Handle, 1.5" Angled Brush – for Walls, Cabinets, DIY & Pro Painting
COMPLETE 12-PC PROFESSIONAL SET:Includes 4" tray ×1, snap-fit handle ×1, reusable liners ×2, liner cover ×1, dual-brown microfiber…
As an affiliate, we earn on qualifying purchases.
As an affiliate, we earn on qualifying purchases.
Figure Out Your Painting Goals and Set Your Scope
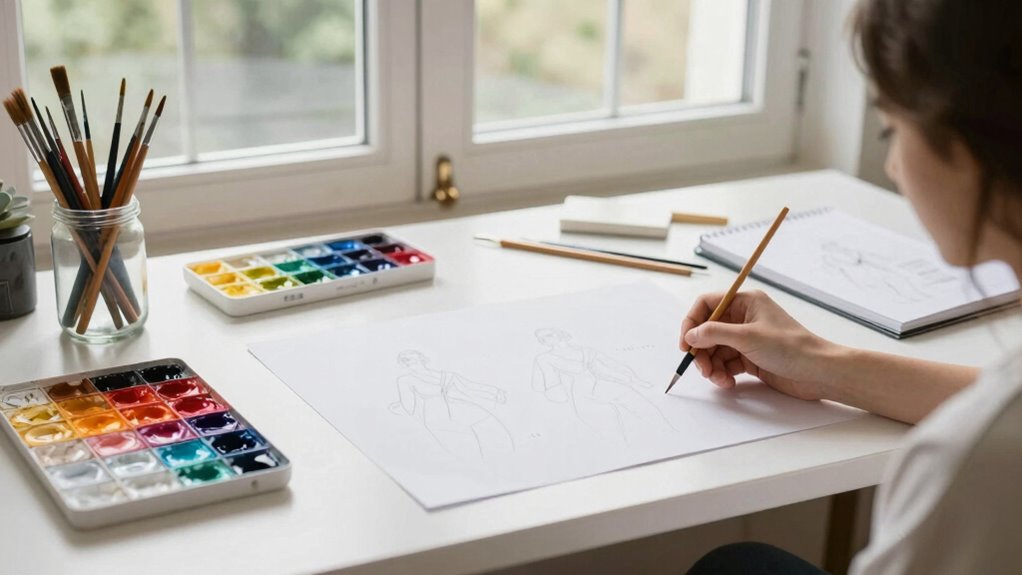
Before starting your painting project, it’s important to clearly define your goals and determine the scope of the work. Think about what you want to achieve—are you invigorating a single wall or transforming an entire room? Your goals will guide your color selection and help you stay within your budget planning. Decide whether you prefer bold, vibrant hues or subtle, neutral shades, and consider how the colors will complement your existing decor. Setting a clear scope prevents scope creep and keeps your project manageable. Knowing exactly what you want to accomplish allows you to allocate resources wisely and avoid unnecessary expenses. For example, understanding project scope can help you choose the right tools and materials for your painting task. Additionally, having a well-defined budget plan ensures you can complete your project without financial surprises. Incorporating outdoor transformation essentials such as seating areas and landscaping ideas can also inspire your interior choices, creating a cohesive look. Clarifying your desired outcome at the outset can help streamline decision-making throughout the project. Conducting a comprehensive planning process can further enhance your preparedness and minimize unexpected challenges. With a well-defined plan, your painting project becomes more straightforward, organized, and likely to succeed.

Paint Brushes Set of 24 Pieces Wooden Handles Brushes with Canvas Brush Case, Professional for Oil, Acrylic and Watercolor Painting
DESIGNS FOR PERFECT PAINTING: Total 24 pieces different functionals paint brushes are providing perfect experience of watercolors and…
As an affiliate, we earn on qualifying purchases.
As an affiliate, we earn on qualifying purchases.
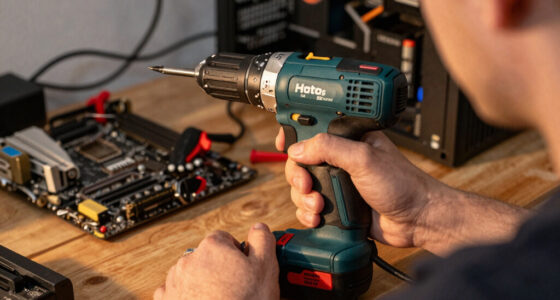
Gather Your Tools and Supplies for a Smooth Job
To make certain your painting project goes smoothly, gather all the essential tools and supplies you’ll need beforehand. Keep your items organized with simple tips like grouping similar tools and labeling containers. This approach aligns with best shopping practices by selecting quality gear that will last through your project, saving you time and frustration once you start painting. Additionally, using organized storage can help you easily access your materials and stay on track throughout the job. Incorporating proper cleaning supplies for brushes and rollers ensures your tools remain in good condition and ready for repeated use. Understanding essential DIY tools and safety tips can further improve your workflow and reduce the risk of accidents during your project. Planning ahead with efficient resource management can further reduce waste and streamline your workflow.
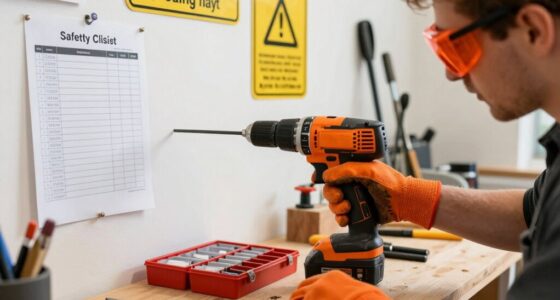
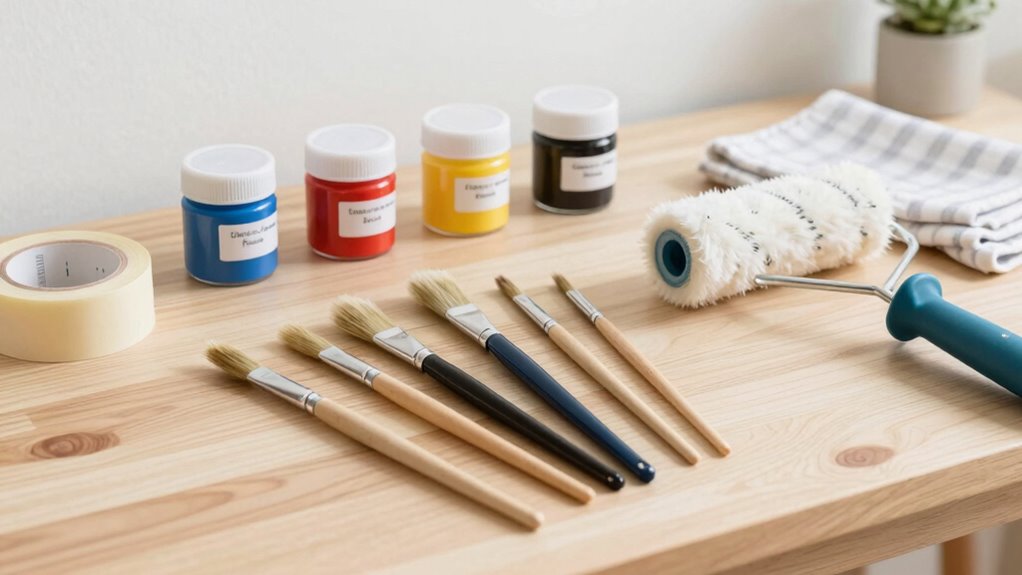
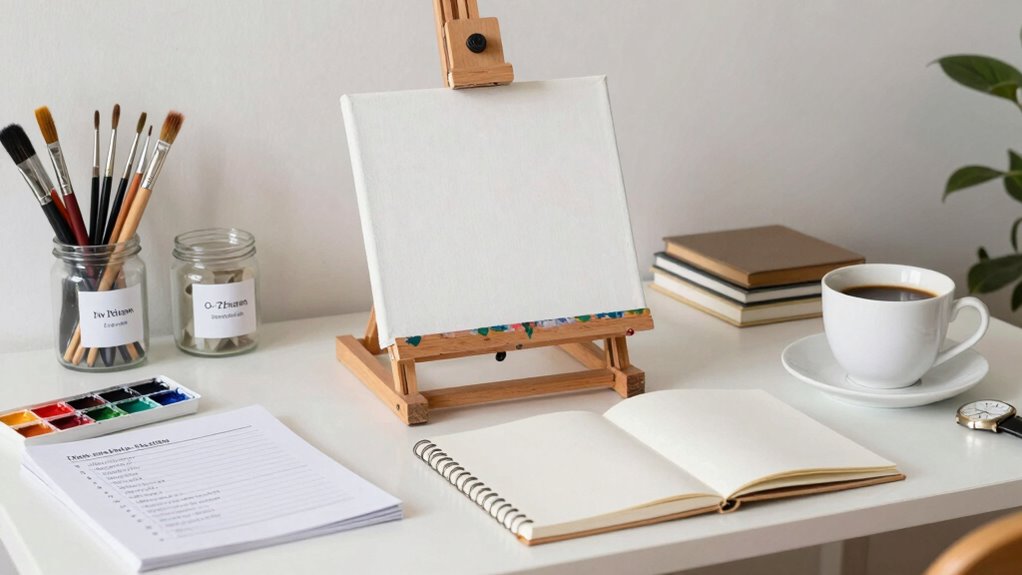
Essential Tools Checklist
Having the right tools on hand makes all the difference in ensuring your painting project goes smoothly. Start with a variety of paintbrush types—angled, flat, and detail brushes—to handle different surfaces and edges. A good selection helps you achieve clean lines and smooth finishes. Don’t forget your paint color palettes; having your chosen colors ready and organized prevents delays and confusion. A sturdy paint tray, painter’s tape, and drop cloths are essential to protect surfaces and create clean edges. A putty knife, sandpaper, and a small roller can also be handy for prep work and quick coverage. Being aware of media literacy principles can help you evaluate your project sources and techniques effectively. Additionally, understanding ergonomics can improve your comfort while working for extended periods. Planning your work environment with proper workplace ergonomics can help prevent fatigue and injury. Incorporating ergonomic tools such as adjustable height work surfaces can further enhance comfort. Recognizing the importance of proper posture during long painting sessions can also minimize strain. With these tools, you’ll be well-equipped to tackle your project efficiently, reducing stress and ensuring a professional-looking result.
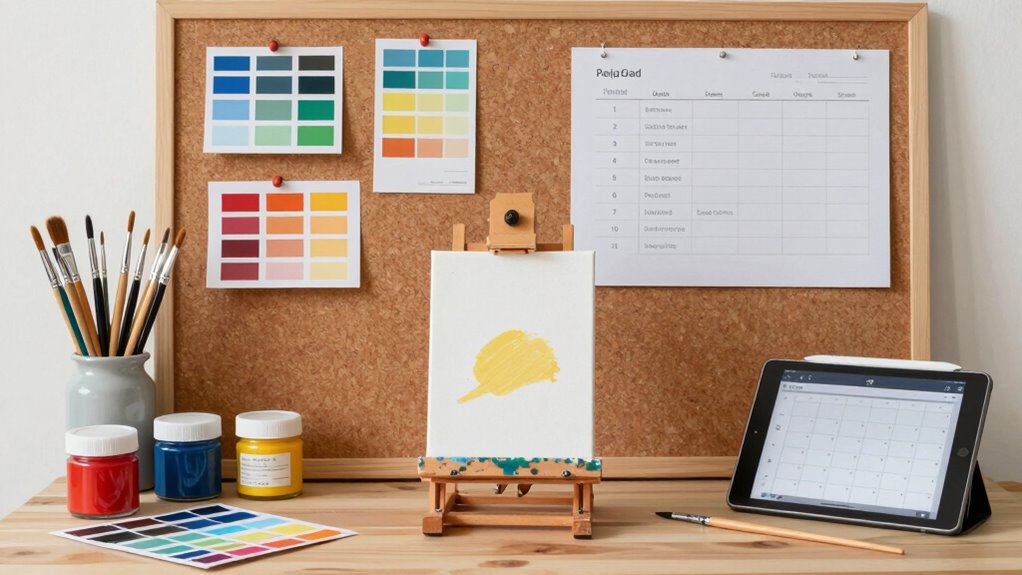
Supplies Organization Tips
Organizing your supplies before you start guarantees your painting project stays on track and minimizes frustration. Use effective storage solutions like plastic bins or toolboxes to keep everything accessible. Label your containers with clear labeling strategies, so you can quickly find what you need. Visualize your setup with these steps:
- Group brushes, rollers, and trays together in one container.
- Store paints and primers in a separate labeled bin.
- Keep tape, drop cloths, and sandpaper in a dedicated box.
- Use small jars or bags for screws, nails, or miscellaneous hardware.
- Incorporate storage efficiency techniques to maximize space and organization.
- Consider using electric bike-powered tools or accessories to streamline your work process and reduce manual effort during setup and cleanup.
- Implement innovative storage solutions designed specifically for small projects to further enhance organization and accessibility.
- Additionally, utilizing modular storage systems can help adapt your organization as your project evolves.
- To ensure your supplies stay organized over time, consider labeling strategies that include date and contents for quick reference.

Vowcarol Clear Paint Organizer, Miniature Paint Holder 7 Layers Paint Storage Rack, Craft Paint Organizer Rack
【Large Capacity – 7 Tiers】Holds up to 56 PCS 2 fl. oz paint bottles. 7-layer rack can make…
As an affiliate, we earn on qualifying purchases.
As an affiliate, we earn on qualifying purchases.
Plan Your Painting Steps and Schedule
Before you start painting, it’s essential to break down the project into manageable steps and create a realistic schedule. Start by planning your color mixing process, deciding which shades you’ll need and when to mix them to avoid delays. Outline your steps, from preparing surfaces to applying the final coat. Consider your brush techniques for different areas—smooth strokes for large surfaces and detail work for edges. Allocate plenty of time for each step, including drying periods. Setting a clear timeline helps you stay organized and prevents rushing, which can lead to mistakes. Be aware of early warning signs that could indicate potential issues during your project, allowing you to address them proactively. Additionally, understanding paint quality factors can help you select the best materials for a durable and professional finish. When choosing paints and tools, consider pet-friendly options to ensure safety if you have pets around. Researching skin care benefits of glycolic acid can also help you maintain healthy skin during your project, especially if you are working in areas prone to breakouts or irritation. Incorporating proper ventilation can significantly improve drying times and reduce fumes, contributing to a safer workspace. By mapping out your steps and schedule, you’ll keep the project streamlined, minimize chaos, and guarantee a polished result.

4 Rolls Premium Painters Tape, Blue Tape, Masking Tape, Paint Tape for Multi-Purpose, Painting, Painter's, DIY Crafts Arts (88yd =0.94IN*22yd*4) Decoration Labeling No Residue, Easy Removal
Professional Mask Tape – Multi-Surface adhesive tape made of high quality blue crepe paper not easy to lift…
As an affiliate, we earn on qualifying purchases.
As an affiliate, we earn on qualifying purchases.
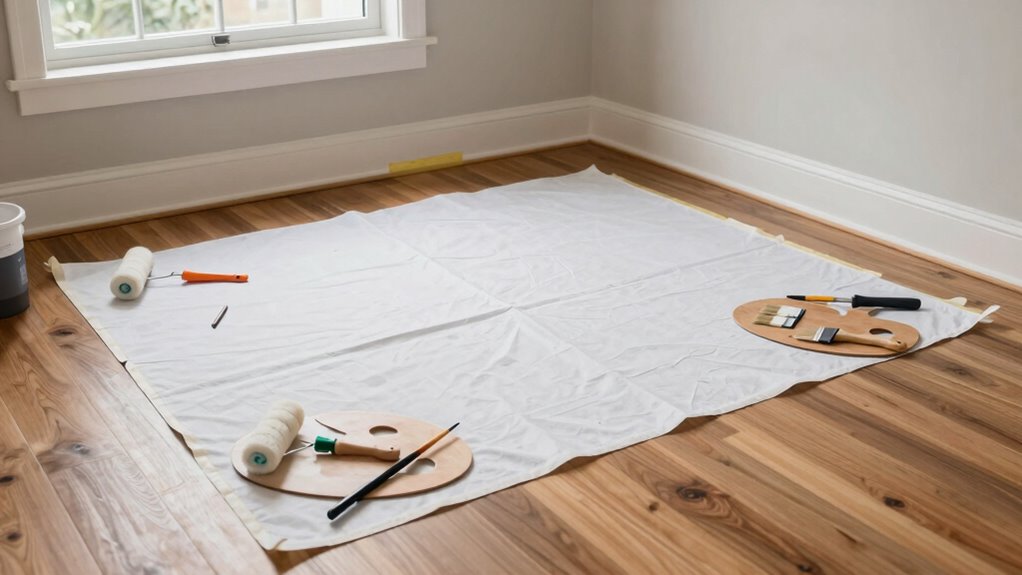
Prepare Your Space to Minimize Mess and Damage
Before you start painting, clear the area of any furniture or obstacles. Use drop cloths to protect floors and furnishings from paint splatters. Taking these steps helps keep your space clean and reduces the risk of damage. Additionally, consider ethical considerations related to environmental impact when choosing paints and disposal methods.
Clear the Area
Clearing the area is essential for a smooth painting process and to prevent damage to your belongings. Start by removing furniture to create open space. Next, set up proper ventilation to keep fumes at bay and ensure good airflow. Then, cover remaining surfaces with old sheets or plastic to catch drips. Finally, unplug and move electrical devices away from the work zone. This process involves four key steps:
- Furniture removal to avoid accidental spills or scratches.
- Ventilation setup to disperse paint fumes.
- Covering fixtures, switch plates, and floors.
- Clearing pathways for easy access and movement.
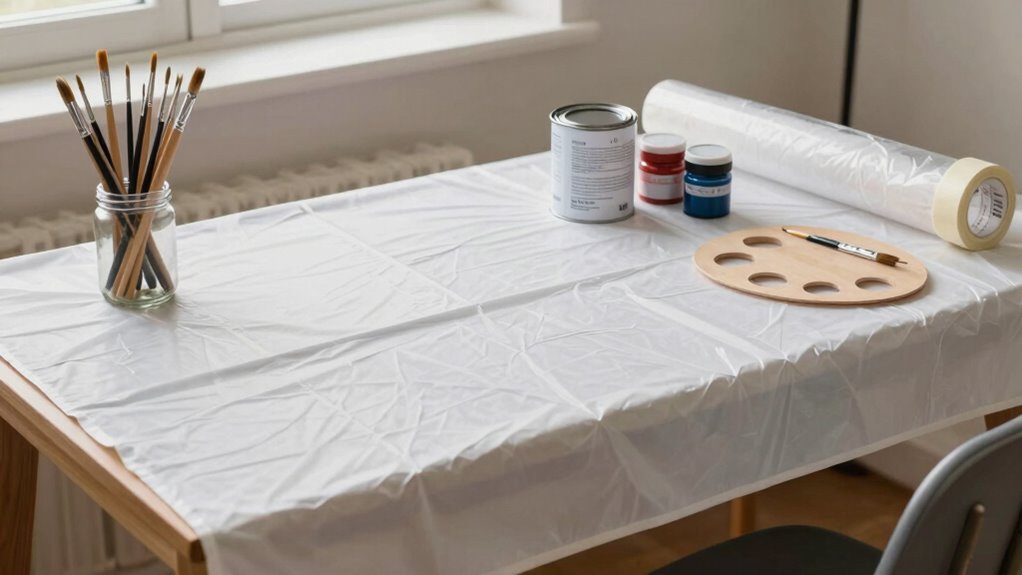
Use Drop Cloths
Have you prepared drop cloths to protect your floors and furniture from paint splatters? Using drop cloths is essential for surface protection during your painting project. Lay them out carefully across the floor and over any furniture or fixtures that can’t be moved. This simple step minimizes mess and prevents damage, saving you time on cleanup later. Choose cloth or plastic drop cloths based on the area and type of surface you’re working on. Make sure they’re spread flat and secured with painter’s tape if needed, especially in high-traffic spots. Proper surface protection helps keep your space tidy and reduces stress, allowing you to focus on your painting without worrying about accidental spills or drips.
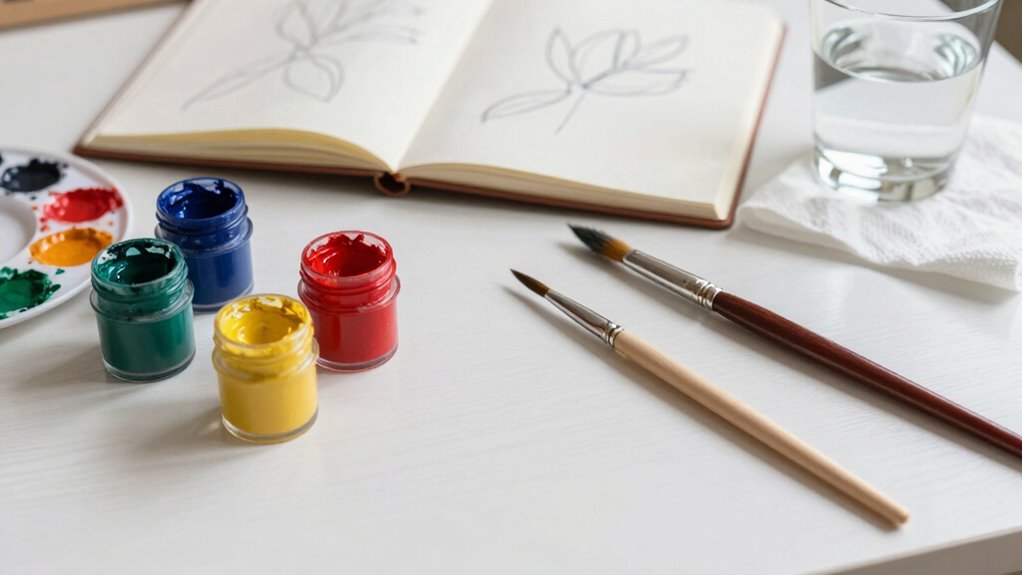
Pick the Right Paints and Colors for Your Room

Choosing the right paints and colors can transform your room from ordinary to inviting. To achieve this, consider color harmony, which guarantees your colors complement each other beautifully. Think about the paint finish, too—matte, satin, or semi-gloss—based on your room’s use and desired look.
Choosing the right paint and colors transforms your space into a welcoming haven.
Imagine these options:
- Soft pastels that create a calm, airy atmosphere.
- Bold, vibrant shades for energy and focus.
- Neutral tones for versatility and timeless appeal.
- Coordinated accent walls to add visual interest.
Select colors that match your style and mood, and always test paint samples on your walls before committing. This way, you’ll create a cohesive, inviting space that reflects your personality.
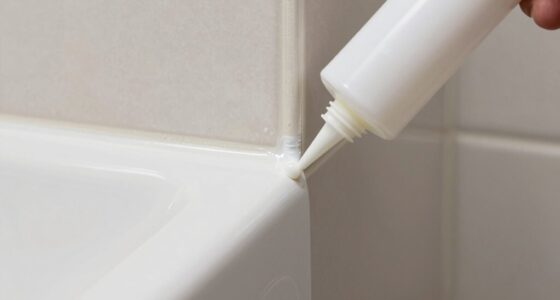
Protect Surfaces and Finish With Clean Edges
To achieve clean, professional-looking edges and protect your surfaces during painting, start by covering furniture, floors, and fixtures with drop cloths or plastic sheeting. Use masking tape along edges where you want sharp lines, ensuring it’s pressed down firmly to prevent paint bleed. For precise borders, apply painter’s edges carefully, following the contours of trim, moldings, or ceiling lines. Remove the tape while the paint is still slightly tacky to avoid peeling. This step keeps your work neat and minimizes touch-ups later. Protecting surfaces and finishing with crisp edges helps your project look polished and saves you time. With these simple techniques, you’ll create a clean, professional finish that enhances your space without chaos.
Set Realistic Expectations and Tips for an Easy Finish
Setting realistic expectations from the start can make your painting project much smoother and more enjoyable. Recognize that factors like budget considerations and timeline management influence your results. To keep things on track, picture these steps:
Setting clear goals and planning ahead ensures a smoother, more enjoyable painting experience.
- Visualize your space fully painted, avoiding rushed brushstrokes.
- Allocate extra time for drying and touch-ups, preventing hurried finishes.
- Set a clear budget, accounting for supplies and unexpected expenses.
- Break the project into manageable phases, so it feels less overwhelming.
Frequently Asked Questions
How Can I Estimate the Total Cost of My Painting Project?
To estimate your painting project’s total cost, start with budget planning by listing all necessary materials like paint, brushes, and tape. Check prices online or at stores to determine material costs. Add in any additional expenses such as primer or tools. Consider labor costs if you’re hiring help. By compiling these figures, you’ll get a clear estimate of your total project cost, ensuring you stay within your budget.
What Are Common Mistakes to Avoid During Small Painting Projects?
You might think skipping surface preparation saves time, but it causes issues like peeling or uneven paint. Avoid rushing the paint selection process; choosing the wrong type or color can lead to frustration or inconsistent results. Don’t overlook proper surface cleaning and priming, as neglecting these steps hampers adhesion and durability. By focusing on thorough surface prep and careful paint selection, you guarantee a smooth, successful finish without costly mistakes or rework.
How Long Does a Typical Small Painting Project Usually Take?
A typical small painting project usually takes 1-3 days, depending on preparation, drying times, and the area size. To stay on schedule, use DIY tips like choosing your colors carefully beforehand and gathering all supplies early. Plan your steps, including surface prep and multiple coats, to avoid delays. Remember, patience with drying times guarantees a professional finish, making your project efficient and chaos-free.
Can I Paint Over Wallpaper or Existing Paint?
Yes, you can paint over wallpaper or existing paint, but it’s best to prep properly. If you’re painting over wallpaper, remove it first through wallpaper removal to ensure smooth results. For existing paint, lightly sand the surface to improve paint adhesion. Clean the area thoroughly, then apply a primer if needed. This prep helps your new coat stick well and prevents peeling or bubbling later.
What Safety Precautions Should I Follow During Painting?
You should always wear protective gear like gloves, goggles, and a mask to prevent exposure to harmful fumes and splatters. Make certain proper ventilation by opening windows and using fans to disperse fumes, especially in enclosed spaces. Keep the workspace clear of obstacles, and take breaks to breathe fresh air. Following these safety precautions helps you stay safe and comfortable while achieving a professional finish.
Conclusion
With your plan in hand, your painting project becomes a well-orchestrated dance, graceful and steady. Every brushstroke flows smoothly like a gentle stream, turning chaos into calm. By preparing your space and choosing your tools wisely, you’re building a sturdy bridge from blank wall to masterpiece. Before you know it, your room will shine like a jewel—proof that with a little planning, even the smallest project can sparkle with success.