
To touch up paint without making it obvious, start with proper surface prep—clean and lightly sand the area. Match the color precisely using samples and test it in a hidden spot. Apply thin, even coats, blending the edges by feathering or dabbing. Wait for each layer to dry fully before inspecting; if needed, adjust with additional layers or translucent glazes. Seal the repair with a matching sheen to keep it seamless—continue and you’ll discover more expert tips for flawless results.
Key Takeaways
- Match the existing paint color and sheen precisely, preferably using professional color-matching services or paint chips under natural light.
- Prepare the surface thoroughly by cleaning and lightly sanding to ensure smooth blending and good adhesion.
- Apply thin, even coats with gentle feathering at the edges to seamlessly blend the new paint into the existing wall.
- Allow each layer to dry completely and inspect under proper lighting before adding additional coats or adjustments.
- Use minimal paint and blending techniques like dry brushing or dabbing to create a natural transition and hide repair lines.

Spectro 1 Mobile Spectrophotometer with Dock & Security Kit, Paint Color Matching Tool and Color Reader, Portable Colorimeter Spectrometer Color Sensor & Paint Scanner Device for Prints & Coatings
PRECISION COLOR MATCHING TOOL: The Spectro 1 Mobile Spectrophotometer is a professional-grade color reader for paint matching with…
As an affiliate, we earn on qualifying purchases.
As an affiliate, we earn on qualifying purchases.
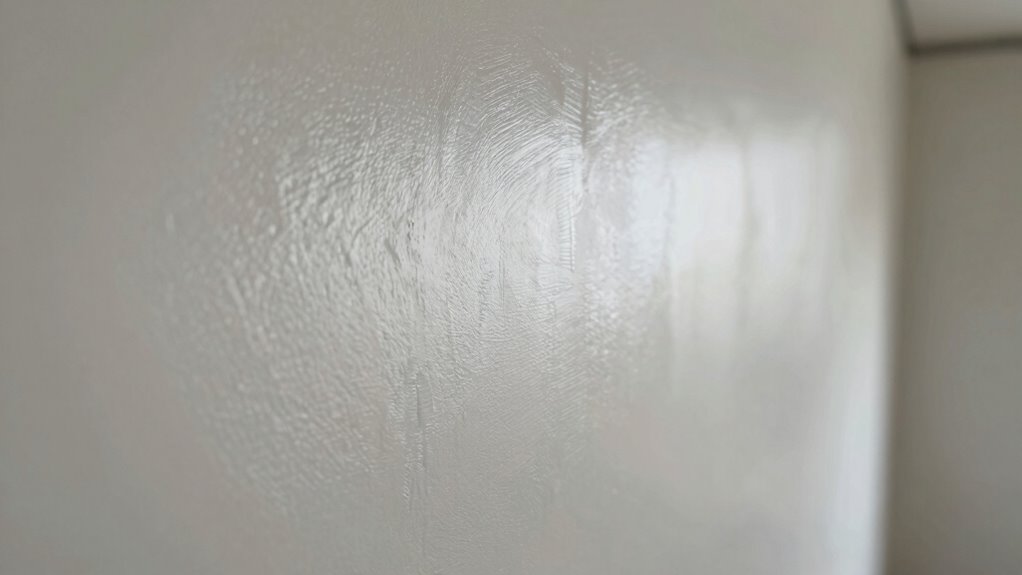
Why Seamless Touch-Ups Keep Your Walls Flawless

Seamless touch-ups are essential because they prevent noticeable marks or color inconsistencies that can ruin the appearance of your walls. Achieving this relies heavily on matching the paint sheen, which affects how light reflects off the surface. If you don’t match the sheen properly, the repaired area can stand out, even if the color matches perfectly. Surface texture also plays a critical role; a smooth wall will reveal touch-ups more easily if the texture isn’t consistent. To keep your walls flawless, you need to replicate the original paint’s sheen and texture carefully. When these elements align, your repairs blend seamlessly, making it nearly impossible to tell where the touch-up was made. This attention to detail preserves the overall uniformity and professional look of your walls. Additionally, understanding trusted local painters can help ensure your touch-up work maintains a professional finish. Being aware of paint sheen types can further improve your ability to match surfaces precisely, especially when considering various paint finishes that may be present on your walls. Recognizing the importance of surface preparation can also significantly impact the final seamless appearance. Paying close attention to application techniques can make all the difference in achieving a truly invisible repair.

Pro Grade Paint Brushes, 5-Piece Paint Brush Set, Flat & Angle Brushes for Walls, Trim, Cabinets, Interior & Exterior Latex and Oil Paints, Stains
COMPLETE 5-PIECE BRUSH SET FOR EVERY PAINTING TASK — Includes 1 Inch Flat, 1.5 Inch Angle, 2 Inch…
As an affiliate, we earn on qualifying purchases.
As an affiliate, we earn on qualifying purchases.
Preparing Your Wall Surface for a Perfect Repair
To guarantee your touch-up blends perfectly, starting with a clean, well-prepared surface is essential. Use the right painting tools, like fine-grit sandpaper to smooth rough spots and remove loose paint or debris. Clean the wall thoroughly to eliminate dust, grease, or dirt that could interfere with adhesion. Once dry, lightly sand the area around the repair to create an even surface, ensuring the new paint bonds smoothly. Proper preparation minimizes texture differences and helps your touch-up blend seamlessly. Remember, good surface prep is key to a flawless finish, so take your time. Although color matching is vital, focusing on a clean, smooth surface first sets the foundation for a nearly invisible repair. Additionally, understanding surface cleanliness enhances adhesion and final appearance, which is especially important for environmentally friendly painting practices. Incorporating eco-conscious painting techniques can further improve the overall results and sustainability of your project. Paying attention to surface preparation can make all the difference in achieving a professional-looking touch-up. Ensuring proper surface conditioning can also help maintain the durability of your repair over time.

4 Pcs Round Painting Sponge 3in Artist Sponges for Acrylic Watercolor Face Painting, Pottery Sponges for Clay Art Crafts
Round Painting Sponge for Smooth Blending: No more streaky brush marks! These artist sponges create seamless gradients for…
As an affiliate, we earn on qualifying purchases.
As an affiliate, we earn on qualifying purchases.
Choosing the Right Paint and Matching Colors Exactly

Selecting the right paint and matching colors precisely are crucial steps to guarantee your touch-up remains invisible. Start with careful paint color matching by comparing the existing wall color in natural light. Use a small sample or paint chip from the original wall to identify the closest match. When it comes to paint selection, choose a high-quality, matte or eggshell finish similar to the original surface, as gloss levels can reveal differences. Always opt for the same brand and color code if possible, since even slight variations can be noticeable. If you’re unsure, consider getting color-matched at a paint store, where professionals can help find the exact hue. Precise paint matching and appropriate paint selection are your best tools for a seamless repair. Additionally, understanding AI and blockchain trends can help you stay informed about innovative tools and techniques that could assist in color matching or paint analysis in the future.

3M Drywall Sanding Sponge, Fine/Medium Grits, Dual Grit Block, Medium Grit to Remove, Fine Grit to Smooth, Ideal for Sanding and Smoothing of Joint Compounds, 2-5/8 in x 3-3/4 in (9095DC-NA)
IDEAL FOR MODERATE SANDING AND SMOOTHING of joint compounds
As an affiliate, we earn on qualifying purchases.
As an affiliate, we earn on qualifying purchases.
Testing Paint in a Hidden Area Before Applying

Start by choosing discreet spots, like inside a door frame or behind a cabinet, to test your paint. Make sure you use the same paint you plan to apply to guarantee an accurate match. Wait for the paint to dry completely before checking the color, so you can see how it truly looks once settled. Additionally, consistent storytelling helps reinforce your project’s quality and attention to detail. To ensure the color remains true, consider testing conditions similar to those of your main area, such as lighting and surface type. Knowing your paint’s durability can also help you select the best finish and application method for a seamless touch-up. For added confidence, researching best anime movies can inspire creative techniques or themes for your project, making the process more engaging. Being aware of AI ethicist jobs can also inform how you approach ethical considerations in your project, ensuring responsible use of materials and techniques.
Choose Discreet Testing Spots
Before you plunge into applying your touch-up paint, it’s essential to test it in a discreet spot to guarantee a perfect match. Choose a testing location that’s out of sight, like the back of a closet or inside a cabinet door. This ensures you won’t accidentally reveal the test, and it allows you to see how the paint sample interacts with the existing wall color. Picking a concealed testing spot prevents any visible mismatch during daily use. Use a small brush or applicator to apply a tiny amount of paint in this hidden area. Wait for it to dry completely before evaluating the color match. This careful approach helps you avoid any surprises and makes your touch-up nearly invisible. Protective styling benefits from crochet techniques can also be applied to maintaining painted surfaces, helping to keep them looking fresh longer. Additionally, understanding Free Floating concepts can aid in choosing the right materials and techniques for your project. A thorough knowledge of Feature Buddies can further assist in selecting compatible paints and tools for seamless touch-ups.
Use Same Paint Consistently
Once you’ve tested the paint in a hidden spot and confirmed it matches, it’s important to use the same batch of paint for the entire touch-up. Consistency in paint selection guarantees better color matching and prevents noticeable differences. Using different batches can lead to slight variations in texture or sheen, making your repair obvious. Always label your paint or store leftover paint in airtight containers to avoid mixing batches unintentionally. When purchasing, buy enough paint for the entire repair to maintain color consistency. Maintaining uniformity in your paint selection helps your touch-up blend seamlessly with the existing wall, making the repair virtually invisible. Batch consistency is crucial for achieving a flawless repair.
Wait for Proper Drying
Waiting for the paint to dry thoroughly is essential to guarantee a seamless touch-up. Rushing the drying process can cause the new paint to blend poorly with the existing wall, making the repair obvious. Pay attention to the paint consistency; if it’s too thick or too thin, it may affect the drying time and final appearance. Follow the manufacturer’s instructions for drying time, but also check the surface for any tackiness or unusual texture before testing. A good rule of thumb is to wait at least as long as the recommended drying period, and then test in a hidden spot. This ensures the paint has fully cured and will blend smoothly, preventing any color mismatch or visible edges. Additionally, understanding the importance of measurement accuracy in testing can be a helpful reminder of the value of patience and precision in investment decisions, similar to waiting for paint to dry properly. Incorporating proper lighting conditions can also help you better assess the blending and color match during the touch-up process. Moreover, allowing sufficient ventilation during drying can improve the overall curing process and final appearance.
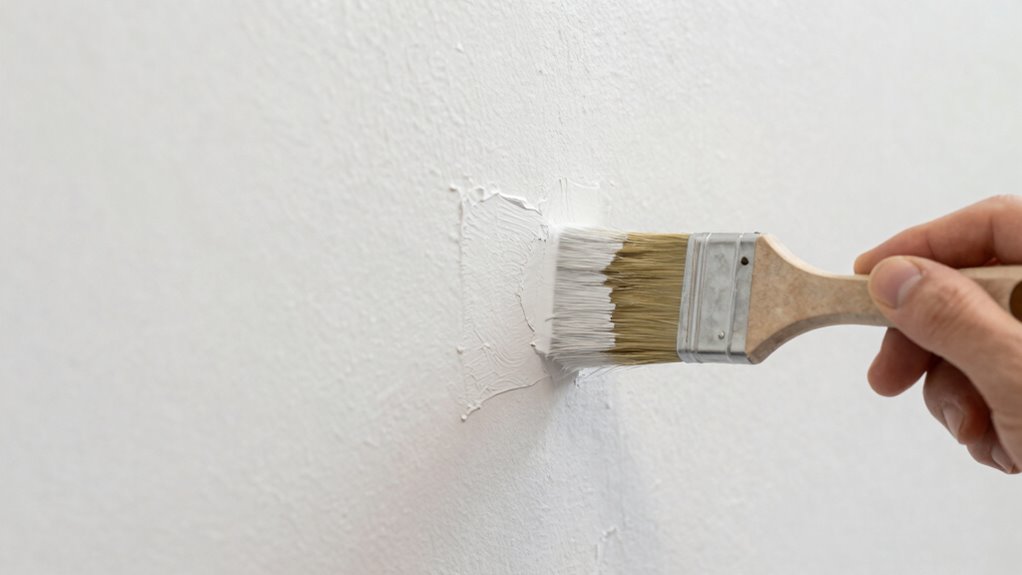
Applying Paint With Proper Technique for Blending
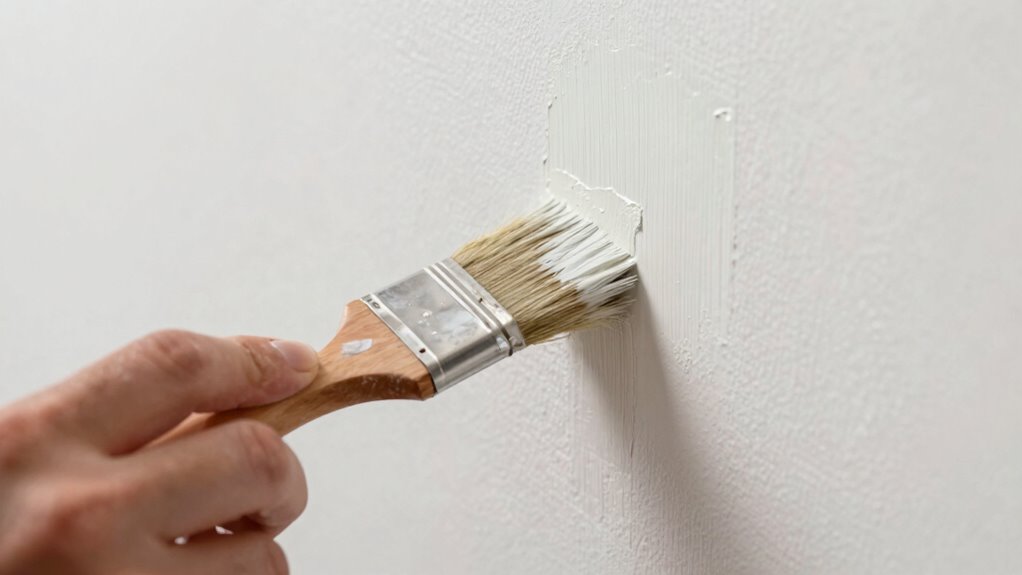
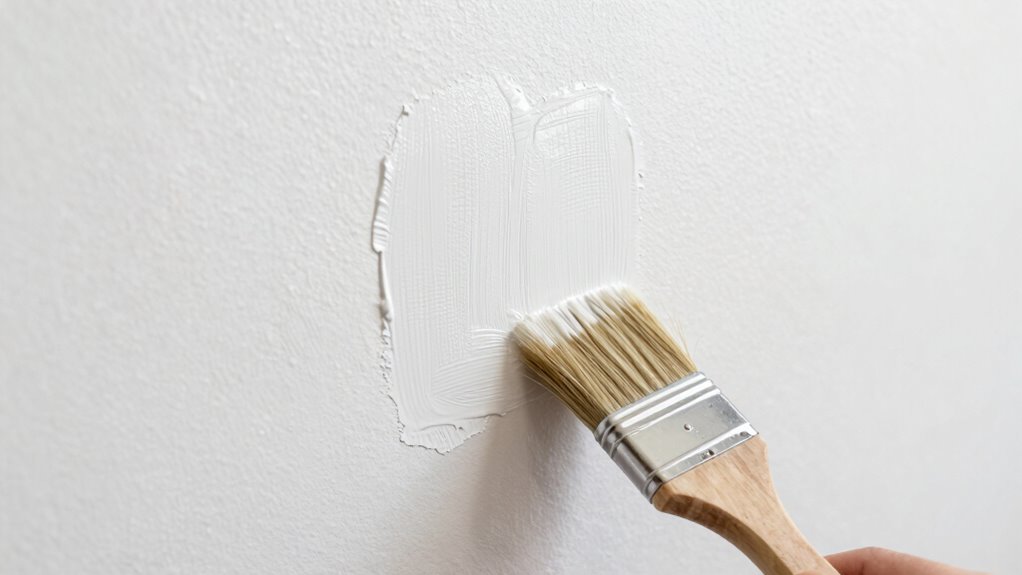
To achieve a seamless blend, you need to apply paint with a careful, controlled technique. Use brush techniques that minimize streaks and uneven coverage, starting with a lightly loaded brush and applying thin, even coats. Work gradually, feathering the edges of the new paint into the existing wall to avoid harsh lines. Keep your brush strokes consistent and follow the natural grain or surface direction. Proper paint matching is essential; make sure your touch-up paint closely resembles the original color and finish. Lightly blend the edges by gently feathering or dabbing, avoiding heavy application that can create noticeable patches. Patience is key—allow each layer to dry thoroughly before adding more. With precise brush techniques and good paint matching, your touch-up will blend seamlessly.
How to Feather and Dry Brush for a Seamless Finish

Before you start feathering and dry brushing, make sure the surface is clean and smooth. Use gentle strokes to blend the new paint with the existing finish, focusing on light, controlled movements. Mastering these techniques will help you achieve a seamless, professional-looking touch-up. Incorporating proper surface preparation can significantly improve the final result and minimize the need for additional touch-ups later. Additionally, understanding smart lock features can help safeguard your space during renovations.
Preparing the Surface Properly
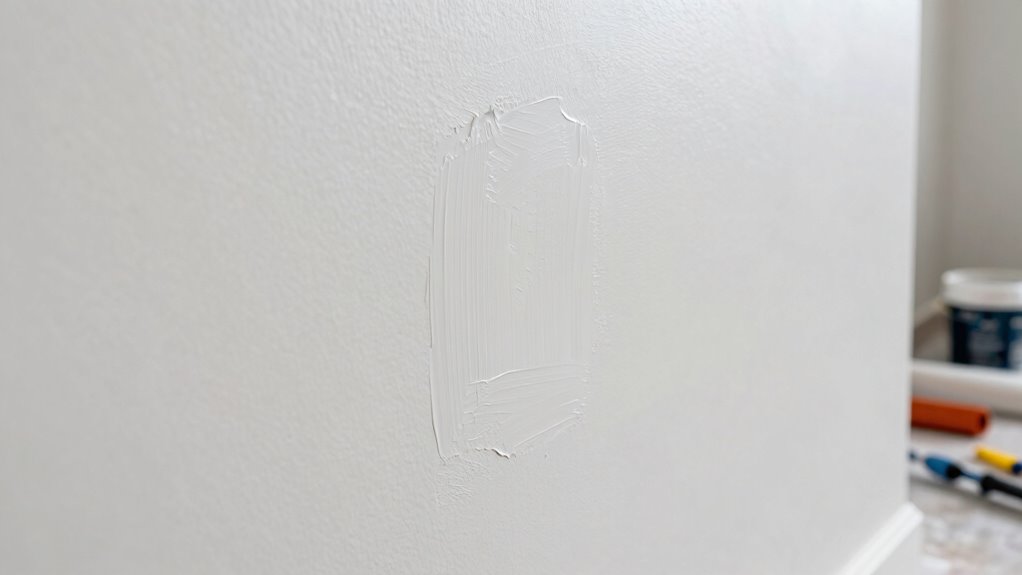
Achieving a seamless paint touch-up starts with properly preparing the surface to guarantee the new paint blends smoothly. Begin by cleaning the area thoroughly to remove dust, dirt, and grease, which can affect paint adhesion and durability. Lightly sand the patched spot to match the wall’s texture, ensuring the surface is smooth and even. This step helps the new paint bond better and prevents visible edges. If the wall has a specific texture, use the appropriate tools or techniques to replicate it, preserving paint durability and visual consistency. Wipe away any sanding residue with a damp cloth and let the surface dry completely before painting. Proper surface prep minimizes the risk of peeling or uneven coverage, making your touch-up virtually invisible.
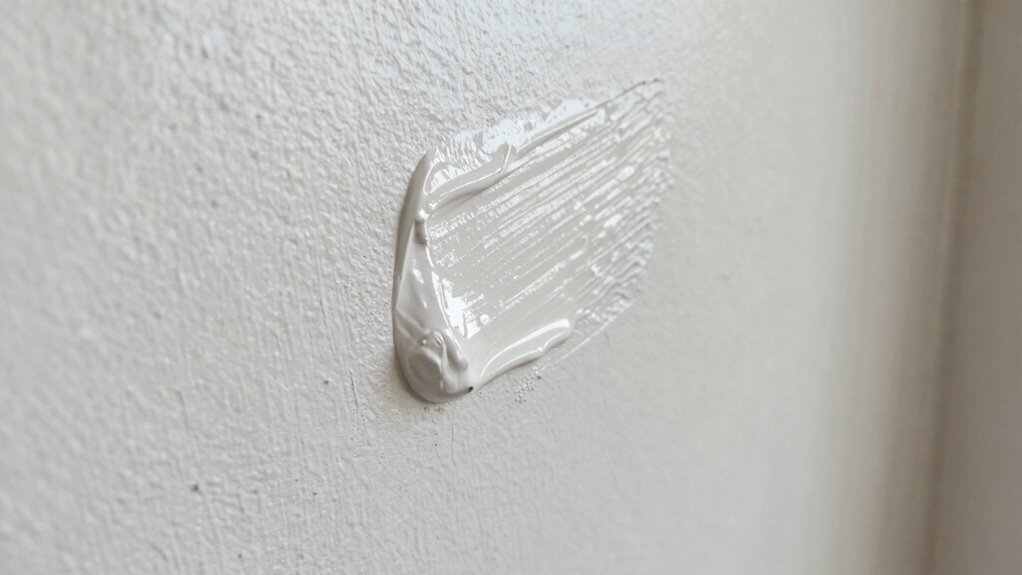
Applying Feathering Technique
Once you’ve prepared the surface, the next step is to apply a feathering technique to blend the new paint seamlessly into the surrounding wall. This involves edge blending and paint feathering to create a smooth gradient. To do this effectively:
- Use a clean, dry brush to gently feather the paint edges outward from the touch-up spot.
- Lightly blend the new paint into the existing wall, avoiding harsh lines.
- Work in small, circular motions for a natural gradation.
- Allow the paint to dry slightly before applying additional feathering if needed.
This technique minimizes visible borders and guarantees a seamless finish. The key is to work gradually, avoiding over-brushing, which can disrupt the paint’s natural flow.
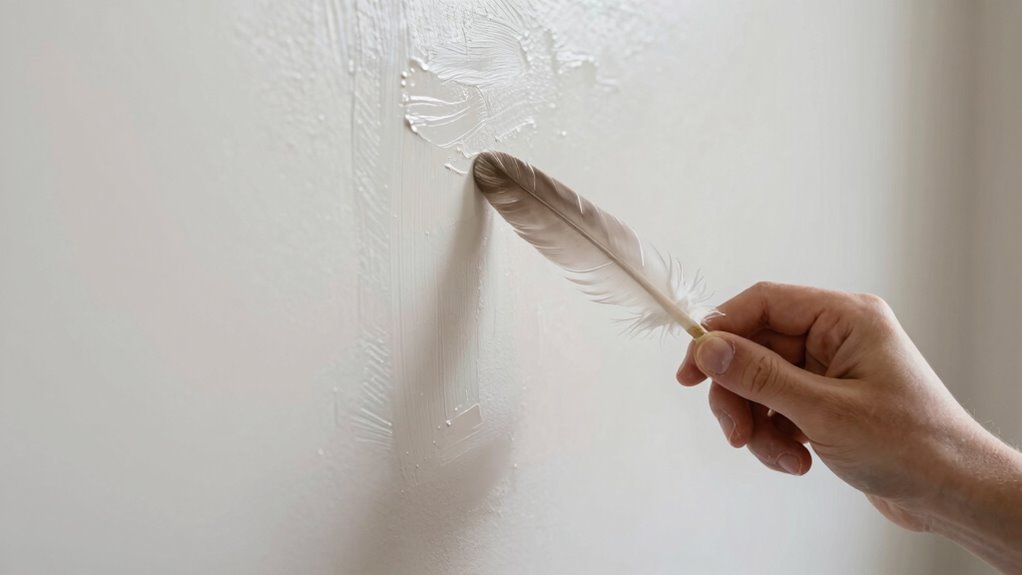
Using Dry Brush Method
To achieve a seamless blend during touch-up painting, the dry brush method is highly effective. It involves using a brush with minimal paint to feather edges and create a soft progression. Start by adjusting your brush techniques: dip lightly into paint and remove excess to guarantee a dry, flaky brush. Maintaining the right paint consistency—slightly thinned but still opaque—helps prevent streaks. Use gentle, feathering strokes along the patch, blending outward to match the surrounding wall. This method reduces the appearance of touch-up spots, making repairs less noticeable.
| Brush Techniques | Paint Consistency |
|---|---|
| Use minimal paint | Slightly thinned |
| Feather edges | Not too runny |
| Light strokes | Opaque but fluid |
| Keep brush dry | Avoid thick globs |
| Gentle blending | Smooth finish |
Letting the Touch-Up Dry Completely Before Inspecting
After applying touch-up paint, patience is key. You need to give it time to dry completely before inspecting your work. Rushing this step can lead to uneven paint consistency or disturb the color matching you’ve carefully achieved.
Patience is essential—wait 24 hours before inspecting your touch-up for the best results.
Here are four tips to ensure a proper dry time:
- Wait at least 24 hours before evaluating the touch-up.
- Avoid touching or cleaning the area during this period.
- Use a light, natural light source to check for even coverage.
- Trust the drying process—sometimes, paint looks different when wet than when fully dried.
Allowing the paint to dry fully guarantees an accurate assessment of your touch-up, helping you spot any inconsistencies without risking smudges or uneven patches.
Troubleshooting Color Mismatch and Blending Issues
Even when you’ve waited for the paint to dry completely, color mismatch and blending issues can still arise. To address color matching problems, compare the new paint with the existing wall under different lighting conditions and adjust with a small amount of the original paint if needed. When merging, use gentle feathering techniques around the touch-up area, gradually tapering the new paint into the old. Lightly dab or brush the edges to create a seamless transition. If the color still appears off, consider applying a very thin, translucent glaze or additional layers of matching paint to improve uniformity. Patience is key; subtle blending and precise color matching help your repair disappear, leaving a flawless finish that’s virtually undetectable.
Sealing Your Repair for Durability and a Professional Look
Sealing your repair is essential to guarantee it lasts and looks seamless. It helps protect the fresh paint from damage and ensures the repair blends with the wall’s original finish. To achieve a professional look, consider these steps:
- Match the paint sheen to the existing wall—flat, eggshell, or semi-gloss—for a consistent appearance.
- Use a clear sealant or topcoat suited for your wall texture to lock in the color and prevent future chipping.
- Apply the sealant evenly with a brush or roller, following the wall’s texture to avoid noticeable differences.
- Allow sufficient drying time before cleaning or rearranging furniture, ensuring your touch-up remains intact and durable.
Tips to Maintain Your Walls and Prevent Future Touch-Ups
To keep your walls looking fresh, focus on proper preparation before painting and routine inspections. Regular maintenance helps catch minor issues early, preventing larger problems that require touch-ups. By staying proactive, you can maintain a flawless finish with less effort down the line.
Proper Wall Preparation Techniques
Proper wall preparation is essential for achieving seamless touch-ups and maintaining the overall appearance of your walls. Start by cleaning the surface thoroughly to remove dirt and grease, guaranteeing better paint adhesion. Next, sand any rough spots or peeling paint to create a smooth base. When applying paint, use proper brush techniques—short, controlled strokes help blend the new paint seamlessly. Always mix your paint thoroughly to ensure consistent color and sheen, avoiding noticeable differences. Additionally, fill holes and cracks with spackle, then sand smooth before painting. These steps prevent uneven patches and help your touch-ups look natural. Proper preparation sets the stage for flawless results and reduces the need for frequent repairs, keeping your walls looking fresh and cohesive longer.
Regular Maintenance and Inspection
Regular maintenance and inspection are essential for keeping your walls looking their best and preventing issues that require touch-ups. Regularly check for cracks, peeling paint, or discoloration, and address problems early. Clean your walls gently with a soft cloth to remove dust and dirt, which helps preserve the wall texture and paint sheen. Keep an eye on areas prone to damage, like corners and around fixtures. Use the following table to guide your inspections:
| Wall Condition | Action Needed | Tips |
|---|---|---|
| Cracks | Fill with appropriate filler | Match wall texture during repairs |
| Peeling paint | Repaint affected area | Maintain consistent paint sheen |
| Discoloration | Clean or touch-up as needed | Use the same wall texture |
| Scratches | Sand and touch-up | Blend with existing paint sheen |
| Mold or stains | Clean with mild solution | Inspect regularly for prevention |
Frequently Asked Questions
How Can I Prevent Brush Marks During Touch-Up Painting?
To prevent brush marks during touch-up painting, you should use smooth, light brush stroke techniques, applying thin layers of paint. Focus on blending the edges carefully with paint blending methods like feathering or stippling to seamlessly merge the new paint with the existing. Keep a wet edge and avoid over-brushing, which can leave marks. Practice patience and work gradually for the best seamless results, ensuring your touch-up stays discreet.
What Tools Are Best for Precise Paint Application?
A craftsperson is only as good as their tools, so choose wisely. For precise paint application, opt for fine-tipped brushes or small detail brushes that match your paint’s consistency. Using the right brush selection helps you control strokes and avoid messes. Keep your paint at the right consistency—thicker for more control, thinner for smooth blending—so you can achieve seamless touch-ups that blend in perfectly. Remember, precision is the key to perfection.
How Do I Fix a Visible Edge After Touching Up?
To fix a visible edge after touching up, start by carefully feathering the paint using a dry brush or sponge with blending techniques. Match the color precisely, blending the new paint into the surrounding area in gentle, overlapping strokes. Keep a damp cloth handy to smooth out edges and remove excess paint. This approach helps create a seamless finish, making the touch-up less noticeable and preserving your wall’s original look.
Can I Use Spray Paint for Small Touch-Ups?
Yes, you can use spray paint for small touch-ups, but it’s tricky. Focus on color matching first; pick a spray paint that closely matches your wall color. Use light, even coats and hold the can at a consistent distance to avoid drips or overspray. Testing on a hidden area helps. With patience and precision, spray paint can blend seamlessly, making your touch-up less obvious.
How Often Should I Reapply Sealant for Best Durability?
You should reapply sealant every 1-3 years to guarantee ideal sealant maintenance and maximize paint longevity. Regular inspections help you spot signs of wear, like cracking or peeling, so you can reapply promptly. Proper maintenance protects your surfaces from moisture and UV damage, keeping your paint looking fresh longer. By staying attentive and re-sealing as needed, you extend your paint’s life and maintain its pristine appearance.
Conclusion
Now that you know these expert tips, your walls will look flawless enough to fool even the keenest eye. No one will ever suspect a tiny touch-up! With your newfound skills, you’ll turn your walls into a masterpiece of seamless perfection, making imperfections vanish like magic. Say goodbye to obvious patches and hello to a home that always looks freshly painted—so perfect, it’s almost like your walls are whispering, “We’re brand new!”