
To improve your smart TV picture instantly, start by adjusting brightness and contrast to enhance clarity, then fine-tune color and temperature for accurate tones. Switch to a suitable picture mode like Cinema or Vivid to match your content. Use advanced options like gamma, backlight, and sharpness to add depth and detail. Testing these settings with test patterns guarantees the best results. Keep experimenting, and you’ll discover even more ways to maximize your TV’s picture quality.
Key Takeaways
- Switch to a suitable picture mode like Cinema or Standard for optimized viewing.
- Adjust brightness and contrast to enhance detail and prevent washed-out or overly dark scenes.
- Fine-tune color saturation and temperature for more vibrant, natural-looking images.
- Use gamma and backlight settings to improve depth, clarity, and contrast based on your room lighting.
- Save custom picture settings or modes to maintain optimal picture quality instantly.

Complete Hisense E6 QLED 4K Fire TV User Guide: Unlock Hidden Settings For Premium Cinema Experience And Apps
As an affiliate, we earn on qualifying purchases.
As an affiliate, we earn on qualifying purchases.
Get to Know Your TV’s Picture Settings

Understanding your TV’s picture settings is essential to getting the best viewing experience. Your remote controls are your main tools for adjusting these settings, so familiarize yourself with their functions. Start by exploring options like picture mode, brightness, contrast, and color temperature. Proper TV placement also impacts picture quality—position your TV at eye level and avoid glare from windows or lights. When using remote controls, make small adjustments to see how each setting affects the picture. Don’t hesitate to experiment with different modes such as Cinema or Game, which optimize picture quality for specific content. Additionally, being aware of your consumer choices can help you select TVs with customizable settings that suit your viewing preferences. By understanding how to navigate your TV’s picture settings and positioning it correctly, you’ll ensure that every scene looks clear, vibrant, and comfortable to watch. Adjusting picture calibration settings can further improve picture fidelity and reduce eye strain, especially when you understand the importance of contrast ratio in creating a balanced image. Paying attention to display technology can also help you choose a TV that best fits your environment and viewing habits. Familiarizing yourself with advanced picture settings allows for more precise customization tailored to your unique viewing needs.

90s Party TV Test Pattern Heart I Love The 90s Costume Premium Tri-Blend T-Shirt
90s television test pattern in heart shape. I love the 90s! Make everyone fall in love with the…
As an affiliate, we earn on qualifying purchases.
As an affiliate, we earn on qualifying purchases.
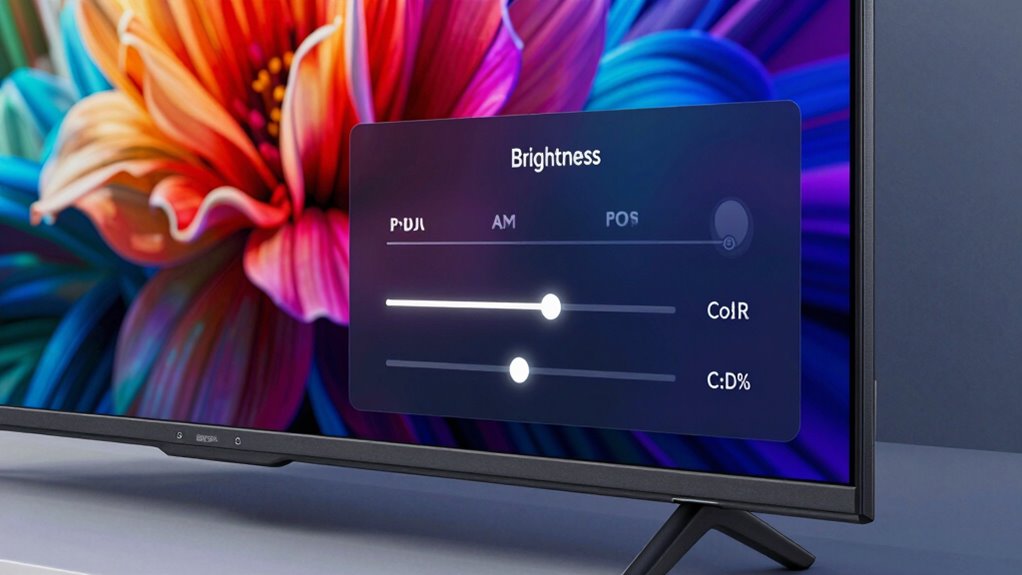
Quick Fixes: Brightness and Contrast Adjustments
Adjusting brightness and contrast is one of the quickest ways to enhance your TV’s picture quality. Use your remote control to access the picture settings menu. Start by selecting a picture preset that closely matches your viewing environment, such as “Standard” or “Cinema.” Then, fine-tune the brightness to ensure dark scenes aren’t too washed out or too dark, and adjust contrast to make whites brighter without losing detail in bright areas. These simple tweaks can dramatically improve clarity and depth. Keep in mind that small adjustments make a big difference, so change settings gradually. Once you find a balance that looks good to you, save your preferences. Proper display calibration can also help optimize your viewing experience. Additionally, many TVs offer automatic picture adjustment features that can quickly set the best parameters for your environment. Using advanced calibration techniques can further refine your picture for the most accurate colors and contrast. Quick, effective, and straightforward, these adjustments help optimize your viewing experience instantly.

Hisense 55-Inch Class QLED 4K S7N CanvasTV Series Dolby Vision HDR Google Smart TV (55S7N) – 144Hz, Art Mode, Anti-Glare Panel, Hi-Matte Display, Frame & UltraSlim Wall Mount Included
ART MODE: Show off your taste in art when you’re not watching your TV. Select a single picture…
As an affiliate, we earn on qualifying purchases.
As an affiliate, we earn on qualifying purchases.
Boost Colors and Make Them Accurate
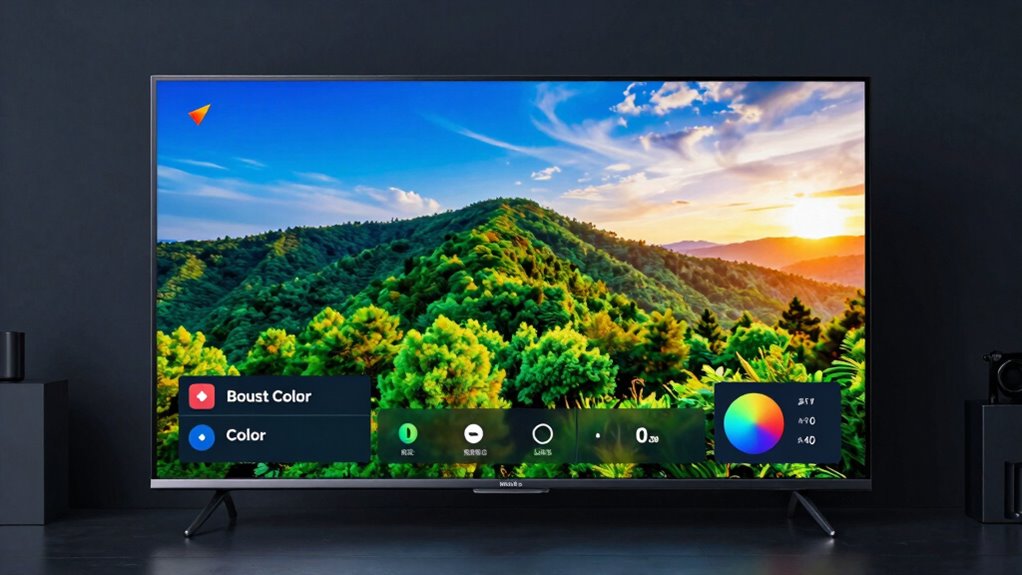
To achieve vibrant yet accurate colors on your TV, start by accessing the color or saturation settings in the picture menu. Adjusting these settings helps you boost colors without oversaturating, ensuring a natural look. For precise color calibration, focus on fine-tuning the color temperature; setting it to ‘Warm’ often produces more accurate skin tones and overall color balance. Avoid setting saturation too high, which can cause colors to appear unnatural. Use a color calibration tool or test patterns if available, to fine-tune your display. Remember, the goal is to enhance colors while preserving realism. Proper color calibration and adjusting the color temperature will make your viewing experience more immersive without sacrificing accuracy. Additionally, utilizing calibration tools such as professional colorimeters or test pattern discs can further improve your picture quality. Regularly calibrating your display ensures consistent, accurate color reproduction over time. Incorporating color management practices can help maintain optimal picture quality and prevent color drift. Paying attention to display settings and making incremental adjustments can also help achieve the best possible picture.

ELP 4K HDMI USB Camera – 2.8-12mm 4X Zoom Webcam With Manual Adjustment for Computer, TV, Projector, Monitor
This ELP HDMI USB camera is full 4K resolution at 30 Hz, and has both USB and HDMI…
As an affiliate, we earn on qualifying purchases.
As an affiliate, we earn on qualifying purchases.
Pick and Personalize Your Picture Mode
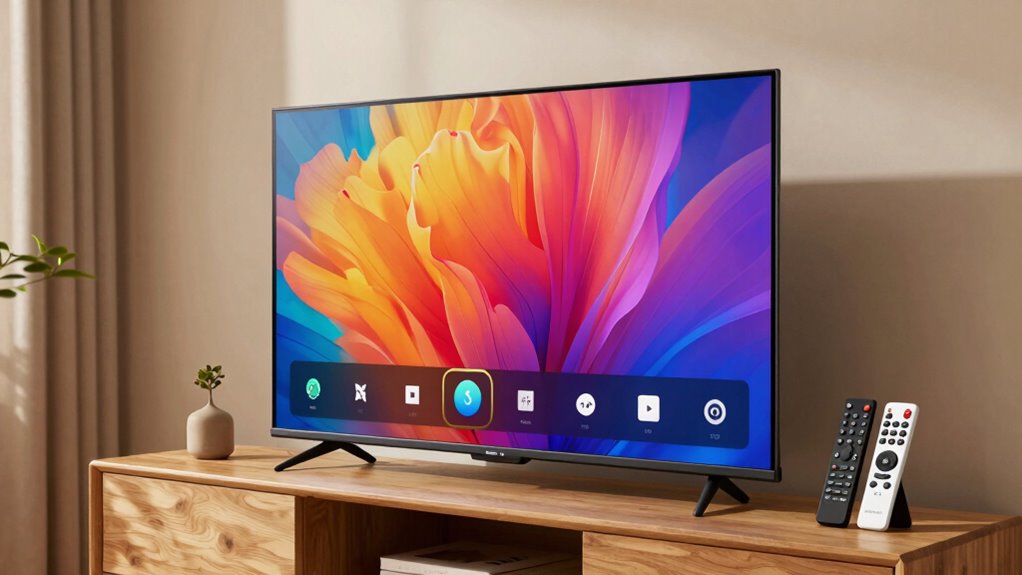
Choosing the right picture mode is essential for tailoring your TV’s display to your preferences and viewing environment. Use your remote control features to easily switch between modes like Standard, Cinema, Vivid, or Game. Each mode adjusts brightness, contrast, and color settings to enhance your experience. If you wall mount your TV, consider how different modes affect glare and visibility in your space. Personalizing your picture mode ensures ideal clarity and comfort, whether you’re watching movies or gaming. Take time to experiment with each setting, and don’t hesitate to save your favorites. Remember, your remote control makes toggling and fine-tuning quick and straightforward, so you can enjoy the best picture quality whenever you watch. Understanding display calibration allows you to optimize your TV’s picture for any environment. Additionally, familiarizing yourself with regional display standards can help you achieve more accurate colors and contrast based on your location.
Sharpen Images and Smooth Motion for Clarity
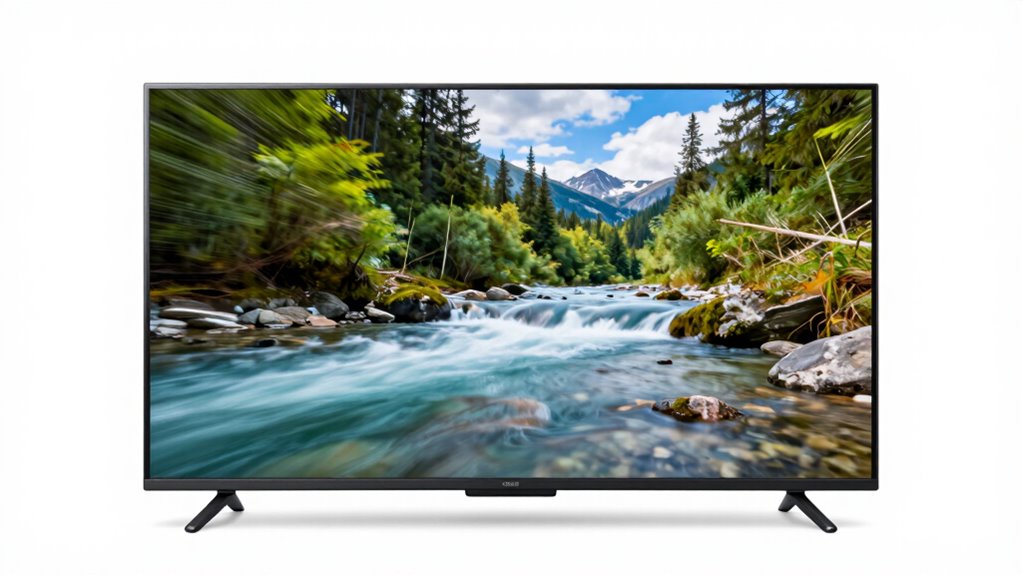
Once you’ve selected and personalized your picture mode, fine-tuning image sharpness and motion can markedly improve your viewing experience. Adjust the sharpness setting to enhance details without creating noise or halos around objects. Smooth motion features, like motion interpolation or frame interpolation, reduce blur during fast-paced scenes, making action clearer. To get the best results, guarantee your TV has proper audio calibration, so sound doesn’t distract from picture quality. Good internet connectivity also helps if your TV streams content, preventing buffering that can disrupt motion smoothness. Experiment with these settings to find the right balance between clarity and natural appearance. Additionally, understanding image processing can help you make more informed adjustments for optimal picture quality. Being aware of video enhancement technology can further guide you in customizing your settings for the best viewing. Recognizing the impact of display calibration can also assist in achieving consistent and accurate picture settings. Paying attention to dynamic range adjustment can further enhance contrast and color accuracy, making your images more vivid and lifelike. Incorporating noise reduction techniques can also help eliminate unwanted artifacts, resulting in a cleaner image. By sharpening images and smoothing motion, you’ll enjoy a crisper, more immersive viewing experience that highlights every detail.
Use Advanced Settings Like Gamma and Backlight
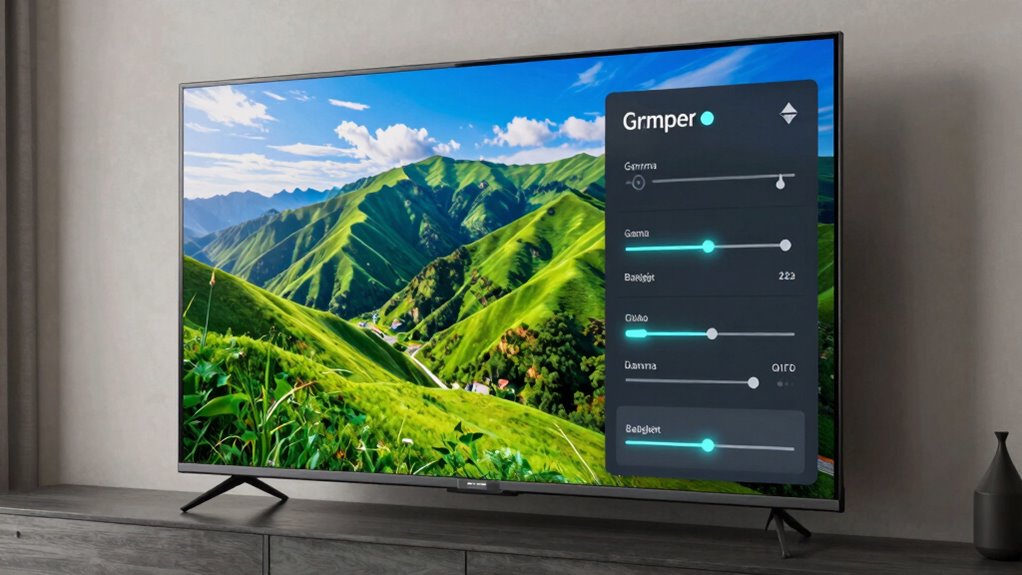
Adjusting your gamma setting can add depth to the picture, making scenes look richer and more natural. Optimizing the backlight brightness helps improve visibility without washing out colors, especially in darker rooms. Fine-tuning contrast levels guarantees you get the clearest picture possible, tailored to your viewing environment. Additionally, gear care tips can help maintain your TV’s performance and extend its lifespan. Properly cleaning your screen regularly can also prevent dust and smudges from degrading picture quality over time, and using screen protectors can help safeguard against scratches and damage. Regularly checking and adjusting your TV’s settings based on your viewing conditions can further enhance picture quality. Being aware of display calibration techniques can ensure your TV consistently delivers optimal picture performance.
Adjust Gamma for Depth
To create a more immersive viewing experience, tweaking the gamma setting can add depth to your picture. Adjusting gamma influences how shadows and highlights appear, making details pop without washing out dark areas. Use calibration tools or built-in settings to fine-tune this adjustment, ensuring accurate colors and contrast. Keep ambient lighting in mind—if your room is bright, a higher gamma can help preserve detail; in dim environments, a lower gamma enhances contrast. Experiment with small changes and compare side-by-side to find the sweet spot that provides rich depth without sacrificing clarity. Proper gamma settings bring out subtle details and give your picture a more lifelike feel, elevating your overall viewing experience. Additionally, understanding the impact of backlight adjustments can further optimize picture quality for different viewing conditions.
Optimize Backlight Brightness
Optimizing your backlight brightness is essential for achieving the best picture quality, especially when combined with advanced settings like gamma. Adjusting the backlight affects how vivid and dynamic your images appear, so use your remote control functions to find the right balance. Consider your ambient lighting; in a bright room, a higher backlight helps prevent dim visuals, while in a dark room, lowering it reduces glare and eye strain. When tweaking, avoid over-brightening, which can cause loss of detail. Use the TV’s menu to fine-tune backlight levels, and experiment with different settings to see what works best. Remember, small adjustments can make a big difference in picture clarity and comfort during extended viewing sessions.
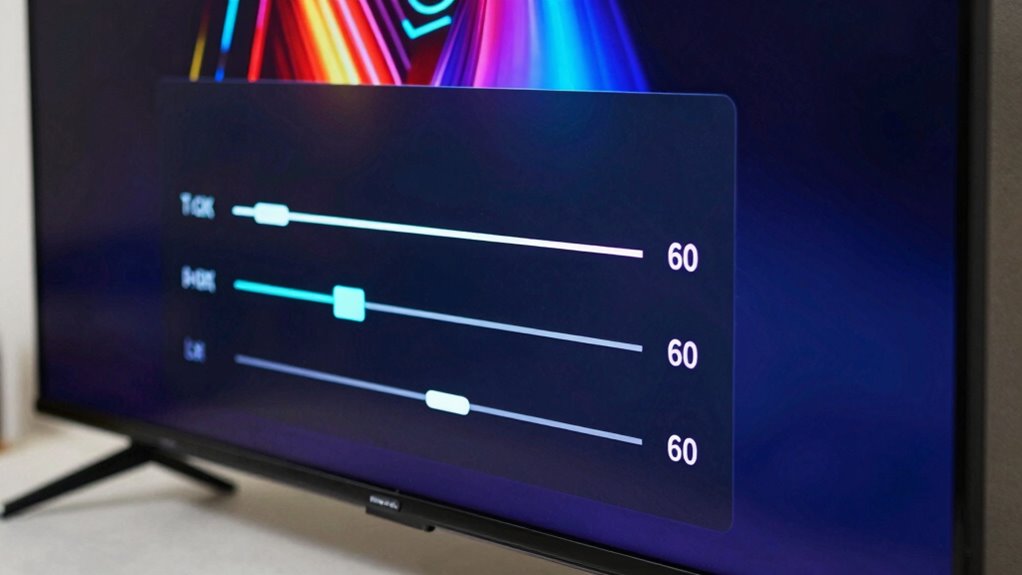
Fine-Tune Contrast Levels
Fine-tuning contrast levels is essential for achieving a balanced and immersive picture. Proper contrast enhancement guarantees your TV displays details in dark and bright scenes, improving overall picture calibration. Use advanced settings like gamma and backlight to optimize contrast. Adjusting gamma influences how midtones appear, giving depth to shadows and highlights. The backlight setting controls the overall luminance, affecting contrast perception. Here’s a quick guide:
| Setting | Purpose | Adjustment Tip |
|---|---|---|
| Gamma | Balances midtones for clarity | Set to 2.2 for most environments |
| Backlight | Brightness of the display itself | Increase for brighter rooms |
| Contrast | Difference between dark and light areas | Fine-tune for vivid images |
| Brightness | Light level of the picture | Match to ambient light |
| Shadow Detail | Details in dark areas | Enhance for better depth |
Use this table to refine your picture calibration and boost contrast effectively.
Test and Save Your Settings for the Best Picture
Have you ever wondered if your TV’s picture settings are truly the best? To find out, test your adjustments in your viewing environment using calibration tools or simple test patterns. Once you’ve fine-tuned your settings, it’s essential to save them to guarantee consistent picture quality. Here’s what you should do:
- Use the TV’s menu to save your custom picture mode
- Revisit your calibration tools periodically for adjustments
- Watch different content types to verify settings
- Keep your viewing environment consistent for maximum results
Frequently Asked Questions
How Often Should I Recalibrate My TV for Optimal Picture Quality?
You should recalibrate your TV every six months to maintain ideal picture quality. Calibration frequency depends on how often you notice color shifts, brightness changes, or image issues. If you move your TV to a different room or upgrade your settings, recalibration becomes necessary. Regular adjustments ensure your viewing experience stays sharp and true to the original content. Don’t wait too long; consistent calibration keeps your picture quality at its best.
Can Adjusting Picture Settings Affect My Tv’s Lifespan?
Adjusting your TV’s picture settings can impact its lifespan, mainly by affecting pixel aging and screen burn-in. Turning up brightness or contrast excessively may accelerate pixel wear, leading to uneven aging or burn-in over time. To protect your TV, keep settings moderate and avoid static images for long periods. Regular calibration helps maintain picture quality without risking early pixel damage or burn-in, ensuring your TV stays in great shape longer.
Are There Recommended Settings for Different Types of Content?
Did you know that optimizing your picture settings can enhance your viewing experience by up to 30%? For different content types, adjust your TV’s picture mode—such as Movie for films, Sports for fast motion, or Game for low latency. Content optimization aligns with your viewing preferences, ensuring sharper images, better contrast, and vivid colors. Tailoring these settings helps you enjoy each genre at its best, making every watch more immersive.
How Do Ambient Lighting Conditions Influence Picture Adjustments?
Ambient light considerably affects your TV picture, so adjust settings accordingly. In bright rooms, increase contrast ratio and brightness to reduce glare and enhance clarity. In darker environments, lower these settings to prevent eye strain and improve black levels. By tailoring your contrast ratio and brightness based on ambient light, you’ll enjoy better picture quality and a more comfortable viewing experience regardless of lighting conditions.
What Are Common Mistakes to Avoid When Tweaking TV Picture Settings?
When tweaking your TV picture settings, avoid common mistakes like overusing calibration techniques without proper display calibration tools. Don’t set brightness and contrast too high, which can wash out details, or adjust color settings excessively, causing unnatural hues. Rely on accurate calibration tools and follow proper calibration techniques to attain balanced, true-to-life picture quality. Always review your settings in different lighting conditions to prevent overcorrection and ensure consistent viewing experience.
Conclusion
Now that you know the simple steps to sharpen your screen, you’re set to see stunning, sensational images every time. By tweaking your TV’s settings, you’ll transform your viewing experience from fuzzy to fabulous. Don’t forget to test and tweak until your picture’s perfect. With just a few quick fixes and personalized preferences, you’ll enjoy crisp clarity and mesmerizing colors in a flash. Get ready to gaze and enjoy the glorious, glowing visuals!