Before you start painting, always check for moisture or mold, and clean your walls thoroughly to remove dust and grease. Repair cracks and holes, then sand them smooth for better adhesion. Protect floors and fixtures, and choose the right tools and primer for your surface. For even coverage and a lasting finish, these prep steps are essential. Keep these tips in mind, and you’ll achieve professional results every time. Learn more to perfect your process.
Key Takeaways
- Conduct thorough cleaning to remove dust, grease, and stains for better paint adhesion.
- Repair cracks, holes, and imperfections to ensure a smooth, even surface.
- Protect floors and fixtures with drop cloths and painter’s tape to prevent damage and mess.
- Apply primer on bare or stained surfaces to improve adhesion and hide imperfections.
- Sand surfaces to achieve smoothness and ensure proper paint adherence for a professional finish.

General Tools MMD4E Digital Moisture Meter, Water Leak Detector, Moisture Tester, Pin Type, Backlit LCD Display With Audible and Visual High-Medium-Low Moisture Content Alerts, Grays
HUMIDITY SENSOR: Our handy meter tool can quickly determine what level of remediation is needed to keep your…
As an affiliate, we earn on qualifying purchases.
As an affiliate, we earn on qualifying purchases.
Check for Moisture or Mold Before You Start
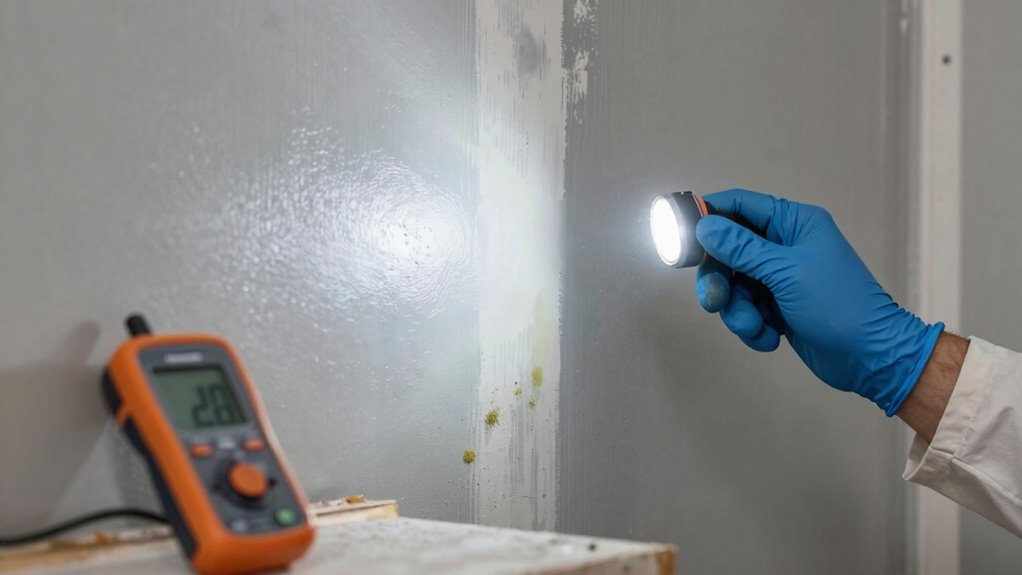
Before you begin painting, it’s essential to check for moisture or mold on the surface. Start with a thorough moisture inspection to identify any hidden dampness that could cause peeling or bubbling later. Look for water stains, discoloration, or a musty smell, which are signs of excess moisture. Mold detection is equally important; inspect for fuzzy patches, dark spots, or any surface growth that indicates mold presence. Use a flashlight and a moisture meter if available for a more accurate assessment. Addressing these issues before painting ensures your finish adheres properly and lasts longer. Additionally, understanding the differences between paint types can help you choose the right product for your surface. Recognizing signs of mold early can prevent health issues and property damage. Being aware of moisture intrusion sources can help you take preventative measures against future problems. Identifying and repairing leaks or drainage issues is a key part of moisture control, which is crucial for long-term paint success. Proper surface preparation techniques are vital to ensure the paint bonds effectively and resists future moisture problems. Skipping this step can lead to trapped moisture, mold growth, and compromised paintwork. Taking the time to detect moisture and mold now saves you time and money down the line.

Wall Cleaner Triangle Mop with 82'' Long Handle – Wall Scrubber, Cleaning Washer Tool with 4 Microfiber Chenille Duster Pads for Clean Walls, Ceiling, Windows, Baseboards, Floors (Green)
3-In-1 Design: This mop combines microfiber and chenille pads on one side for efficient dusting, sweeping, and mopping….
As an affiliate, we earn on qualifying purchases.
As an affiliate, we earn on qualifying purchases.
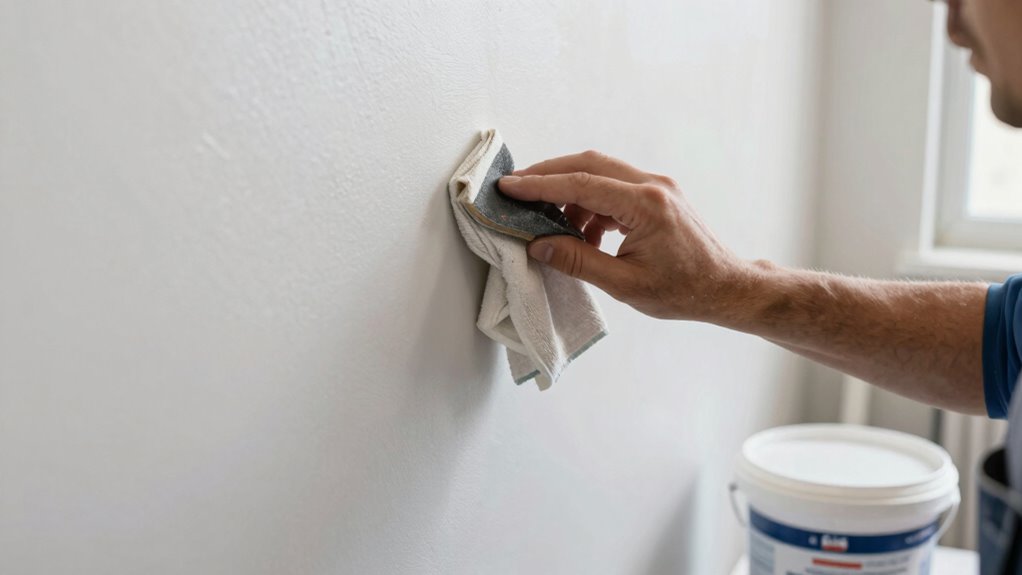
Clean Your Walls Thoroughly
To achieve a smooth and long-lasting paint job, you need to clean your walls thoroughly. Start with wall washing to remove dust, dirt, and grease that can prevent paint from adhering properly. Use a mild detergent or a specialized wall cleaner and scrub gently with a sponge or soft cloth. Pay special attention to areas prone to stains, such as around light switches or behind furniture, and perform stain removal as needed. Removing stains ensures an even surface and prevents discoloration over time. Rinsing the walls with clean water and allowing them to dry completely before priming is essential. Proper cleaning eliminates contaminants that could cause peeling or uneven coverage, giving your paint a clean foundation to adhere to and resulting in a professional-looking finish. Incorporating cleaning tools designed for wall maintenance can make this process more efficient and effective. Additionally, using appropriate cleaning techniques helps ensure all residues are thoroughly removed, leading to a superior paint job. Utilizing specialized cleaning tools such as wall scrub brushes or microfiber cloths can further enhance the cleaning process and ensure no residue is left behind. Moreover, choosing the right cleaning agents can help break down stubborn stains and contaminants more effectively. Employing proper preparation methods can also extend the life of your paint and improve its appearance over time.
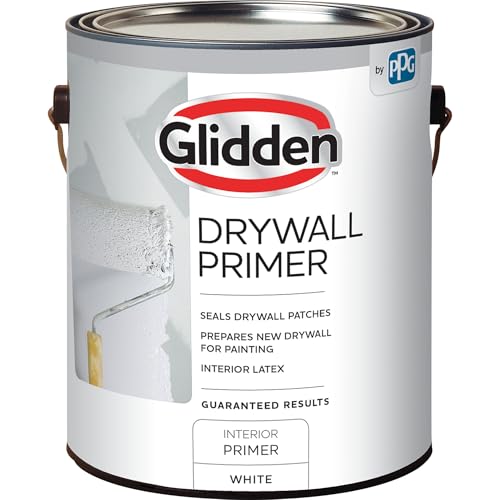
Glidden Interior Drywall Primer Flat, White, 1 Gallon
Seals drywall patches
As an affiliate, we earn on qualifying purchases.
As an affiliate, we earn on qualifying purchases.
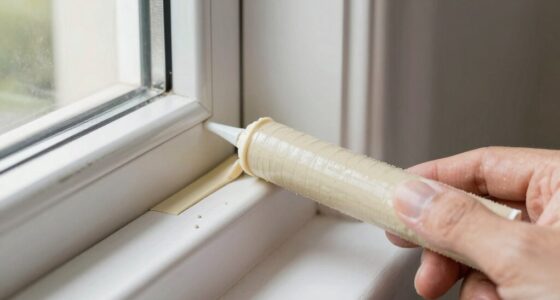
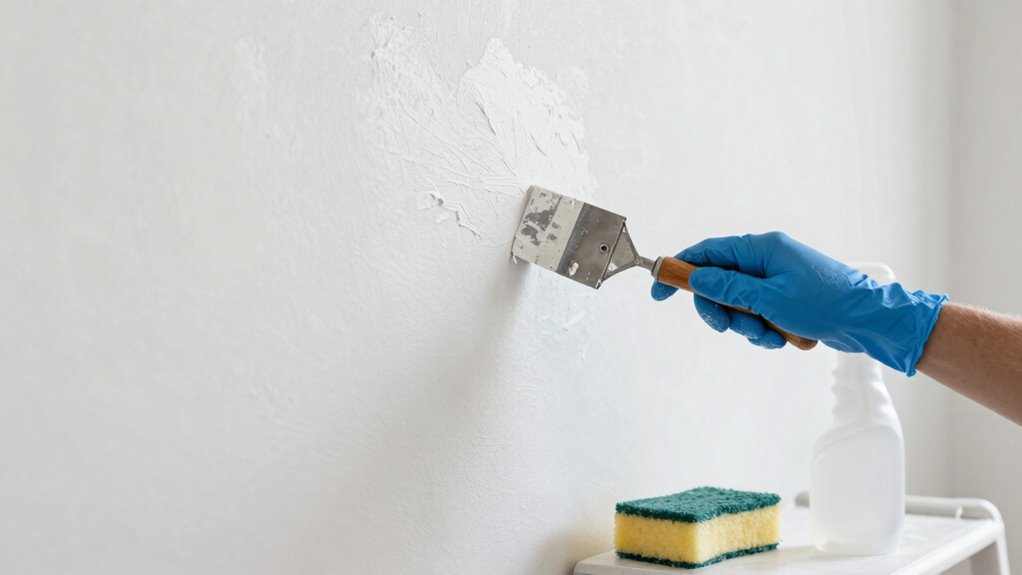
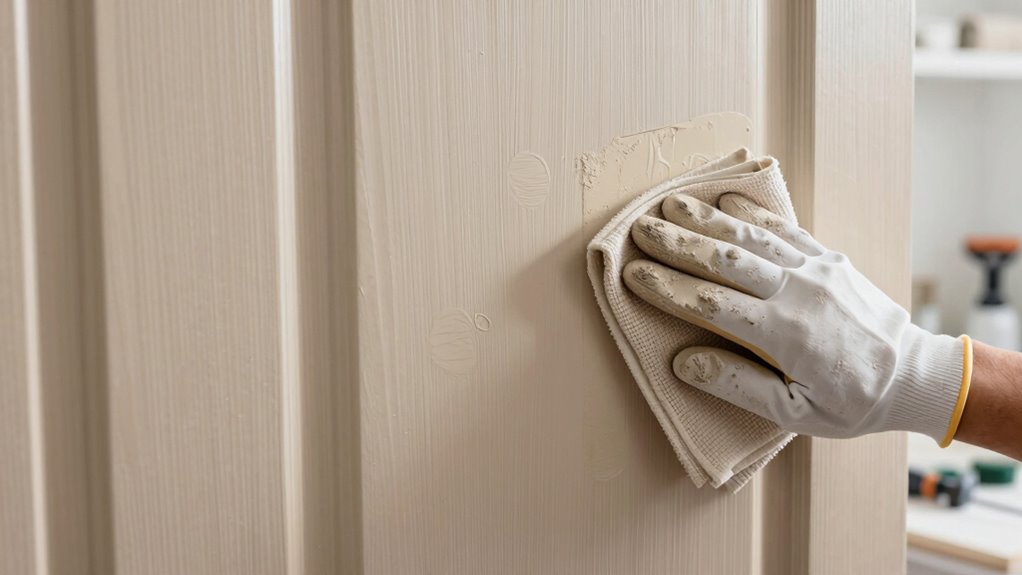
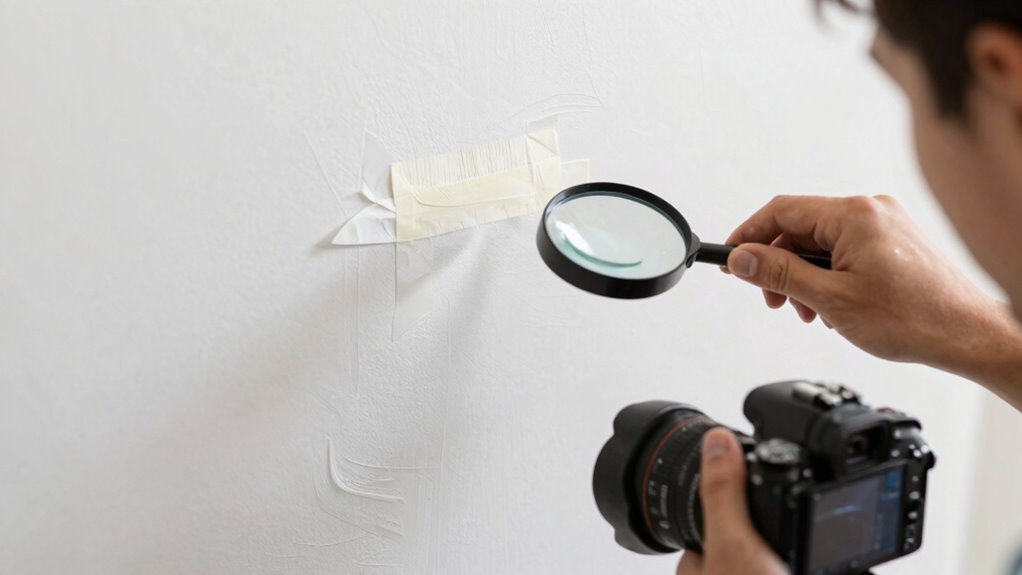
Repair Cracks, Holes, and Wall Imperfections

Addressing cracks, holes, and wall imperfections is a crucial step to guarantee your paint job looks smooth and professional. Start by filling in cracks and holes with a high-quality spackle or patching compound, then use a putty knife to smooth the surface. Once dry, sand lightly to achieve texture smoothing, ensuring the patched areas seamlessly blend with the surrounding wall. Pay close attention to matching the paint color and finish, so repairs don’t stand out once painted. Properly repairing these imperfections prevents them from showing through your new coat, giving your walls a flawless appearance. Skipping this step can lead to visible flaws, uneven textures, and an unprofessional finish. Take your time to repair thoroughly for the best possible results, and consider proper surface preparation to ensure the paint adheres well and lasts longer. Proper surface prep also minimizes the risk of adverse effects such as peeling or bubbling, which are common issues caused by inadequate preparation. Additionally, well-prepared surfaces reduce the risk of future water damage that can compromise your repairs. Ensuring thorough surface prep also helps in preventing peeling and bubbling, which are common issues caused by inadequate preparation.

12 x 9 Ft Plastic Drop Cloths (6-Pack) – Disposable Painter's Sheeting & Tarps for Painting, Waterproof Furniture/Couch/Floor Protection
1. Versatile Floor and Furniture Protection: More than just for painting, these durable plastic sheet protect floors, furniture,…
As an affiliate, we earn on qualifying purchases.
As an affiliate, we earn on qualifying purchases.
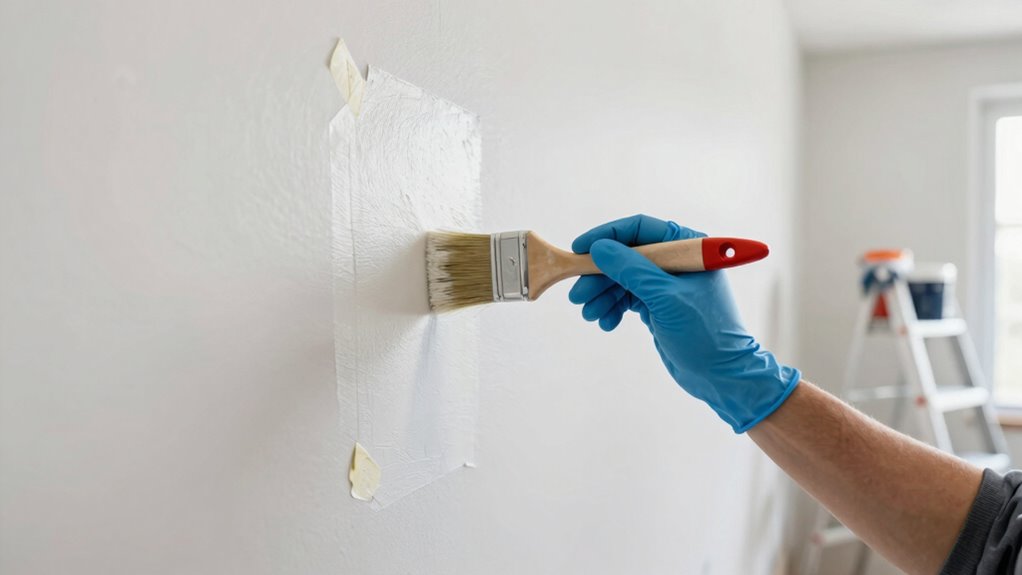
Sand and Smooth Surfaces for Better Paint Adhesion
Sand and smoothing your surfaces is essential to guarantee your paint adheres properly and looks flawless. Properly prepared surfaces create a uniform wall texture, ensuring an even paint sheen and reducing visible imperfections. Use the right grit sandpaper to remove rough spots or old paint, and focus on achieving a smooth finish. This step helps eliminate bumps, ridges, or peeling paint that could compromise the final look. Be careful around edges and corners to avoid over-sanding. Remember, a well-sanded surface enhances paint adhesion, making your job easier and results more professional. Keep your workspace clean and dust-free, as debris can ruin the smoothness you’re aiming for. Proper sanding is a key step in achieving a long-lasting, high-quality paint job. Additionally, understanding surface preparation techniques can help you identify any underlying issues before painting. Engaging in thorough surface inspection can reveal hidden problems that might affect the final outcome, especially when considering cabling solutions for wall-mounted equipment or fixtures.
Protect Floors and Fixtures During Preparation
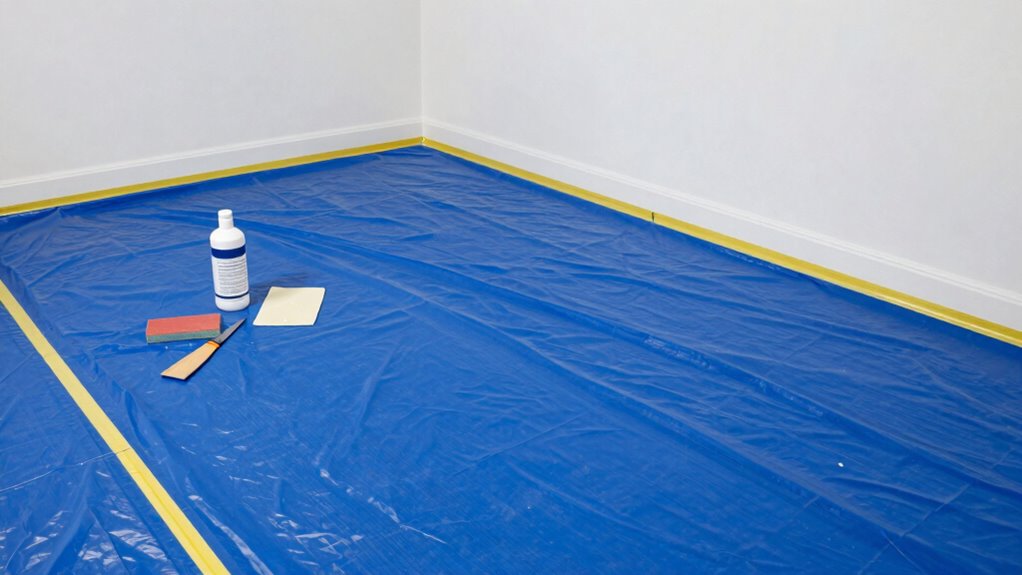
Before you start applying paint, it’s crucial to protect your floors and fixtures from spills, drips, and dust. Use drop cloths to cover the entire floor area, securing them with tape masking if needed to prevent slipping or shifting. This keeps paint and debris off surfaces you want to keep clean. For fixtures like light fixtures, switches, or hardware, apply tape masking to create a clean edge and prevent paint from getting on them. Take your time to ensure all areas are properly covered and taped. Proper protection minimizes cleanup and helps you achieve a professional-looking finish. Additionally, understanding auditory processing can help you better interpret environmental cues and plan your workspace accordingly. Recognizing the importance of electric power generation with bike generators can also inspire creative solutions for powering tools or small devices during your project. Being aware of performance cookies can help optimize your workspace by tracking how well your setup functions under different conditions. Incorporating knowledge of grocery savings strategies can also be useful if you’re planning supplies for your project, ensuring cost-efficient shopping for paint, brushes, and other materials. Remember, taking these prep steps now saves you time and frustration later, as proper planning can significantly streamline the painting process. Making sure your workspace is well-organized and prepared can prevent unnecessary delays and mishaps.
When and Why You Should Use Primer
Applying primer before your main coat can make a significant difference in how your paint job turns out. Primer application helps seal the surface, ensuring better adhesion and a smoother finish. It’s especially important when working with new drywall, stained walls, or surfaces with imperfections. Using primer improves paint coverage, reduces the need for multiple coats, and prevents stains from bleeding through. You should use primer whenever you’re painting over a different color or surface type, or when tackling uneven or porous surfaces. Additionally, primer creates a uniform base that enhances the durability of your paint job. Proper surface preparation is essential for achieving professional-looking results and long-lasting paintwork.
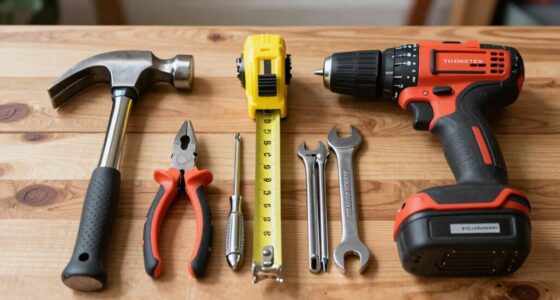
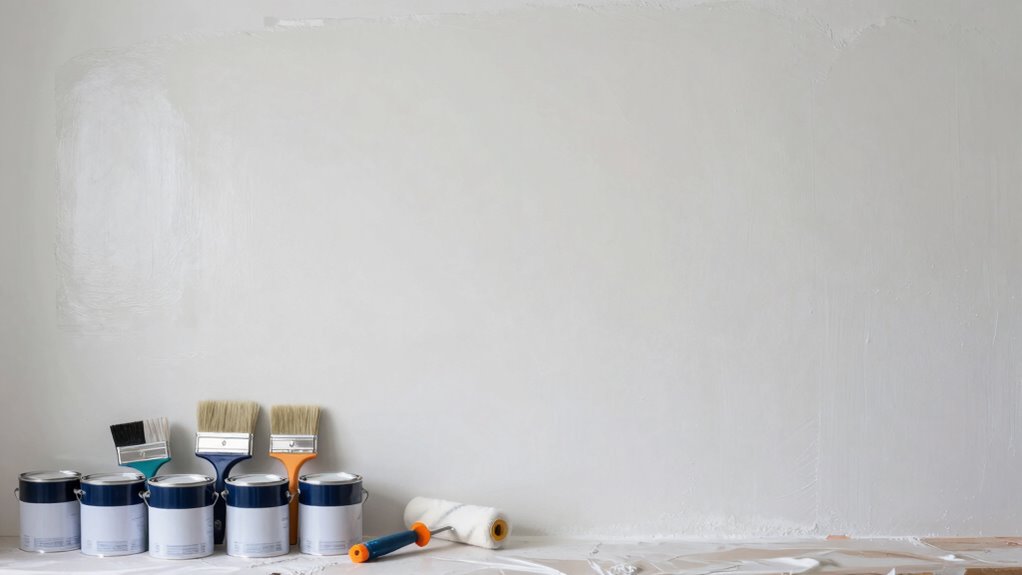
Choose the Right Tools and Materials for Wall Prep

Choosing the right tools and materials is essential for a smooth wall prep process. You need to select proper primer and paint that suit your surface, along with application tools that guarantee even coverage. Making sure your surface materials are compatible helps prevent issues down the line and guarantees a professional finish.
Selecting Proper Primer and Paint
Selecting the right primer and paint is essential for achieving a smooth, durable finish. Your primer selection should match the surface and paint type to ensure proper adhesion and coverage. Always check paint compatibility to prevent issues like peeling or uneven color. Consider the surface material—drywall, wood, or metal—and choose primers formulated for those materials. Use high-quality paints suited to the room’s conditions, such as moisture-resistant paint for bathrooms. When selecting, read labels carefully to verify compatibility and coverage. Proper primer and paint choices minimize the need for additional coats and improve longevity. Remember, investing in the right materials saves time and ensures a professional-looking result. Prioritize quality and compatibility for the best finish that lasts.
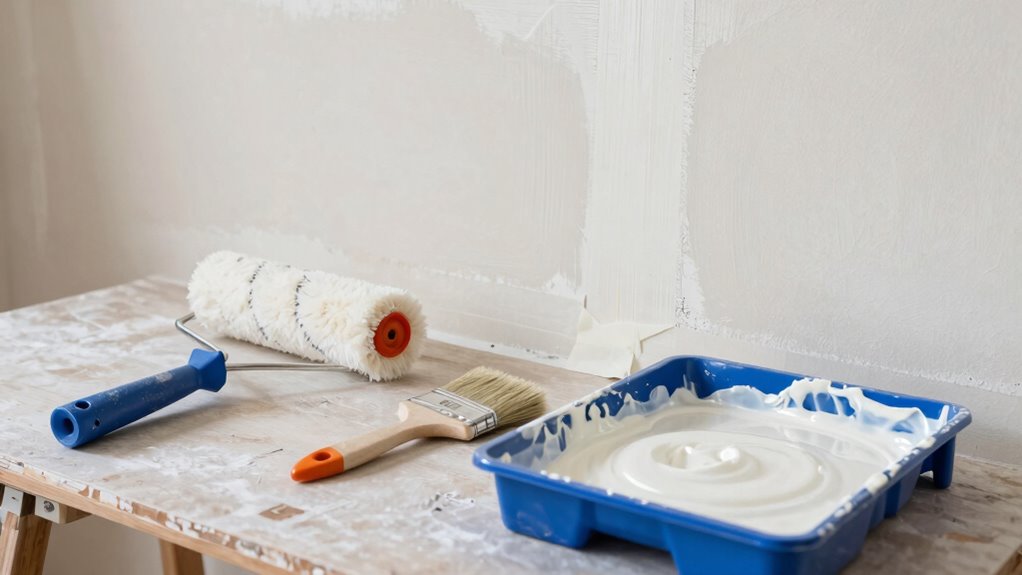
Choosing Suitable Application Tools
To achieve a smooth, professional finish, you need to use the right tools and materials for wall prep. Selecting appropriate brush types is essential; for example, angled brushes work well for corners and edges, while flat brushes are ideal for larger areas. Roller covers also matter—choose ones with the right nap length for your surface texture to ensure even coverage and minimal splatter. Synthetic bristles are great for latex paints, while natural bristles suit oil-based coatings. Using the correct combination of brushes and roller covers helps you apply primer and paint smoothly, reducing drips and brush marks. Always opt for high-quality tools to get the best finish. Proper application tools make your prep work faster, cleaner, and more effective.
Ensuring Compatible Surface Materials
Before you begin applying paint, it’s essential to guarantee that your surface materials are compatible with your chosen products. Proper surface compatibility ensures good material adhesion and a smooth, durable finish. Use the right primers and paints designed for your specific surface type—whether drywall, plaster, or wood. Testing a small area first can prevent future issues. Also, clean and dry surfaces thoroughly to avoid adhesion problems. Be mindful of previous coatings, which may need stripping or special primers. When selecting materials, consider the environment—high humidity or moisture requires specific products.
- Verify the surface type and choose compatible primers and paints
- Avoid mixing incompatible coatings
- Test adhesion on a small patch first
- Clean surfaces thoroughly before painting
- Use moisture-resistant products where needed
Tips for Achieving Even Paint Coverage and a Long-Lasting Finish
Achieving even paint coverage and a durable finish starts with preparing your surface properly. Proper prep ensures smooth application, consistent color, and longevity. Choose your color scheme wisely to complement the room’s lighting and mood. When selecting paint sheen, consider durability and appearance; matte hides imperfections, while satin offers a subtle shine. Visualize the surface with this table:
| Surface Condition | Recommended Paint Sheen | Ideal Color Scheme |
|---|---|---|
| Smooth, clean | Satin or eggshell | Light shades for spaciousness |
| Slight imperfections | Flat or matte | Muted tones to hide flaws |
| Previously painted | Seal with primer | Bold colors for accents |
| Rough or textured | Semi-gloss | Deep hues for richness |
This approach guarantees even coverage and a lasting, beautiful finish.
Common Mistakes to Avoid When Preparing Walls
One common mistake homeowners make when preparing walls is skipping proper surface cleaning, which can cause paint to peel or uneven coverage later on. Failing to remove dirt, grease, or dust can compromise adhesion and affect color matching. Another mistake is neglecting to sand rough patches, leading to an uneven finish. Improper paint storage, like leaving paint exposed to air or extreme temperatures, can spoil your supplies and ruin your project. Also, skipping primer on stained or uneven walls can lead to color inconsistencies. Lastly, rushing through surface prep without inspecting for cracks or holes results in an unprofessional look. Always clean thoroughly, sand smooth, store paint properly, and carefully inspect your walls to avoid these common pitfalls.
Final Checks Before You Begin Painting
With all your preparation complete, it’s essential to perform final checks to guarantee everything is ready for painting. First, review your paint color selection to ensure it’s the right shade and finish for your space. Double-check that you’ve covered all wall surfaces evenly and removed any dust or debris that could affect adhesion. Consider wall texture considerations—if your walls are textured, choose a brush or roller suited for that surface to achieve a smooth finish. Inspect edges and corners to confirm masking tape is secure and paint lines will be crisp. Ensure your tools are primed and ready, and that you have adequate lighting to spot any imperfections. Completing these final checks helps prevent mistakes and sets the stage for a flawless paint job.
Frequently Asked Questions
How Do I Identify Hidden Mold Behind Walls?
To identify hidden mold behind walls, start with a thorough wall inspection for musty odors, discoloration, or bubbling paint. Look for visible signs like staining or warping. Use a moisture meter to detect increased humidity levels, which indicate mold growth. If you suspect mold, consider professional mold remediation to safely remove it. Remember, addressing hidden mold early prevents health issues and structural damage, so don’t delay your inspection.
What Are the Best Tools for Minor Wall Repairs?
For minor wall repairs, you’ll want a good quality putty knife for wall patching, which helps spread spackle smoothly. Keep a container of lightweight spackle handy for filling small holes or cracks, and use proper spackle techniques to guarantee a seamless finish. Sand lightly once dry, then prime and paint. These tools and steps make minor repairs quick, easy, and professional-looking, saving you time and effort.
How Long Should Primer Dry Before Painting?
Imagine a seed waiting to sprout; that’s your primer drying process. You should let the primer dry completely—usually about 2 to 4 hours—before you start paint application. Rushing this step risks uneven coverage and peeling later. Patience ensures your paint adheres smoothly, creating a flawless finish. So, give your primer enough time to dry thoroughly, and your walls will thank you with a lasting, beautiful coat.
Can I Skip Sanding if Walls Look Smooth?
You shouldn’t skip sanding, even if your walls look smooth, because it helps create a better surface for paint adhesion. Sanding guarantees any minor wall texture imperfections are smoothed out, which improves the final paint sheen. Skipping this step can lead to uneven texture or gloss differences, especially if the wall has slight bumps or rough spots. Proper sanding results in a professional finish and long-lasting paint job.
How Do I Prevent Paint Drips During Application?
To prevent paint drips, start with proper brush techniques and make certain your paint has the right consistency. Use a high-quality brush and apply thin coats, avoiding excessive pressure that can cause drips. Keep a steady hand and work in controlled, even strokes. Regularly check and reload your brush with paint, but don’t overload it. These steps help you achieve smooth application and minimize drips effectively.
Conclusion
Skipping proper prep is like building on shaky ground—you’ll never get a smooth, lasting finish. By checking for moisture, cleaning, repairing, and protecting your space, you set the stage for a paint job that shines. Think of your walls as a blank canvas waiting to come alive—when you follow these steps, you’re planting seeds for beauty that endures. Get your prep right, and watch your walls transform into a masterpiece.