To make small wall holes vanish, start by cleaning the area and applying a matching primer. Use a putty knife to smooth spackle or joint compound over the hole, feathering the edges to blend with the wall. After it dries, sand it smooth, wipe away dust, and touch up with matching paint. For a seamless finish, carefully match the wall texture. Keep going for detailed steps to achieve a truly invisible repair.
Key Takeaways
- Clean and sand the area thoroughly to ensure proper adhesion and smooth blending.
- Apply a thin layer of spackle or joint compound, feathering the edges outward beyond the hole.
- Sand the dried patch smoothly, then wipe away dust to prepare for painting.
- Prime the patch and surrounding wall to promote seamless color matching and finish.
- Paint with matching color, feathering outward to hide the repair and achieve a discreet, invisible fix.

Drywall Repair Kit Drywall Hole Repair Patch Kits Wall Spackle Repair Paste with 8.5OZ White Wall Repair Putty with Scraper, Wall Surface Hole Fill Quick and Easy Solution (1Pack)
Complete Repair Kit: Contains 1 pieces repair putty(8.5oz), 2 inch wall repair patches(2pcs), 4 inch wall repair patches(1pcs),…
As an affiliate, we earn on qualifying purchases.
As an affiliate, we earn on qualifying purchases.
Gather Tools and Materials for Wall Patch Repair
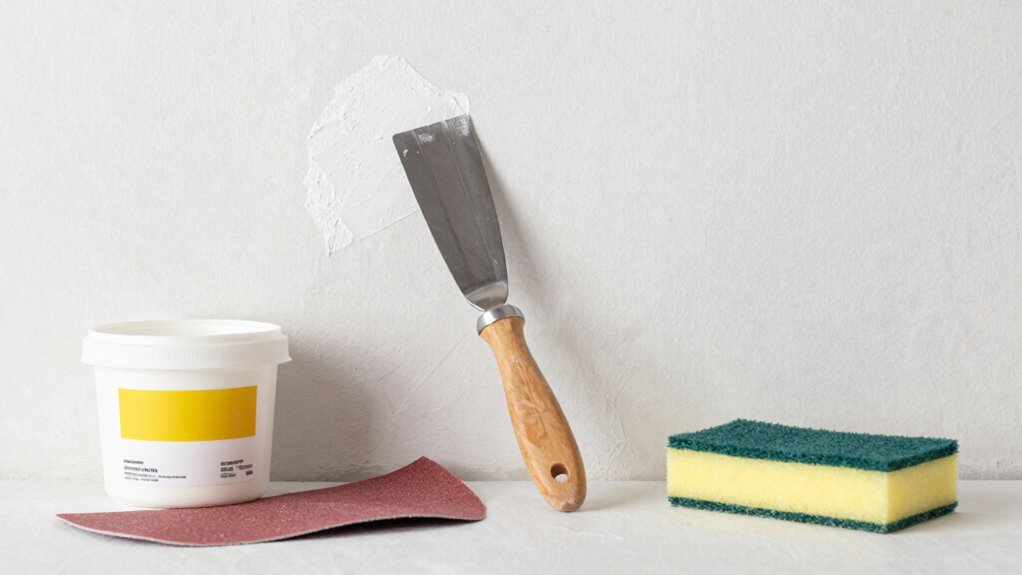
Before you begin repairing small wall holes, gather all the necessary tools and materials. Having a complete tools checklist guarantees you’re prepared and can work efficiently. Essential tools include a putty knife, sanding sponge, utility knife, and a damp cloth. For materials, consider options like spackle or joint compound, lightweight patching plaster, and primer. When choosing your material options, think about the size of the hole and the wall finish. Keep a container of painter’s putty handy for minor dents, and have some fine-grit sandpaper ready to smooth the patch once it dries. Ensuring you have the right tools and materials on hand helps streamline the repair process and guarantees a seamless, professional-looking result. Proper preparation is essential for achieving the best wall repair outcome. Additionally, understanding wall surface preparation techniques can significantly improve the adhesion and durability of your patch. Taking the time to select the appropriate patching material based on your wall type can also enhance the longevity of your repair. Also, familiarizing yourself with the correct application techniques can help achieve a flawless finish. Incorporating the right cabling solutions can prevent future wall damage caused by improper installation or repair methods.

White Paint for Wall, Fast-Drying Paint Roller Brush, Water-Based Wall Paint Touch Up Without Extra Tools Required, Easy to Apply Drywall Repair Small Areas Surfaces for Flat, Ceiling(1 Pack) (3.5 Fl Oz)
Advanced Paint Formula: This white paint for wall uses a pure water-based paint formula. It can penetrate into…
As an affiliate, we earn on qualifying purchases.
As an affiliate, we earn on qualifying purchases.
Prep Your Wall for a Seamless Patch
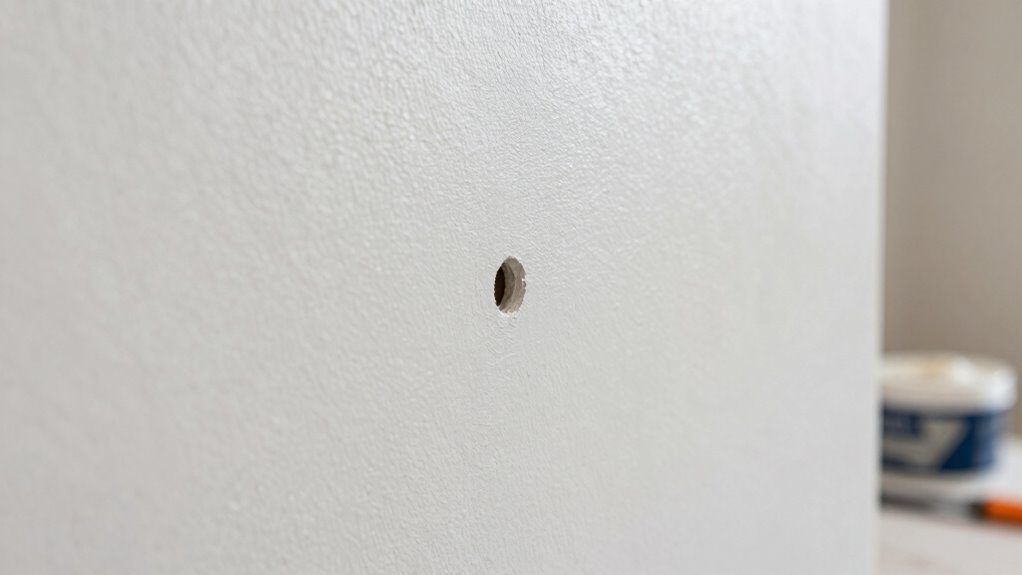
Before you patch the hole, make sure to clean the surface thoroughly to remove dust and grease. Next, sand the area smooth so the patch adheres well. Additionally, applying a primer layer helps the patch blend seamlessly with the rest of your wall. Incorporating proper preparation techniques is essential for achieving a flawless repair that blends seamlessly. Being aware of ethical considerations in consumer choices can help you make more informed decisions about products and services you use during home improvement projects. Additionally, understanding environmentally friendly materials can contribute to a more sustainable repair process, promoting eco-conscious practices in your home maintenance. Recognizing the importance of projector technology can also guide you in selecting the right tools for your home theater setup, ensuring optimal performance and longevity.
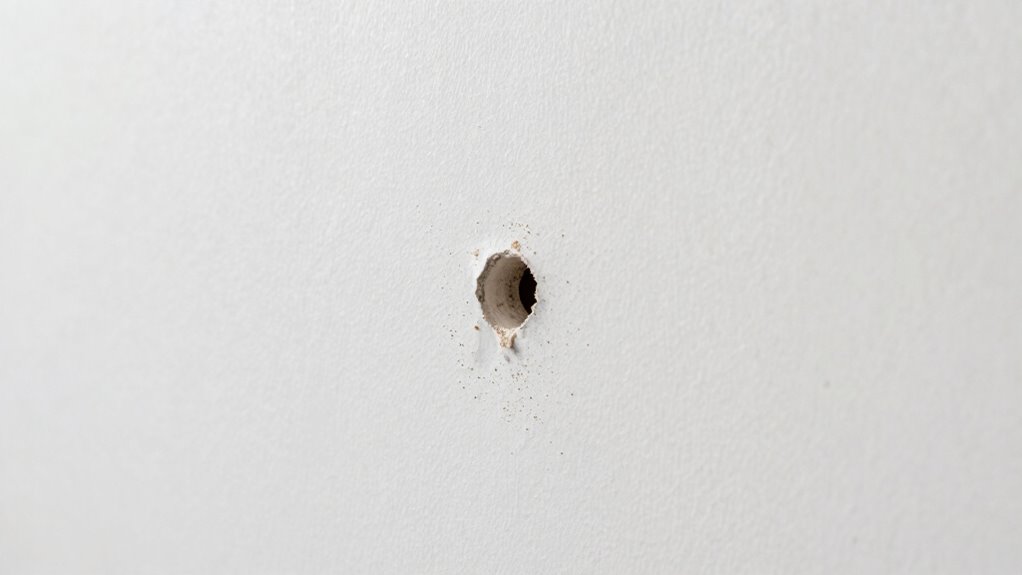
Clean the Surface
Cleaning the surface thoroughly is crucial to guarantee a smooth patch. Proper wall surface preparation ensures the patch adheres well and blends seamlessly. Start by wiping the area with a damp cloth to remove dust and debris, then inspect for stains or marks. Use a gentle cleaner or mild soap to eliminate any stubborn stains or grease that could interfere with adhesion. Make sure the wall is dry before proceeding. Removing surface contaminants ensures the patch adheres securely and prevents imperfections from showing through later. Avoid rushing this step, as a clean, stain-free surface is essential for a flawless repair. Proper surface preparation techniques will significantly improve the final appearance and durability of your patch. Additionally, using appropriate cleaning methods can help ensure all residues are thoroughly removed. Taking the time to prepare the wall properly will result in a smooth, nearly invisible patch that seamlessly matches the surrounding wall. Ensuring the surface is free of oils and residues is essential for optimal adhesion and a professional-looking finish. Incorporating proper cleaning supplies can further enhance the cleanliness and overall quality of your repair. For best results, consider using specialized tools that can reach into textured surfaces and ensure thorough cleaning.
Sand the Area
Once you’ve cleaned the surface, the next step is to sand the area to create a smooth, even surface for your patch. Sand gently with fine-grit sandpaper, feathering the edges to blend seamlessly. This step is vital for matching wall texture and guaranteeing the patch doesn’t stand out. Use a sanding block or sponge for better control around the repair site. To help visualize the process:
| Step | Tool Needed | Focus Area |
|---|---|---|
| Sand the patch area | Fine-grit sandpaper | Edges and surface |
| Feather the edges | Sanding sponge | Blending with existing wall |
| Check for smoothness | Your hand | Guarantee even surface |
| Match wall texture | Optional texturing tool | Final touch for seamless look |
Additionally, understanding wall texture techniques can significantly improve the repair’s invisibility. For example, applying a light texturing technique after sanding can help match the surrounding wall finish more precisely. Incorporating texture matching methods can make the repair virtually undetectable.
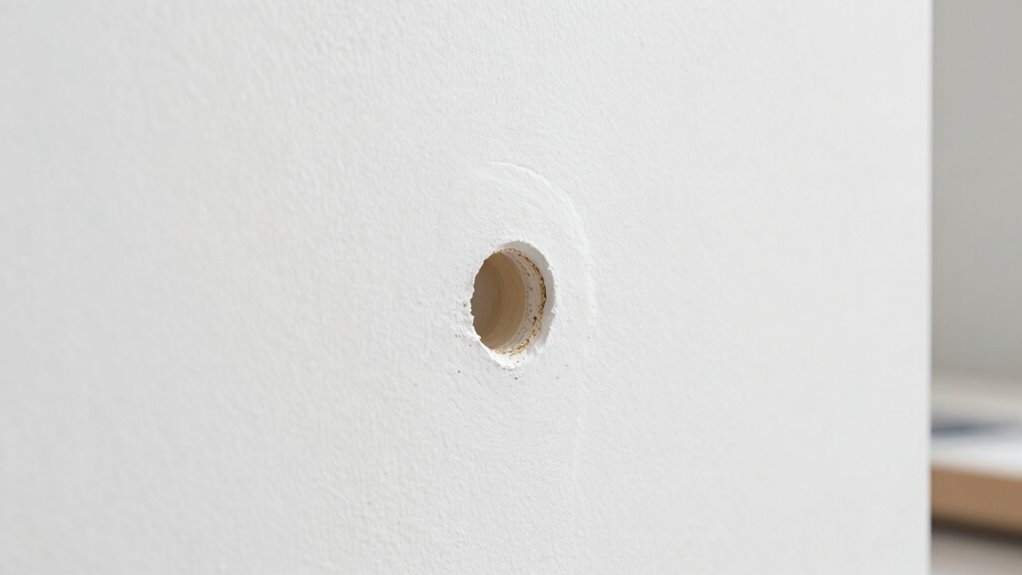
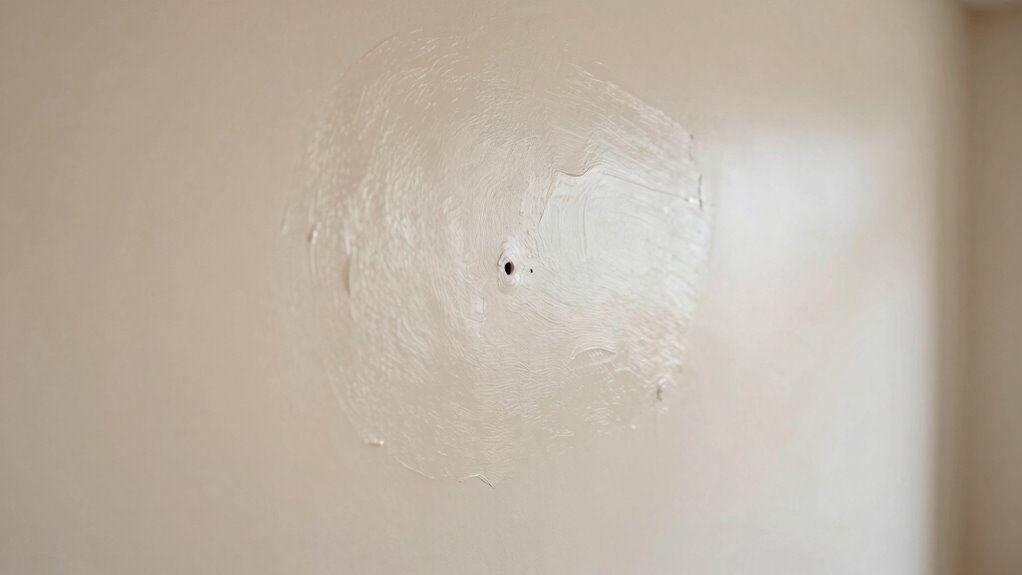
Apply Primer Layer
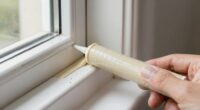
To guarantee your patch blends seamlessly with the rest of the wall, applying a primer layer is essential. Primer application helps seal the patch and creates a uniform surface that accepts paint evenly. Start by choosing a primer suitable for your wall type, then use a brush or roller to apply a thin, even coat over the patched area. Be sure to extend the primer slightly beyond the patch edges to ensure proper wall sealing. Allow the primer to dry completely before moving on to painting. This step helps prevent color mismatches and ensures the repair remains invisible. Proper primer application is the key to achieving a smooth, flawless finish that looks just like the surrounding wall. Additionally, understanding wall surface preparation can further enhance your repair results, especially when considering proper cleaning techniques to remove dust and debris before priming.

3M Drywall Sanding Sponge, Fine/Medium Grits, Dual Grit Block, Medium Grit to Remove, Fine Grit to Smooth, Ideal for Sanding and Smoothing of Joint Compounds, 2-5/8 in x 3-3/4 in (9095DC-NA)
IDEAL FOR MODERATE SANDING AND SMOOTHING of joint compounds
As an affiliate, we earn on qualifying purchases.
As an affiliate, we earn on qualifying purchases.
How to Patch Small Holes in Walls Step by Step
To successfully patch small holes, you’ll need to gather the right materials first. Once you have everything, you can carefully apply the patch and finish it smoothly for a seamless look. Following these steps guarantees your wall looks good as new with minimal effort. Additionally, understanding the testing accuracy of your materials ensures a professional finish.
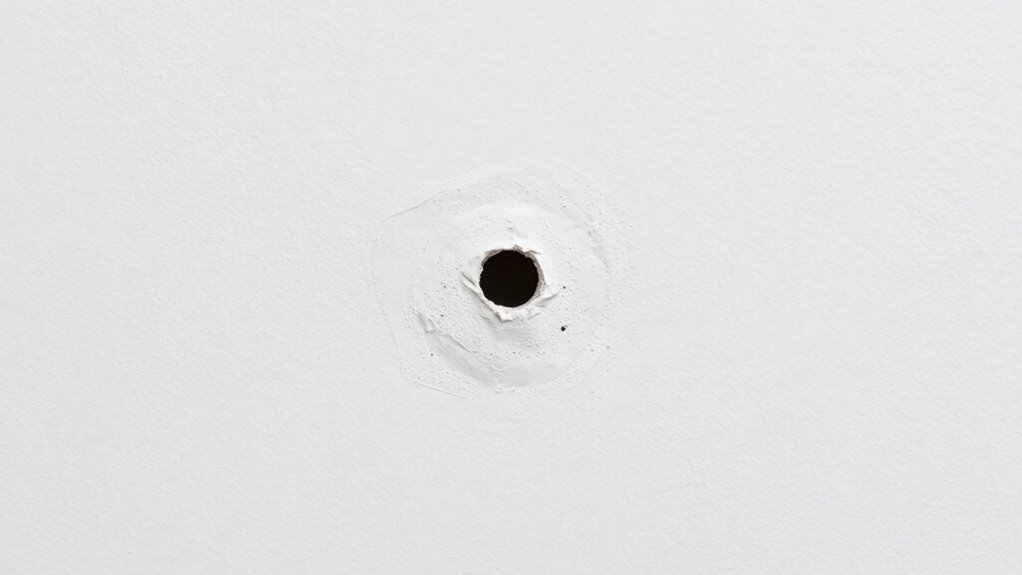
Gather Necessary Materials
Before you start patching small holes in your walls, gather all the necessary materials to make the process smooth and efficient. You’ll need spackle or joint compound to fill the hole, a putty knife for application, and fine-grit sandpaper for smoothing. Have a damp cloth ready to clean the area before applying the patch. To guarantee the repair blends seamlessly, select a primer that matches your wall texture and paint color. If the wall has a textured finish, consider a texture spray or sponge to replicate the existing pattern. Keep your paint color handy so you can touch up after the patch dries. Having everything prepared beforehand saves time and helps you achieve a clean, professional-looking repair. Additionally, understanding wall finishes and textures can assist you in selecting the best repair techniques to match your wall’s surface. Being aware of the different types of wall surfaces can also help you choose the most effective patching method for your specific wall. For a flawless finish, consider researching matching wall textures to ensure your repair remains undetectable.
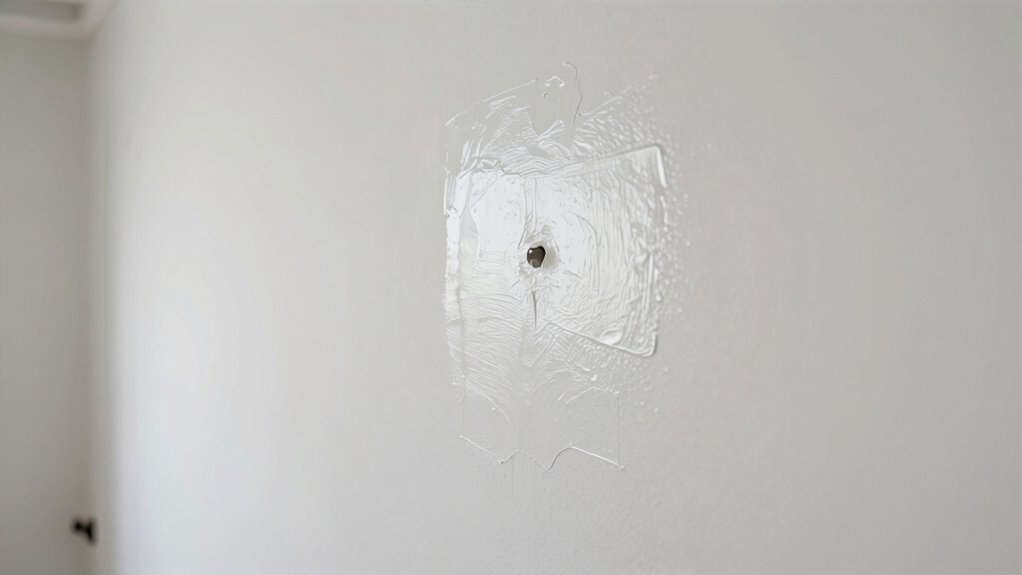
Apply and Finish Seamlessly
Once you’ve gathered your materials, it’s time to apply the patch and blend it seamlessly into your wall. Start by smoothing the dried patch with a fine-grit sanding sponge to match the wall’s texture, making sure it blends naturally. Apply a thin layer of primer if needed, especially if your wall has a unique finish. When painting, use a small brush or roller to carefully match the existing paint color, blending outward from the patched area. Feather the edges to eliminate visible lines, paying close attention to texture matching. Multiple light coats may be necessary to achieve an even finish. The goal is to make the repair invisible, so take your time, and always assess your work from different angles to ensure a flawless, seamless result.

Gorilla Heavy Duty Wall Repair Spackling + Primer, 16 Ounce Tub,White
Gorilla Heavy Duty Wall Repair Spackling + Primer is the go- to product for strong, durable repairs on…
As an affiliate, we earn on qualifying purchases.
As an affiliate, we earn on qualifying purchases.
Sand and Smooth the Repaired Area for a Flawless Finish
After the patch has dried completely, you should start sanding the area to achieve a smooth, even surface. Use fine-grit sandpaper and light pressure to avoid damaging the wall. Proper sanding helps match the wall texture and prepares the surface for paint blending. Focus on feathering the edges to guarantee seamless transitions between the patched area and the surrounding wall.
Here are key steps to follow:
- Gently sand the patched spot until smooth and flush with the wall.
- Wipe away dust with a damp cloth to keep the surface clean.
- Check for any uneven spots or ridges, and sand as needed.
- Lightly sand the entire area to improve paint adhesion and ensure a flawless finish.
Prime and Paint to Match Your Wall Color
To guarantee your repaired area blends seamlessly with the rest of your wall, it’s crucial to prime and paint with a color that matches your existing paint. Proper wall color matching ensures the repair is invisible, preventing any noticeable differences. Use a high-quality primer suited for your wall type, which helps the paint adhere evenly and improves color consistency. When selecting paint, compare it to your wall in natural light, applying a small sample if needed. To achieve smooth paint blending, feather the edges outward from the repaired spot. Multiple thin coats are better than one thick layer, helping the patch disappear into your wall. Taking these steps ensures your repair remains discreet and your wall looks freshly finished.
Troubleshoot Common Problems When Patching Small Holes
When patching small holes, you might encounter issues like uneven surfaces, visible edges, or paint that doesn’t match perfectly. These problems often stem from common hole causes and repair misconceptions. To troubleshoot effectively:
- Ensure the patch material is properly applied and smoothed to avoid uneven surfaces.
- Sand the patched area thoroughly so edges blend seamlessly with the wall.
- Use primer before painting to prevent mismatched colors or sheen differences.
- Recognize that many repair misconceptions involve over- or under-applying compound, which can cause visible patches or cracks.
Tips to Prevent Future Wall Damage
Preventing future wall damage starts with mindful handling and proper maintenance. Be gentle when moving furniture or hanging items to avoid putting stress on the walls, which can cause cracks or holes. Regularly inspect your walls for signs of wear, such as small cracks or peeling paint, and address issues promptly. Use appropriate tools and techniques to guarantee structural issues from developing over time. Avoid overloading shelves or heavy fixtures that could weaken the wall’s integrity. Keep humidity levels balanced to prevent moisture damage that can lead to cracks or mold. Additionally, reinforce weak spots with proper drywall anchors or backing when hanging heavy objects. These practices help maintain wall integrity, prevent structural issues, and ensure your walls stay smooth and crack-free long-term.
Frequently Asked Questions
How Can I Prevent New Holes From Forming in My Walls?
To prevent new holes, use wall anchors for heavy items and opt for damage-free picture hooks for lighter decorations. Always choose the right hardware for your wall type and avoid overloading hooks, which can cause holes and damage. When removing hooks or anchors, do it gently to prevent enlarging existing holes, and consider touch-up paint or patching to keep your walls smooth and pristine.
What Are the Best Types of Patching Materials for Different Wall Surfaces?
For drywall, use drywall mud, which smooths seamlessly and sands easily. Spackle paste works best on plaster or smaller holes, offering quick drying and easy application. If you’re patching wood or textured surfaces, consider a lightweight spackle. Always choose the right patching material for your wall surface to guarantee a smooth, invisible repair. Applying the correct product helps your patch blend perfectly and last longer.
How Long Should I Wait Before Painting After Patching?
You should wait at least 24 hours before painting after patching, especially if you’ve used drywall texture or need to match paint color. This allows the patch to fully dry and cure, preventing cracks or peeling later. To guarantee the best results, lightly sand the patched area, match the paint color precisely, and then proceed with your painting. Patience here guarantees a seamless, professional finish.
Can I Use Household Items to Repair Larger Holes Temporarily?
Think of household items as temporary bridges over a river—use household substitutes like spackle, toothpaste, or even a piece of cardboard for larger holes. These quick fixes act as makeshift solutions, giving you time until you can do a proper patch. Just remember, while they work temporarily, you’ll need to replace them with durable repairs later. Always plan to follow up with proper patching for a seamless finish.
What Are the Signs of an Improperly Patched Wall?
You’ll notice signs of an improperly patched wall when drywall cracks appear around the repair area or the surface feels uneven. These issues indicate the patch wasn’t applied smoothly or the filler didn’t adhere properly. You might also see visible seams or bumps that disrupt the wall’s flat appearance. To prevent this, make sure you sand the patched area thoroughly and match the texture for a seamless finish.
Conclusion
Did you know that small wall holes are the most common household repair? With just a few simple steps, you can make those imperfections disappear and restore your wall’s smooth look. By following these tips, you’ll save time and money on professional repairs. Remember, addressing small holes promptly prevents them from worsening and keeps your home looking its best. So grab your tools and get started—your flawless walls are just a repair away!