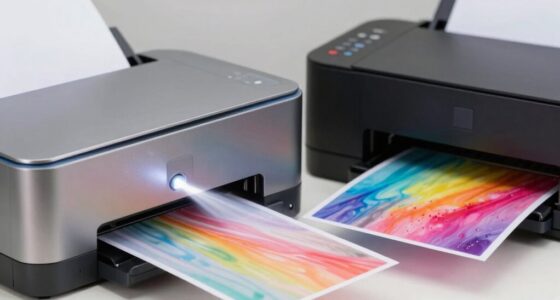

To get the best quality when scanning old photos, focus on choosing the right resolution—300 DPI for everyday needs, or higher if you’re restoring or enlarging. Calibrate your colors for vibrancy and accuracy, and crop carefully to remove unwanted edges. Selecting lossless formats like TIFF preserves detail, while batch scanning ensures consistency. Properly setting these key options will make a noticeable difference—keep going to discover more tips for perfect digitization.
Key Takeaways
- Use a resolution of 300 DPI for general use, 600 DPI for enlargements, and 1200 DPI for archival quality.
- Calibrate colors and adjust tone settings to ensure accurate, vibrant digital reproductions of your photos.
- Preview scans to fine-tune brightness, contrast, and cropping before batch processing.
- Save images in lossless formats like TIFF or PNG for maximum quality and future editing flexibility.
- Maintain consistent scanner settings across all photos to ensure uniformity and efficient workflow.

Plustek Photo Scanner ePhoto Z300, Scans 4×6 inch Photos in 2 Seconds, Auto crop and deskew with CCD Sensor, Supports Mac and PC
The easiest way to scan photos and documents. Supports 3×5, 4×6, 5×7, and 8×10 in sizes photo scanning…
As an affiliate, we earn on qualifying purchases.
As an affiliate, we earn on qualifying purchases.
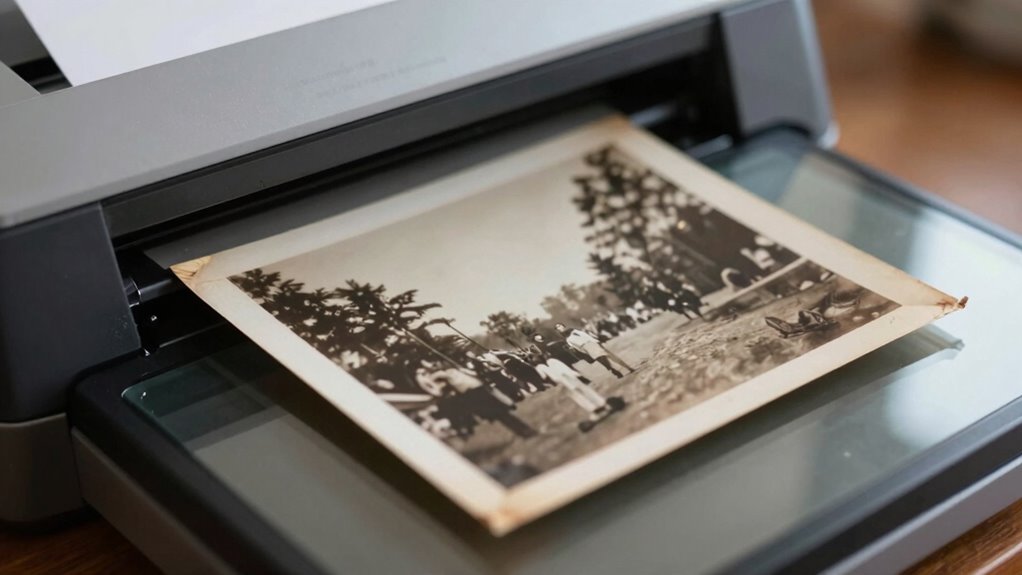
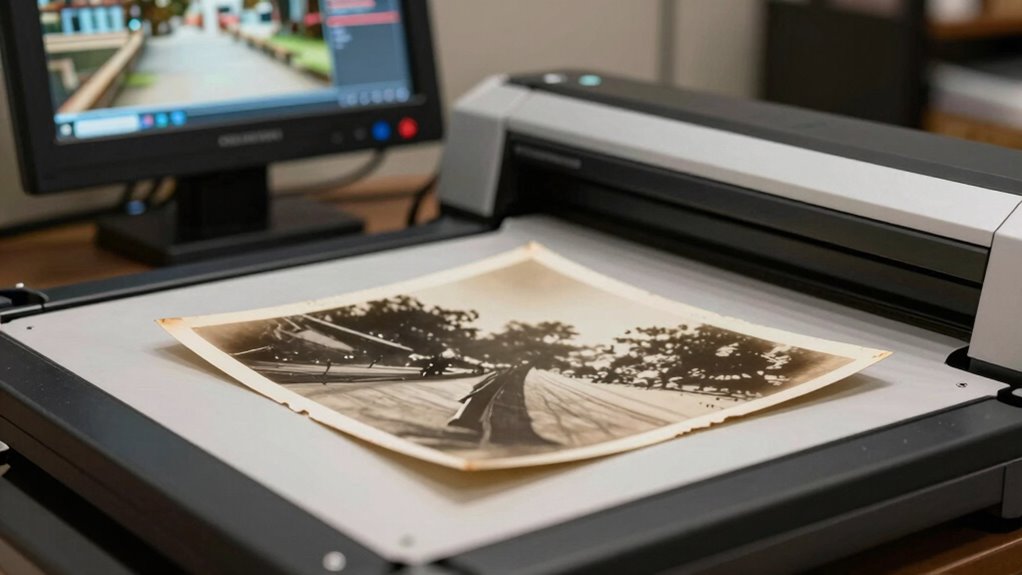
Prepare Your Photos for Scanning: Set the Stage for Quality Results
Before you start scanning, it’s vital to prepare your photos to guarantee the best possible quality. Begin by organizing your photos—sort them by size, date, or importance—to streamline the process and prevent damage. Handle each photo carefully, avoiding fingerprints or bends. Clean your scanner regularly to maintain excellent scanner maintenance; dust or smudges can ruin image clarity. Make certain your scanner’s glass surface is spotless and free of debris. If needed, use a soft, lint-free cloth to wipe down the scanner bed. Proper photo organization helps you work efficiently and reduces the risk of misplacing precious memories. Meanwhile, consistent scanner upkeep keeps your device functioning smoothly, contributing to clear, sharp scans. Additionally, understanding the importance of scanner resolution can help you achieve optimal image detail and clarity in your digital copies. To maximize scan quality, consider adjusting scanner settings before starting your project. Taking these steps sets a solid foundation for high-quality digital reproductions. Remember that scanner calibration can further enhance your results if performed regularly, especially since proper calibration can prevent issues related to scanner maintenance and ensure the best image output. Regularly checking your scanner software updates can also improve functionality and compatibility with your computer.
Plustek Photo Scanner ePhoto Z300, Scans 4×6 inch Photos in 2 Seconds, Auto crop and deskew with CCD Sensor, Supports Mac and PC
The easiest way to scan photos and documents. Supports 3×5, 4×6, 5×7, and 8×10 in sizes photo scanning…
As an affiliate, we earn on qualifying purchases.
As an affiliate, we earn on qualifying purchases.
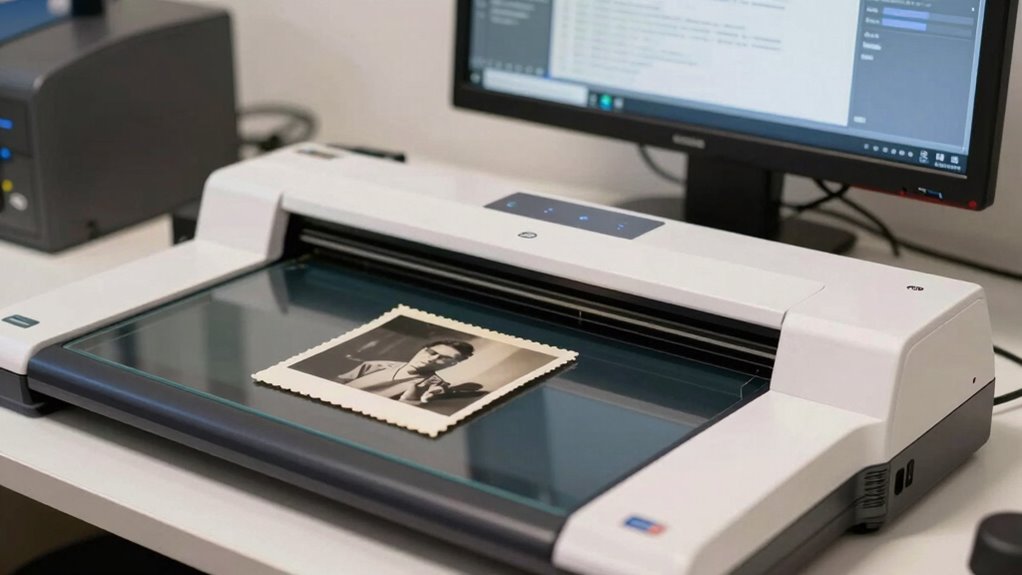
Choose the Best Resolution and DPI Settings for Sharp, Clear Images
Choosing the right resolution and DPI settings is essential to guarantee your scanned photos come out sharp and clear. Proper resolution tips help you balance quality and file size, ensuring details are preserved without unnecessary storage. Following DPI guidelines ensures your images are not pixelated or blurry when viewed or printed. For most old photos, scanning at 300 DPI provides a good balance for printing and digital viewing. If you plan to enlarge or restore photos, consider 600 DPI for more detail. For archival purposes, 1200 DPI captures every nuance. Keep in mind:
Choosing the right DPI ensures sharp, detailed scans without unnecessary file size increases.
- Use 300 DPI for everyday viewing
- Opt for 600 DPI for enlargements
- Choose 1200 DPI for detailed restorations
- Avoid scanning below 300 DPI for clarity
- Adjust based on print size and purpose
- Image resolution plays a crucial role in maintaining photo quality during digital conversion. Additionally, understanding how scanner settings impact overall image quality can help you optimize every scan.
lossless image format TIFF
As an affiliate, we earn on qualifying purchases.
As an affiliate, we earn on qualifying purchases.
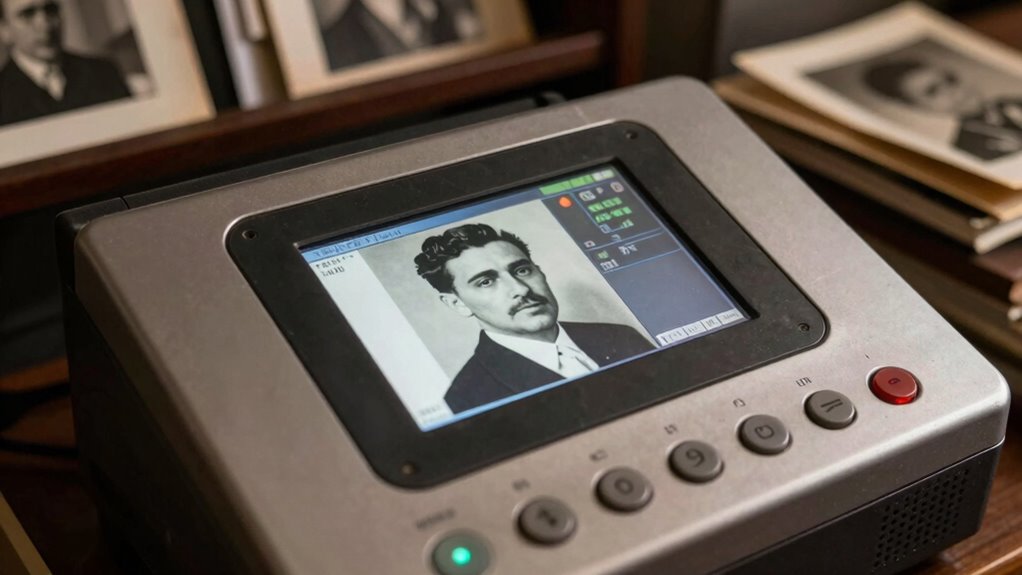
Calibrate Your Colors for Vibrant, Accurate Photos
Calibrating your colors guarantees that your scanned photos look vibrant and true to life. Start with proper color correction to guarantee accurate hues, especially since old photos often fade or discolor over time. Use your scanning software’s color calibration tools or external calibration devices for consistent results. Understanding color calibration is essential because it ensures your digitized images maintain their authenticity and vibrancy. Next, focus on tone adjustment to balance brightness and contrast, which enhances details without oversaturating. Fine-tuning these settings helps prevent dull or washed-out images, preserving the photo’s original richness. Regular calibration guarantees your scans remain true to the original, making editing easier later. Incorporating natural landscape features can also help your photos blend seamlessly with their original context, enhancing their visual appeal. Remember, precise color correction and tone adjustment are essential steps that considerably impact the quality and authenticity of your digitized memories.

Plustek Calibration Control Sheet – for ePhoto Z300 Scanner only
For ePhoto Z300 calibration use only
As an affiliate, we earn on qualifying purchases.
As an affiliate, we earn on qualifying purchases.
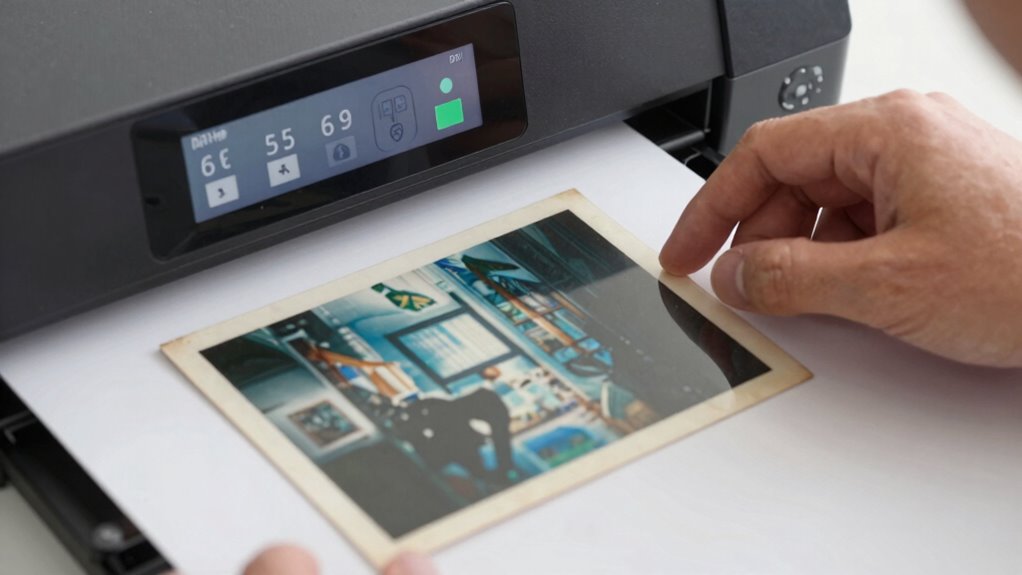
Crop and Frame Your Photos Properly Before Scanning
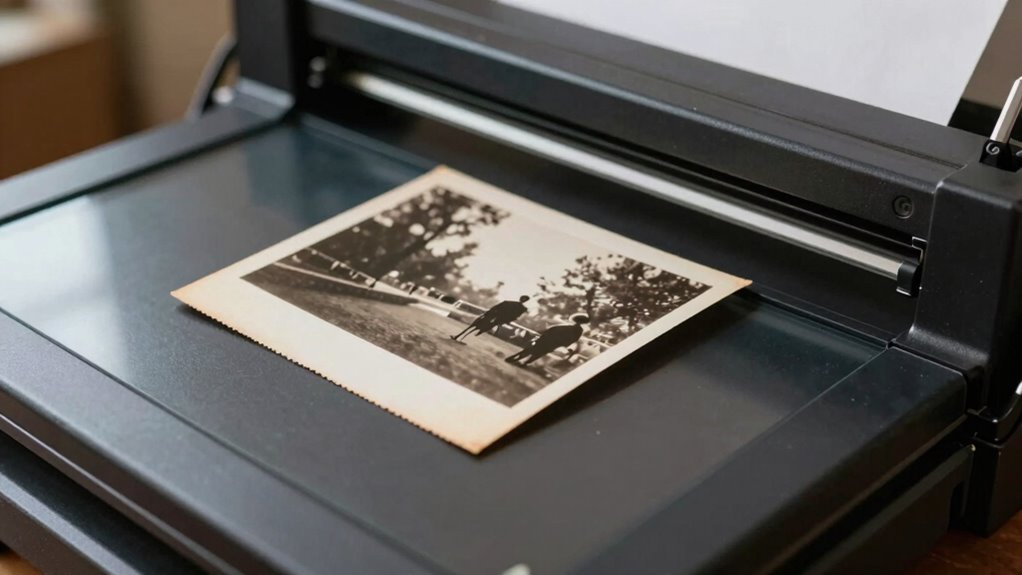
Properly cropping and framing your photos before scanning guarantees you capture all essential details and eliminate unnecessary background clutter. This step is vital for effective photo preservation and smooth digital archiving. When you crop accurately, you focus on the main subject, preventing distractions and ensuring the image’s integrity. Framing helps you maintain proper aspect ratios, avoiding distortion during digitization. Incorporating privacy policies into your workflow ensures that your photo processing respects user data and maintains transparency. Paying attention to image resolution ensures your digital copies retain quality and detail over time. Additionally, adjusting lighting conditions during scanning can significantly enhance image clarity and color accuracy. Remove damaged or irrelevant edges for a cleaner look. Highlight the main subject to improve clarity. Minimize background noise for better archiving results. Save storage space by avoiding unnecessary data. Guarantee consistent framing for a professional digital collection. Taking the time to crop and frame properly makes your scanned photos more durable and easier to organize, preserving their value for generations to come. Moreover, understanding the importance of creative preservation techniques can help you maintain the authenticity and emotional value of your photos over time. Being aware of digital file management practices further ensures your collection remains organized and accessible in the long term.
Select the Right File Format to Preserve Details and Keep File Sizes Manageable
After cropping and framing your photos, the next step is selecting the right file format to save them. Choosing the appropriate file format is vital for preserving detail and managing file size. For high-quality scans, use formats like TIFF or PNG, which support lossless image compression, ensuring details stay intact without sacrificing quality. JPEG is also common, but it uses lossy compression, which can reduce image detail if not carefully adjusted. Keep in mind that a larger file size isn’t always a problem if you want maximum quality, but for easier storage and sharing, balancing quality with compression is key. Consider your needs: TIFF or PNG for preservation, JPEG for simpler sharing, always paying attention to how image compression affects detail retention. Additionally, understanding file format differences can assist you in making the best choice for your specific project. To further improve your scanning workflow, exploring storage and backup options can help protect your digital archives from data loss. Being aware of file compatibility issues can prevent problems when opening or editing your images across different devices or software. Knowing about compression settings can help optimize your image quality while keeping file sizes manageable. Recognizing store return policies can help if you need to exchange or return items related to your scanning equipment or supplies.
Preview and Batch Scan for Consistency and Efficiency
Preview your scans carefully to adjust settings for ideal quality before committing to large batches. Use batch scanning techniques to save time while maintaining consistency across multiple photos. Ensuring your settings are uniform helps achieve consistent, high-quality results throughout your collection. Additionally, understanding exfoliation benefits can inform how you handle and care for your photos during preservation, as proper handling techniques are essential for photo longevity and damage prevention. Being aware of digital preservation practices can further enhance your overall photo maintenance and ensure your images remain intact over time. Recognizing the importance of household safety measures can also prevent accidental damage during the scanning process. Paying attention to proper handling techniques can significantly reduce the risk of physical damage to delicate photographs during digitization.
Preview Settings Optimization
To guarantee your scans are consistent and efficient, optimizing your preview settings is essential. Proper adjustments save time and improve image quality. Focus on key aspects like color correction to ensure your old photos look vibrant and true to life. Use noise reduction sparingly to eliminate grain without sacrificing detail. Fine-tune your preview resolution for faster processing while maintaining clarity. Ensure the scanner’s calibration matches your photo types for accurate results. Regularly preview small sections to catch issues early. Adjust contrast and brightness during preview to spot problems before batch scanning. Keep an eye on the histogram to balance exposure. Remember, preview settings influence the entire batch, so test adjustments on a few images first. Additionally, understanding your scanner’s mount leveling kits can help maintain proper alignment, leading to more accurate scans.
Batch Scanning Techniques
Batch scanning is essential for saving time and maintaining consistency across multiple images. By using preview scans, you can quickly adjust settings like resolution, color balance, and file format, guaranteeing each photo aligns with your desired standards. Implementing batch scanning techniques allows you to process large groups of images efficiently, reducing manual adjustments for each scan. This approach also helps streamline your storage solutions, keeping digital files organized and accessible for archival preservation. To maximize results, create a standardized workflow that includes consistent calibration of your scanner and predefined settings. Properly managing batch scans ensures your old photos are preserved with uniform quality, making future access and digitization efforts more effective and reliable.
Ensuring Consistent Quality
Maintaining consistent quality across multiple scanned images guarantees your digital archive remains reliable and professional. To achieve this, preview your scans and batch process images with uniform settings, reducing variability. This approach streamlines photo restoration efforts and ensures all photos match in tone and resolution. When scanning, consider these key points:
- Use the same resolution and color settings for each batch
- Adjust brightness and contrast uniformly before scanning
- Save settings as presets for consistency
- Scan in batches to maintain efficiency
- Choose storage solutions that support organized, high-quality backups
Consistent settings help prevent the need for extensive photo restoration later, saving you time. Properly managed, your digital collection will look cohesive and be easier to access, preserve, and share.
Frequently Asked Questions
How Can I Remove Dust and Scratches Before Scanning?
To remove dust and scratches before scanning, gently clean your photos with a soft brush or a microfiber cloth, avoiding liquids that could damage them. This step is essential for effective photo preservation and makes digital cleanup easier later. You can also use software tools to digitally erase remaining dust or scratches after scanning. Proper cleaning guarantees high-quality scans and long-lasting, preserved memories.
What Equipment Is Best for Scanning Old Photos?
You should use a flatbed scanner with high resolution, ideally 600 dpi or higher, for the best results. Make certain the scanner is properly calibrated to achieve accurate colors and details, which simplifies your photo editing later. Additionally, look for a scanner with a clean, dust-free surface and good optical quality. This setup helps preserve your photos’ integrity and minimizes the need for extensive editing after scanning.
How Do I Restore Faded Colors After Scanning?
Think of color correction as giving your faded photos a fresh coat of paint. To restore faded colors after scanning, open your image in photo editing software and use tools like hue, saturation, and brightness adjustments. Fine-tune these settings to bring back vibrancy. Many programs also offer auto-color correction. With a little patience, your scanned images will regain their original charm, making memories pop with lively, restored colors.
Can I Scan Multiple Photos at Once Without Quality Loss?
Yes, you can scan multiple photos at once without quality loss by using batch scanning. Make sure your scanner supports this feature and set the resolution high enough for clear images. Keep your photos organized and separated to prevent overlaps, which can cause blurriness. Using this method saves time and keeps your collection well-organized, making it easier to find specific photos later. Just double-check your scanner’s settings before starting.
What Storage Solutions Are Recommended for High-Resolution Scans?
For high-resolution scans, you should use reliable digital storage options like external hard drives or SSDs for quick access and large capacity. Additionally, consider cloud backup services such as Google Drive or Dropbox to keep your images safe from hardware failures. This combination guarantees your scans are both easily accessible and securely backed up, giving you peace of mind knowing your precious memories are protected and readily available whenever you need them.
Conclusion
By mastering these settings, you’ll turn your old photos into vibrant time capsules, each one a crystal-clear window to the past. Think of your scanner as a skilled artist’s brush—every adjustment bringing out the true colors and details hidden within fading memories. When you hit scan, you’re capturing whispers of history with precision and care, ensuring these treasured moments shine brightly for generations to come. Your photos will become timeless stories etched in pixels.