To fix a loose door handle quickly, start by gathering a screwdriver and checking for loose screws around the handle and latch. Tighten any visible screws securely, making sure the handle feels firm and clicks smoothly. Inspect internal parts for wear or damage, and replace any broken components if needed. After tightening, test the handle to ensure it operates properly. If problems persist, there are simple tips you can follow to prevent it from loosening again—more helpful steps are ahead.
Key Takeaways
- Gather necessary tools like a screwdriver and replacement screws before starting the repair.
- Remove the handle screws and check for loose or damaged internal parts.
- Tighten all screws securely and replace any worn or broken components.
- Test the handle operation and latch engagement to ensure proper function.
- Seek professional help if the handle remains loose or shows signs of extensive damage.

APPERFiT Interior Door Handle Repair Kit (Pair) Compatible with 2007-2014 Chevy Silverado GMC Sierra 1500/2500 HD / 3500 HD Replaces 20833606 20871488 20833602 20871483
This APPERFiT inside door handle repair kit is designed to match the dimensions and specifications of the original
As an affiliate, we earn on qualifying purchases.
As an affiliate, we earn on qualifying purchases.
Why a Loose Door Handle Won’t Fix Itself: And Why You Should Fix It Fast
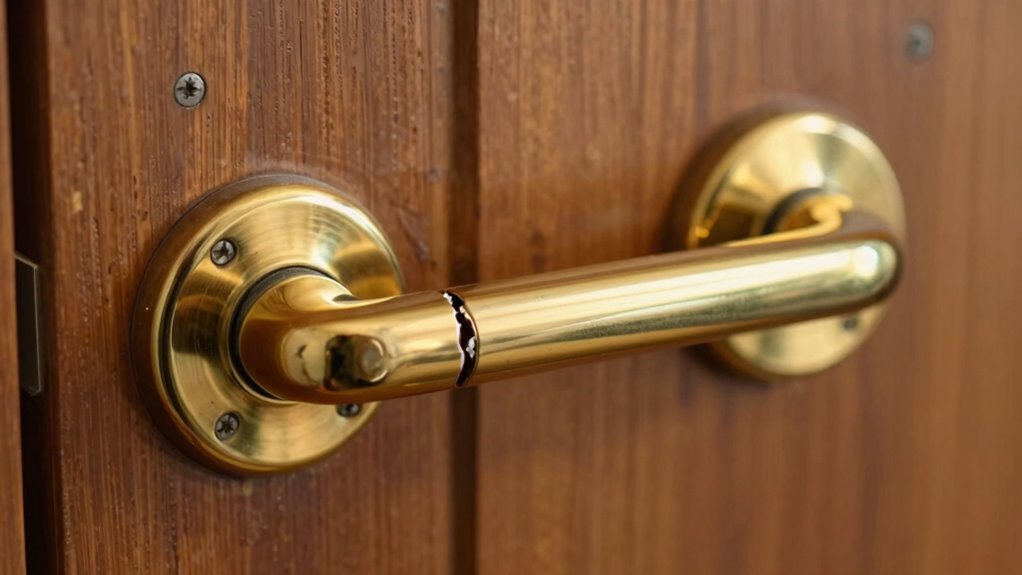
A loose door handle won’t fix itself, and ignoring the problem can lead to bigger issues. Understanding door handle anatomy helps you see why fixing it promptly matters. The handle consists of components like screws, a latch, and the spindle, all working together to open and close your door smoothly. When any part gets loose, it can cause damage to the handle or door over time. DIY repair tips emphasize addressing these issues early to prevent more extensive repairs later. Loose handles may seem minor, but they can weaken connections and lead to breakage or difficulty operating the door. Recognizing common mechanical failures can help you identify when a repair is truly needed. Additionally, maintaining proper household safety by fixing loose handles prevents potential accidents or security issues. Understanding vehicle performance parts and how they relate to maintenance can also influence your approach to household repairs, highlighting the importance of timely fixes. Addressing ethical considerations in DIY repairs ensures you make responsible choices when fixing household items. Fixing it quickly ensures safety, security, and convenience. Don’t wait for the handle to fall apart—taking action now saves you time and money down the line.

60pcs Set Screws, Allen Head Screws, Grub Screws M3 M4 M5 M6 M8 for Home Repair, Install Door Lock, Repair Furniture, Electronic Product, DIY, Fixtures (Stainless Steel 12 Sizes)
Metric set screws include: M3 * 3/4/5/6mm – M4 * 4/5/6mm – M5 * 5/8mm – M6 *…
As an affiliate, we earn on qualifying purchases.
As an affiliate, we earn on qualifying purchases.
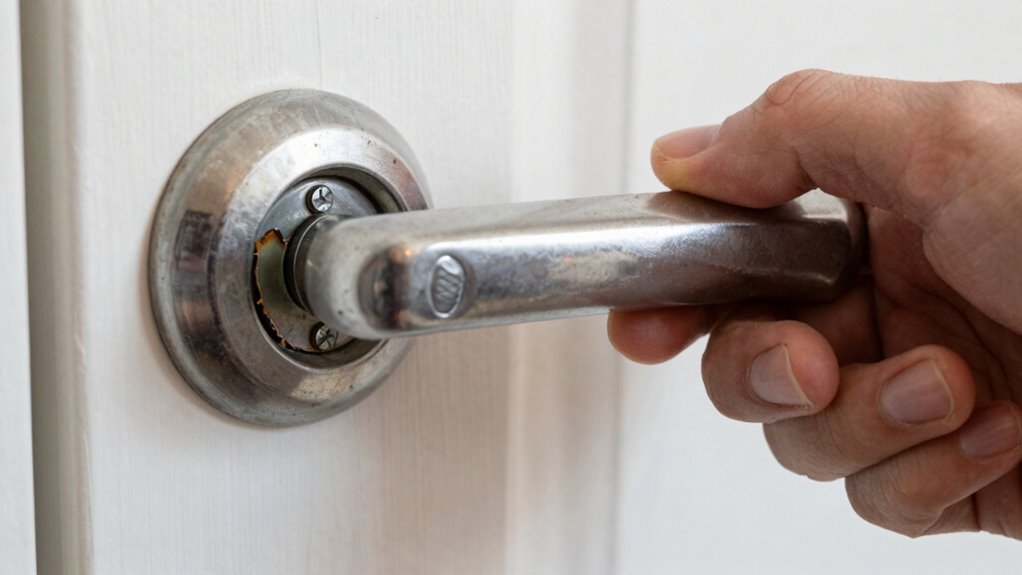
How to Diagnose Why Your Door Handle Is Loose
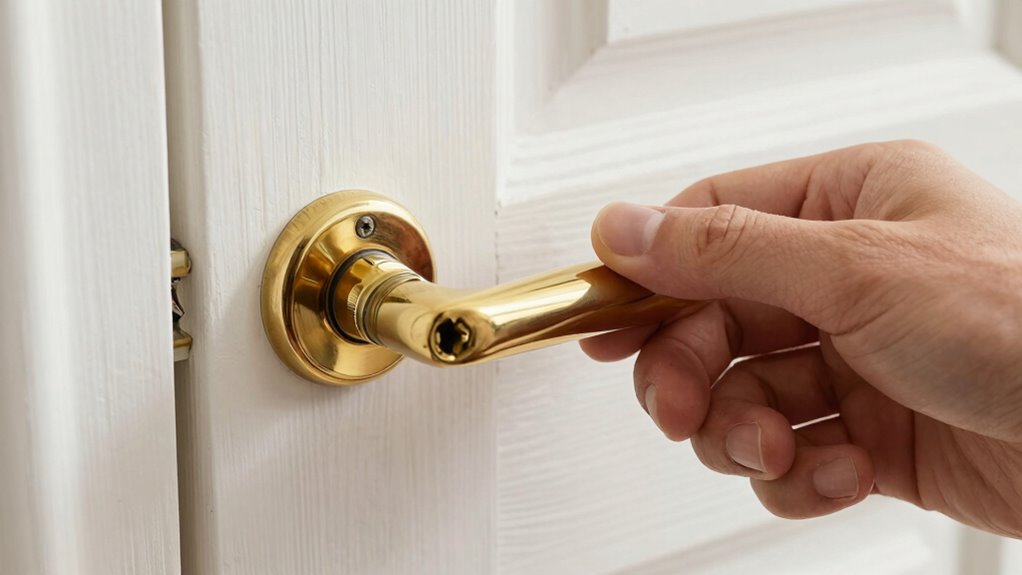
When you notice your door handle feels loose, the first step is figuring out what’s causing the problem. Start by examining the door handle style—whether it’s a lever, knob, or thumb latch—as different styles have unique mechanisms that can loosen over time. Next, consider material considerations; metal handles may develop internal wear or corrosion, while plastic ones might crack or weaken. Check if the handle wobbles when you apply gentle pressure and listen for any rattling sounds. Inspect the area around the handle for visible screws or bolts that might have come loose. Understanding these factors helps pinpoint whether the issue stems from loose mounting screws, worn internal parts, or material fatigue, guiding you toward the right fix. Additionally, material fatigue can cause internal components to degrade over time, leading to looseness. To further diagnose the problem, consider internal component wear, which is common in older or heavily used handles, affecting their stability. Recognizing signs of wear and tear can help determine if replacing the handle or parts is necessary for a secure fit.
door handle internal parts
As an affiliate, we earn on qualifying purchases.
As an affiliate, we earn on qualifying purchases.
What Tools Do You Need to Fix a Loose Door Handle?
To fix a loose door handle, you’ll need some basic tools like screwdrivers and wrenches. It’s also helpful to have replacement screws and hardware on hand in case the originals are damaged. Don’t forget a flashlight or good lighting to see clearly while working. Additionally, understanding the essential gear for every prepper, such as multi-tools and portable lighting, can make your repair process more efficient and safe. Being aware of tools that can assist with home repairs can ensure you are fully prepared for various situations. For example, having a variety of candy tools like small pry bars or specialty screwdrivers can sometimes be useful if the handle is stubborn or the hardware is difficult to access. Moreover, selecting tools with high precision can help avoid damaging the door or hardware during the repair.
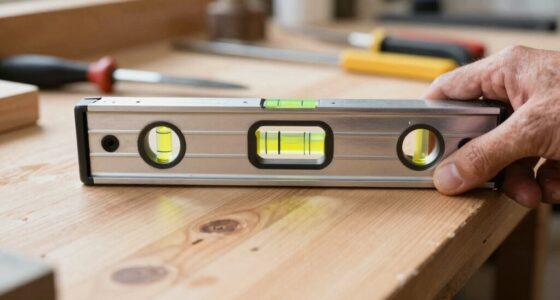
Essential Screwdrivers and Wrenches
Having the right tools makes fixing a loose door handle much easier. You’ll need a screwdriver suited to the type of screws—Phillips or flathead—depending on your door handle’s materials. A wrench or adjustable spanner can help tighten any nuts securing the handle. Pay attention to the door handle’s ergonomic handle design, which might require different tools for access or adjustment. Using a high-quality screwdriver with a comfortable grip ensures better control and reduces hand fatigue during the repair. If the handle is made from metal or composite materials, select tools that won’t damage the surface. Choosing the appropriate measurement tools can help assess the integrity of the handle’s attachment points and ensure a secure fix. Having the appropriate screwdriver and wrench on hand makes the process smoother and helps you avoid stripping screws or damaging the handle.
Replacement Screws and Hardware
Before replacing a loose door handle, gather the necessary screws and hardware to guarantee a secure fix. Check the door handle materials to verify compatibility—metal, plastic, or composite—and select replacements that match. Consider aesthetic considerations, such as finish and style, to maintain or enhance your door’s look. You’ll need screws that fit the existing holes, so measure their length and diameter carefully. Sometimes, hardware kits include washers or threaded inserts to improve stability. Using the right hardware prevents future looseness and maintains the handle’s appearance. Keep a small selection of screws and hardware on hand, especially if you plan to replace other handles later. Properly matched components ensure your door handle remains sturdy and visually pleasing for years to come.
Flashlight or Good Lighting
A well-lit workspace makes fixing a loose door handle much easier and safer. Good lighting safety guarantees you can see small screws and parts clearly, preventing mistakes or accidents. Keep a flashlight handy or use a bright, stable light source to illuminate dark corners or hard-to-reach areas. Regular flashlight maintenance, like checking batteries and cleaning the lens, guarantees reliable light when you need it. Proper lighting helps you work efficiently, reducing frustration and errors. Whether you’re working during the day or at night, good illumination makes the task straightforward. Investing in a durable flashlight or ensuring your room lighting is sufficient can make a significant difference. Clear visibility is key to accurately tightening screws and avoiding damage, making your repair safer and more effective. Additionally, lighting conditions can influence your ability to work precisely, especially when handling small parts or delicate components.

Door Latch Mortise Tool, Precision Scoring and Chiseling Door Latch Installation Kit Fits for 1-3/8’ or 1-3/4’ Thick Wooden Door, Door Latch Tool for Clean, Precise Professional Installation
HARD CONTOUR BLADE – Door latch mortise tool is made of hard, impact resistant quality material, the contour…
As an affiliate, we earn on qualifying purchases.
As an affiliate, we earn on qualifying purchases.
How to Prepare Your Door and Handle for Repair

Before you start fixing your door handle, make sure you have all the necessary tools within reach. Clear the area around the door to give yourself plenty of space to work safely and efficiently. Once everything is set, you’ll be ready to get started on the repair. Additionally, inspecting the door hardware beforehand can help identify any underlying issues that need attention. Checking the quality of the door materials can also prevent future problems and ensure a more durable repair. Ensuring proper safety precautions can help protect you during the repair process, and being aware of vehicle protection accessories can assist in maintaining your vehicle’s overall integrity. Familiarizing yourself with essential DIY tools can make your repair process smoother and safer.
Gather Necessary Tools
To effectively fix a loose door handle, start by gathering all the necessary tools you’ll need for the job. You’ll want a screwdriver that matches the type of screws in your door handle, whether flat-head or Phillips. A small Allen wrench may be needed if your handle has hex screws. Keep a flashlight handy to see inside tight spaces clearly. Additionally, consider the door handle material and aesthetic considerations—if you plan to replace or tighten the handle, choose tools that won’t damage delicate finishes or surfaces. Having a few replacement screws or washers nearby can also be helpful in case parts are worn. Being prepared with the right tools ensures the repair process goes smoothly, saving you time and preventing unnecessary damage. Proper tool selection can also help minimize the risk of damaging your door or handle during the repair. Familiarity with air quality/health factors can help you assess whether the environment might impact your repair process, especially if dust or debris is present. Ensuring good ventilation during the repair can further reduce potential health risks from dust or chemical residues. Additionally, understanding power tool safety guidelines is essential if your repair involves drilling or cutting to avoid injury.
Clear the Door Area
Start by removing any objects or decorations from around the door area to create a clear workspace. This guarantees you have easy access to the door frame and handle. Next, check the door clearance to see if it’s sticking or misaligned, which can affect handle stability. Then, gently open and close the door to identify any obstructions or loose hinges. Afterward, clear the area beneath the door to prevent tools from falling or getting lost. Additionally, ensuring proper hardware compatibility helps prevent future issues with loose handles. Finally, ensure the workspace is well-lit so you can see small screws and parts clearly. Keeping the door and surrounding space free of clutter helps you work efficiently and prevents damage to the door frame during repairs. A tidy area makes fixing your handle safer and simpler. Additionally, inspecting for common household issues can help prevent future problems with the door handle.
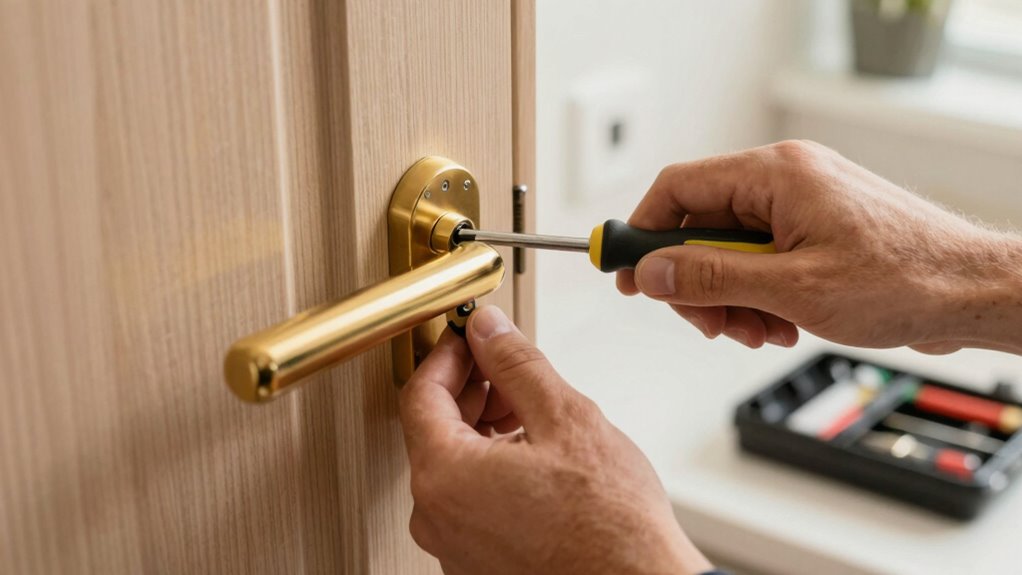
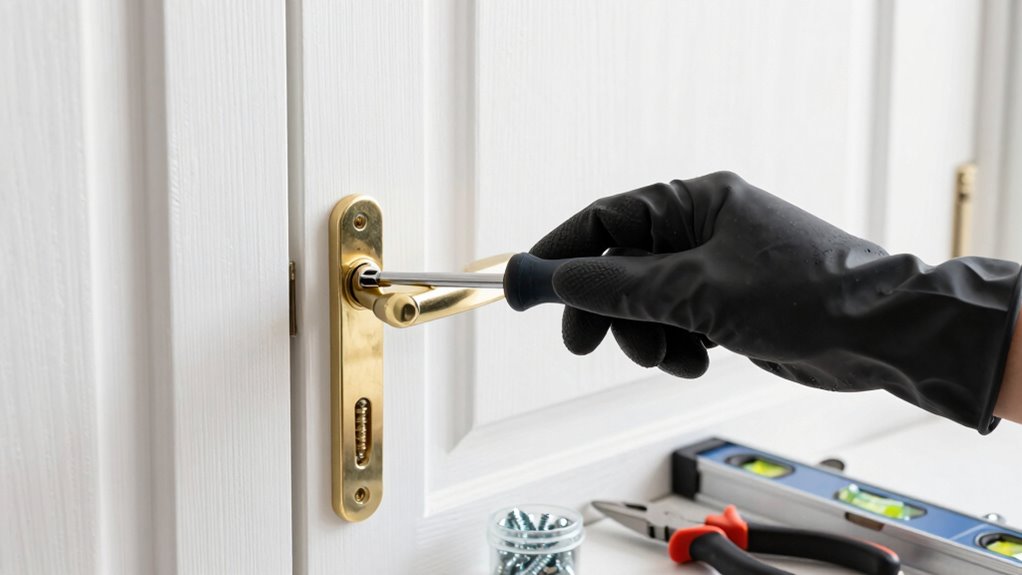
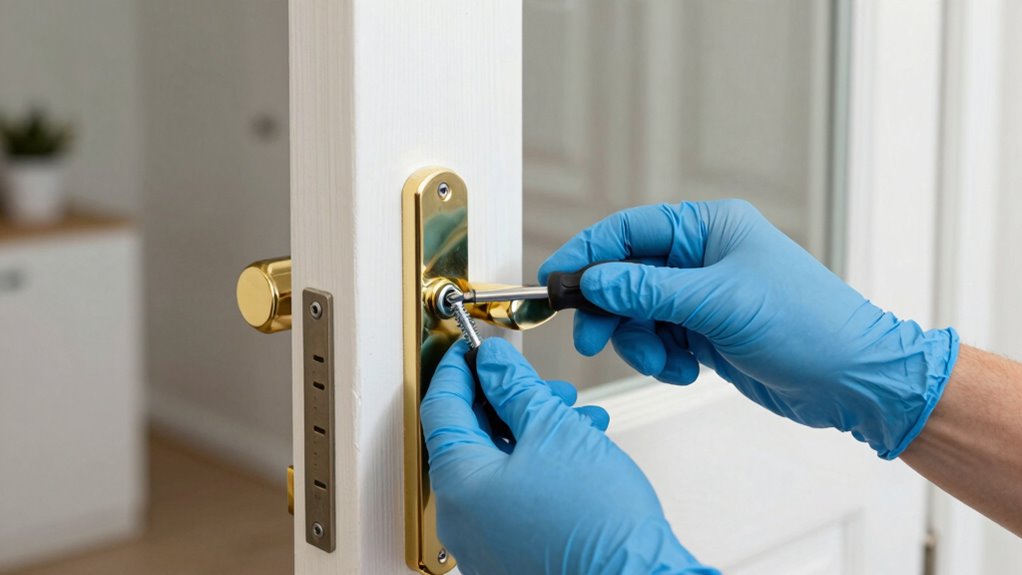
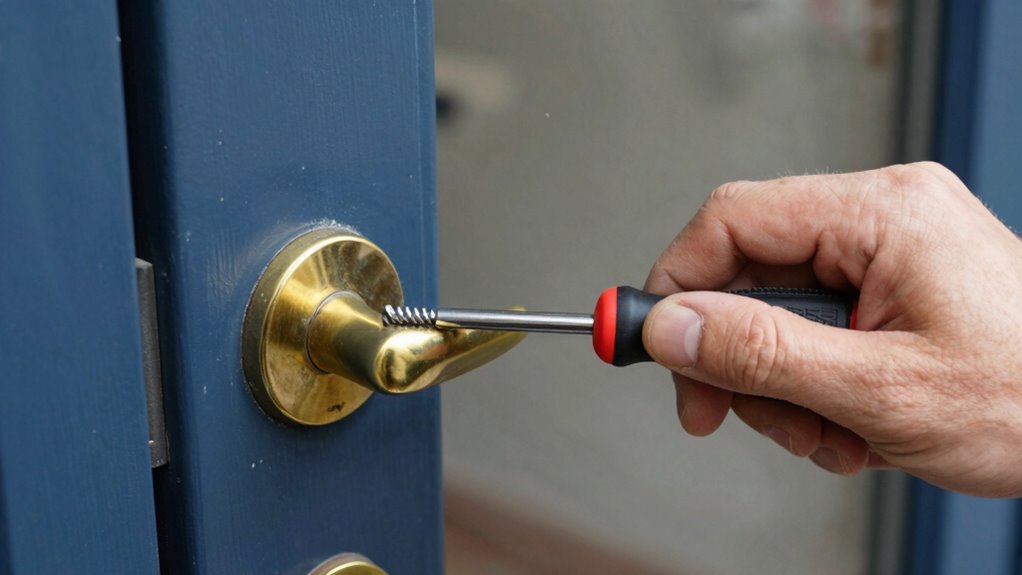
How to Tighten a Loose Door Handle Properly
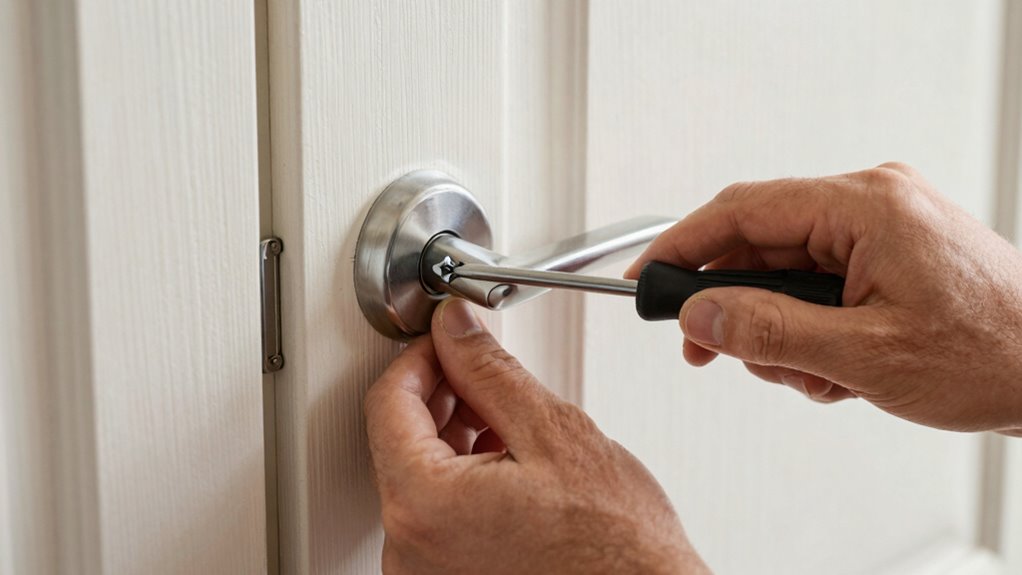
A loose door handle can be frustrating, but fixing it is often straightforward. First, identify the door handle materials—whether metal, plastic, or a combination—as this affects your tools and approach. To tighten it properly, start by removing the screws holding the handle in place with a screwdriver. Check for any damage or worn parts, then re-tighten the screws securely. While doing this, ensure the door hinge alignment is correct; misaligned hinges can cause the handle to feel loose or wobbly. If the handle still feels loose after tightening, inspect the spindle and internal components for wear. Tightening the handle isn’t just about screws; it’s about ensuring the entire assembly is secure and aligned, so your door functions smoothly and quietly.
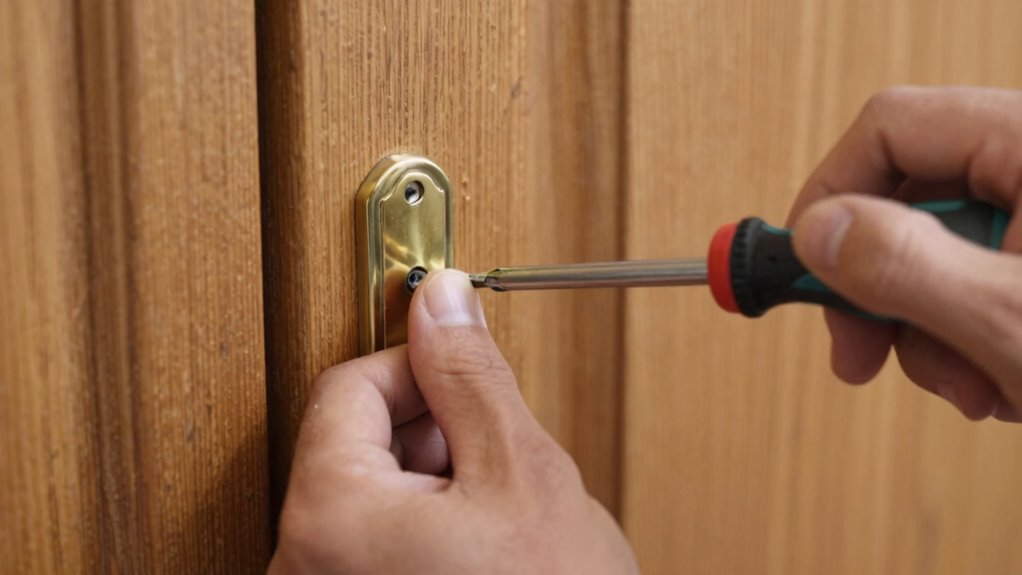
How to Fix Worn or Broken Parts in Your Door Handle
When you notice a handle that feels loose or won’t turn properly, worn or broken internal parts are often the culprit. To fix this, you need to inspect and replace the damaged components as part of door handle maintenance. First, identify the worn part, such as:
- The spindle that connects the handle to the latch
- The latch mechanism itself
- Internal springs that help the handle return
- The screws or mounting plates that hold everything in place
Once identified, you can remove the handle to perform worn part replacement. Carefully disassemble the handle, replace the damaged parts with new ones, and reassemble. This process restores proper function and prevents further issues.
How to Test Your Door Handle After Repair
Now that you’ve completed the repair, it’s important to test your door handle thoroughly. Check how smoothly it operates, verify the lock engages properly, and open and close the door a few times to confirm everything works correctly. This way, you can be confident your fix is secure and effective.
Check Handle Operation
Ever wonder if your door handle works properly after fixing it? To check, test the handle’s operation thoroughly. First, examine the door handle materials—whether metal, plastic, or other components—to ensure they’re secure and undamaged. Next, consider the handle design; it should feel comfortable and turn smoothly without sticking. Then, perform these steps:
- Grip the handle firmly and turn it to see if the latch retracts smoothly.
- Push or pull the door gently to check for ease of movement.
- Observe if the handle returns to its original position without resistance.
- Confirm that the door opens and closes properly without extra force.
This process guarantees your repair holds and that your handle functions as intended.
Confirm Lock Engagement
After verifying that your door handle moves smoothly and operates the latch correctly, it’s important to make certain the lock mechanism engages properly. Test the handle by turning it to see if the lock engages and disengages smoothly. Pay attention to handle alignment; if the handle feels misaligned or stiff, the lock mechanism might not be catching fully. Make sure the latch extends fully into the strike plate when locked, and that the handle’s movement activates the lock smoothly. If the lock doesn’t engage or you notice resistance, recheck your handle installation and alignment. Proper handle alignment ensures the lock mechanism functions reliably, preventing future issues. Confirming lock engagement now helps guarantee your repair is effective and your door operates securely.
Test Multiple Opens
To guarantee your door handle repair is successful, you should test the handle by opening and closing the door multiple times. This helps ensure the handle functions smoothly across different door handle styles and lock mechanisms. As you test, pay attention to:
- The ease of turning the handle without resistance or sticking.
- The door opening and closing smoothly every time.
- The lock mechanism engaging and disengaging properly.
- Any looseness or wobbling that might indicate an incomplete repair.
Repeating these steps helps identify if the handle needs further adjustment or tightening. Different door handle styles and lock mechanisms can behave uniquely, so thorough testing ensures your repair is durable and reliable.
How to Prevent Your Door Handle From Loosening Again
Preventing your door handle from loosening again starts with regular maintenance and proper installation. Keep an eye on your door handle and tighten screws during routine door handle maintenance to prevent issues before they start. When installing a new handle, ensure all screws and components are secure and properly aligned. Avoid over-tightening, which can cause damage, but don’t leave screws loose. Using the correct tools during DIY home repairs helps guarantee everything stays tight. Applying a small amount of thread lock or similar adhesive can also help keep screws in place over time. Regular checks and timely adjustments are key to maintaining a sturdy, reliable handle. By staying proactive, you minimize the chances of your door handle loosening again, saving you time and effort on future repairs.
When Should You Call a Professional for Door Handle Repairs?

While some door handle repairs are straightforward enough to handle on your own, you should call a professional if you notice persistent issues like the handle feeling loose despite tightening, difficulty operating the latch, or if the handle is damaged beyond simple repair. Ignoring these signs can lead to further damage or security risks. Consider calling a pro if:
- You’ve tried DIY tips but the handle remains unstable.
- The latch mechanism feels stuck or won’t engage properly.
- You notice cracked or broken parts that are beyond simple tightening.
- You’re unsure about safety precautions or uncomfortable attempting repairs.
A professional can ensure the repair is safe, durable, and correctly done, saving you time and potential injury. Don’t hesitate to seek expert help when in doubt.
Common Mistakes to Avoid When Fixing Your Door Handle
Fixing a door handle might seem simple, but there’s a risk of making common mistakes that can worsen the problem or cause damage. One mistake is rushing without inspecting all components, which can lead to missing underlying issues. Follow DIY tips carefully, like using the right tools and avoiding over-tightening screws, which can strip threads or break parts. Safety precautions are essential—wear protective gear and disconnect the door’s hardware if needed. Don’t ignore manufacturer instructions or skip testing the handle after repairs. Avoid forcing parts into place, as this can damage the handle or door. Taking your time and understanding the process helps prevent mistakes that might require professional repairs later. Stay cautious, follow proper procedures, and your fix will be safer and more effective.
Frequently Asked Questions
Can a Loose Door Handle Be a Sign of a Bigger Problem?
A loose door handle can be a sign of a bigger problem, especially if it keeps coming loose after DIY repair. It might indicate worn hardware, stripped screws, or internal issues with the latch mechanism. Regular hardware maintenance is essential to prevent further damage. If you notice persistent looseness, it’s wise to inspect and tighten parts promptly or consult a professional to avoid more costly repairs later.
How Often Should I Check My Door Handles for Looseness?
You should check your door handles monthly as part of your maintenance schedule. Regular inspections help catch looseness early, preventing bigger issues. Use prevention tips like tightening screws or applying lubricant if needed. Staying proactive guarantees your handles stay secure and functional. Schedule these quick checks regularly, especially if handles get frequent use, to avoid inconvenience or potential damage down the line.
Are There Different Fixing Methods for Different Door Handle Types?
A stitch in time saves nine, and the same applies to handle types. Different handle types, like lever, knob, or privacy handles, require specific fixing methods. For example, lever handles often need tightening of screws or replacement of internal parts, while knob handles might need a new spindle. Always identify your handle type first, then follow tailored fixing methods to guarantee proper, long-lasting repairs.
Is It Safe to Fix a Door Handle Myself Without Experience?
Yes, you can fix a door handle yourself, but you should prioritize DIY safety. If you’re comfortable with basic tools and understand the process, it’s safe to attempt repairs. However, if the handle is complex or you feel unsure, it’s better to seek professional repair. This avoids potential damage or injury and ensures the fix is secure and long-lasting. Always follow safety guidelines and don’t hesitate to call a professional if needed.
What Are the Signs That My Door Handle Needs Replacing Entirely?
You’ll know your door handle needs replacing if it shows signs of corrosion or if the lock mechanism becomes jammed or won’t turn smoothly. When the handle feels sticky, loose, or rattles excessively, it indicates internal wear. If corrosion is visible or the lock mechanism is failing, it’s best to substitute the entire handle to ensure security and smooth operation, rather than attempting repairs that might not hold.
Conclusion
Fixing a loose door handle is quick and easy if you follow these steps—you’ll have it solid as a rock in just 10 minutes! Don’t let that wobbly handle turn into a full-blown disaster; a little maintenance now can save you from chaos later. With the right tools and a bit of confidence, you’ll be the hero of your home. So go ahead, tighten that handle and enjoy the satisfaction of a job well done—your door will thank you!