To fix squeaky floors without tearing anything apart, identify the squeak spots by walking and listening closely. Use talcum powder or graphite in seams to reduce friction. Tighten loose boards with finish nails or staples, and add shims or reinforce joists if needed. For stubborn squeaks, applying construction adhesive or lightly lubricating the joints often helps. If you want detailed tips to tackle your squeaky floors effectively, there’s more to explore below.
Key Takeaways
- Apply talcum powder or graphite into seams and gaps to reduce friction and silence squeaks.
- Secure loose floorboards with screws or staples from above without removing the entire floor.
- Use construction adhesive underneath loose boards to tighten and stabilize them.
- Insert shims between joists and subfloor to eliminate gaps causing squeaks.
- Regularly tighten nails or screws and maintain humidity to prevent future squeaks.

mGanna 100% Natural Talc Powder for Facial Make-up, Absorption, Lubrication, and Multi-Purpose 0.5 LBS / 227 GMS
Composition – Chemically, talc is a hydrous magnesium silicate with a chemical formula of Mg3Si4O10(OH)2
As an affiliate, we earn on qualifying purchases.
As an affiliate, we earn on qualifying purchases.
Why Do Floors Squeak and What Causes the Noise
Floors squeak when the wood or other materials rub against each other or against nails and staples. The main floor squeak causes include loose boards, gaps, or fasteners that have shifted over time. When these parts move as you walk, the friction creates the squeaking sound. Sometimes, the squeaks signal underlying structural issues, especially if the subfloor or joists have become unstable or weakened. If you notice persistent squeaks, it might be due to wooden boards shrinking or expanding with humidity changes, or nails loosening. These issues can compromise your floor’s stability if left unaddressed. Understanding the floor squeak causes helps you identify whether the noise is just annoying or if it indicates deeper structural problems needing attention. Addressing underlying structural issues is essential to ensure long-term stability and safety of your flooring. Additionally, seasonal humidity fluctuations can cause wood to expand and contract, exacerbating squeaks over time.

Hard-To-Find Fastener Star Drive Floor Board Screws, Secure & Durable Interior Floor Fasteners for Home Improvement, Construction, DIY, Trailers, Decks, 1/4-20 x 2-1/4-Inch, Pack of 40
Durable & Secure Attachment: Made from high-quality steel for maximum strength and long-lasting performance. These metal screws are…
As an affiliate, we earn on qualifying purchases.
As an affiliate, we earn on qualifying purchases.
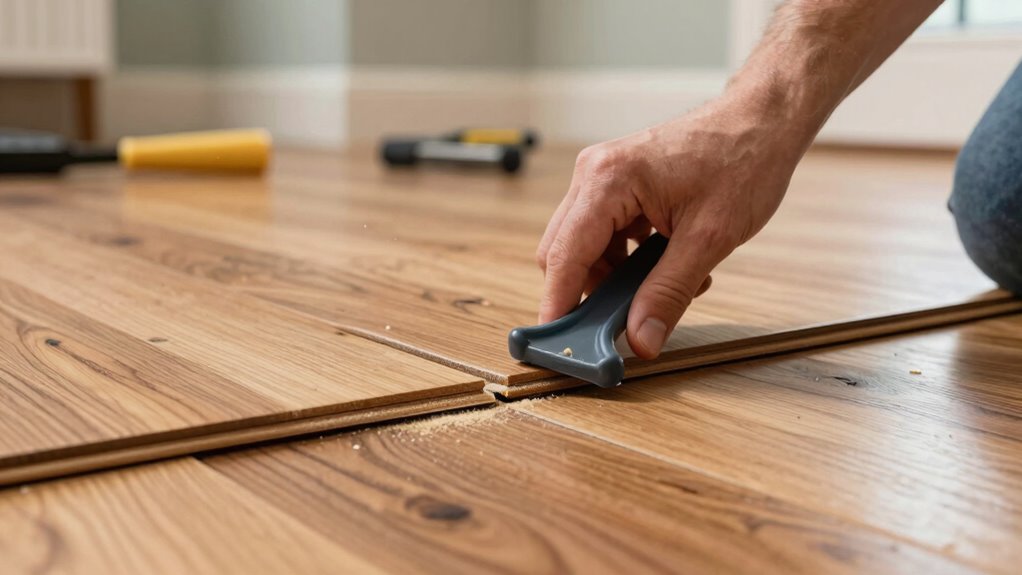
Gather the Basic Tools You’ll Need for Quick Fixes
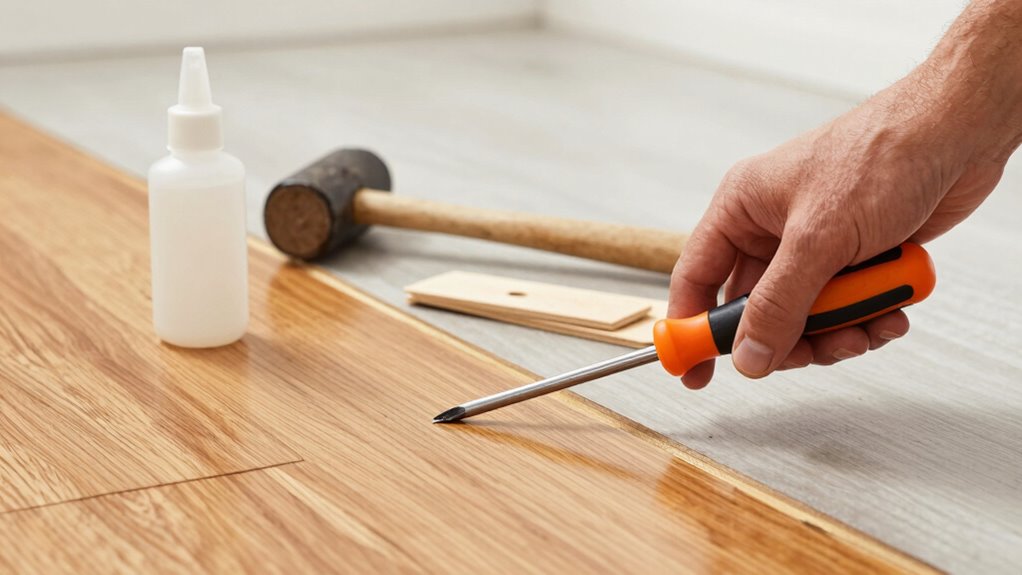
Before you start fixing squeaky floors, it’s important to gather the essential tools you’ll need for quick and effective repairs. Having the right equipment makes applying soundproofing techniques easier and ensures minimal disruption. First, grab a cordless drill with drill bits, which helps you secure flooring materials or add shims. Second, keep a rubber mallet handy to gently tap boards into place. Third, have a putty knife or pry bar to lift and adjust flooring without damage. Fourth, gather screws or nails suited for your flooring materials, ensuring they provide a tight fix. Additionally, proper safety gear such as goggles and dust masks protects you during the repair process. Being aware of filtration practices can help prevent dust and debris from contaminating your workspace, making cleanup easier. Using knowledge of flooring structures can help you identify the cause of squeaks more accurately. Moreover, understanding how soundproofing techniques work can guide you in choosing the most effective methods for your specific situation. These tools help you address squeaks efficiently, whether you’re reinforcing subflooring or applying soundproofing techniques to reduce noise. Being prepared saves time and keeps your repairs straightforward.

Nelson Wood Shims 8" 24 Pack – Kiln Dried Wood
Nelson Wood Shims Store
As an affiliate, we earn on qualifying purchases.
As an affiliate, we earn on qualifying purchases.
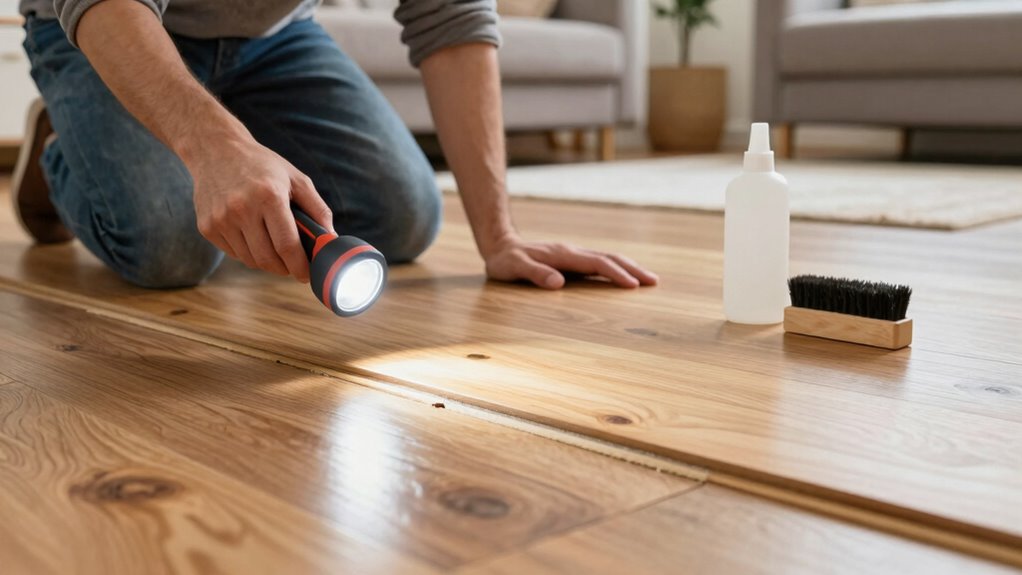
Find the Exact Spots in Your Floors That Squeak
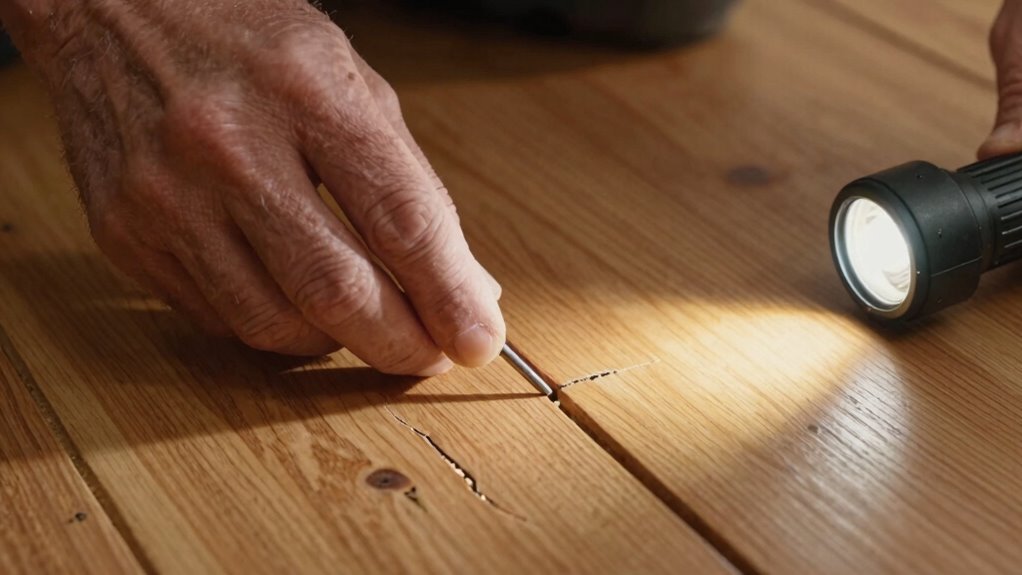
To effectively fix squeaky floors, you first need to locate the exact spots that produce the noise. Start with a thorough floor squeak diagnosis by walking across the area and listening carefully. Use squeak detection tools like a flashlight or a feeler gauge to identify loose boards or squeaky joints. To help visualize, here’s a simple layout:
| Squeak Spot | Description |
|---|---|
| Near doorway | Likely a loose board |
| Center hall | Possible subfloor movement |
| Corner | Foundation settling |
Mark these spots with painter’s tape or chalk so you can target your repairs precisely. Pinpointing the squeaks ensures you don’t waste time fixing non-issue areas and makes your repair more efficient. Additionally, understanding floor structure can help you identify underlying issues that may cause persistent squeaks. Recognizing common causes of squeaks can guide you toward more effective solutions and prevent future problems. Being aware of how flooring materials behave under stress can also help you choose appropriate repair techniques. Furthermore, knowing the seasons and humidity can influence how your floors expand or contract, impacting squeak frequency.

Loctite PL Premium Polyurethane Construction Adhesive, 10 fl oz Cartridge, 1 Pack – Versatile Construction Glue for Wood, Concrete, Stone, Metal & More
All Purpose: One component polyurethane-based adhesive that covers a wide variety of projects and bonds to most materials…
As an affiliate, we earn on qualifying purchases.
As an affiliate, we earn on qualifying purchases.
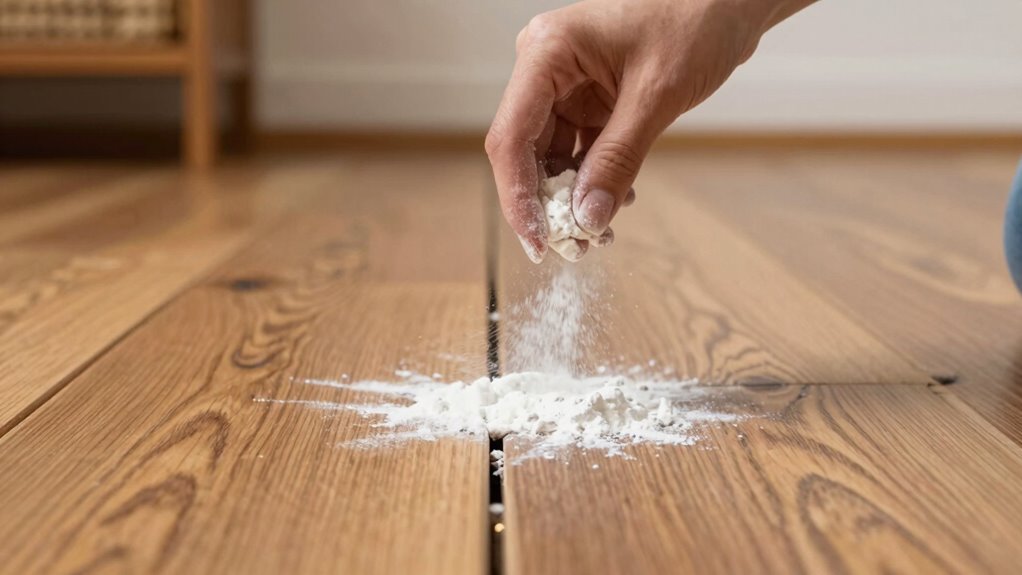
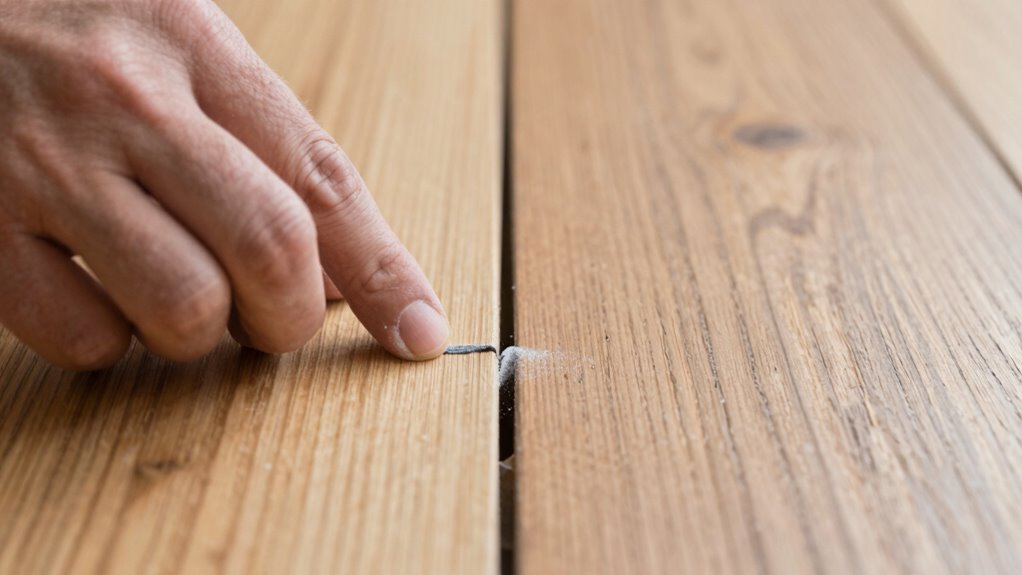
Try Using Talcum Powder or Graphite to Silence Squeaks
You can silence squeaky floors by applying talcum powder or graphite to the problem spots. To do this effectively, learn the best way to spread the powder and how to use graphite as a lubricant. Just be careful during application to avoid messes or damage to your flooring. For added effectiveness, consider using essential oils for wood care, which can help maintain the finish and prevent future squeaks. Additionally, choosing durable materials for any repairs or treatments can enhance the longevity of your solution. Using appropriate lubrication techniques ensures the powders are applied smoothly and effectively, reducing the chances of further noise. Proper floor maintenance can also help prevent squeaks from reappearing over time. Remember that understanding wood expansion and contraction can help you better address the root causes of squeaks and implement more lasting fixes.
Applying Talcum Powder Effectively
Applying talcum powder or graphite is a simple yet effective way to silence squeaky floors. To do it right, you need to guarantee the powder reaches the squeaky spots without creating a mess. First, locate the squeak precisely by walking over the area. Then, carefully sprinkle a small amount of talcum powder or graphite into the seams or gaps where the floorboards rub. Use a brush or cloth to work the powder into the joints, ensuring it penetrates deeply. This method works best when the floor is dry, as moisture control helps the powder stay in place. For ideal results, consider lightly sanding the area if it’s uneven before applying the powder. Keep in mind that consistent application prevents future squeaks and maintains smoothness. Properly managing moisture levels can help the powder stay effective longer and prevent new squeaks from forming. Additionally, ensuring the floorboards are properly secured can further reduce squeaking over time. Implementing floorboard stabilization techniques can also contribute to a quieter, more stable floor.
Using Graphite for Lubrication
Have you considered using graphite as a lubricant to stop squeaky floors? Graphite works well on various flooring materials, especially wood and engineered surfaces, where squeak causes often involve loose nails or shifting boards. To apply, sprinkle graphite powder directly into the gaps between the floorboards or under the planks. Then, walk over the area to help the powder settle into the joints. Unlike talcum powder, graphite doesn’t absorb moisture and stays in place longer, providing effective lubrication. This simple fix reduces friction between the floorboards, silencing squeaks without damage. Keep in mind, the key is targeting the specific squeak causes and applying the powder precisely where the friction occurs. This method offers a quick, inexpensive way to quiet your floors. Additionally, using the appropriate chamber settings can help prevent future squeaks by reducing unnecessary movement in the flooring structure.
Precautions During Application
When using talcum powder or graphite to silence squeaks, it’s important to take certain precautions to guarantee safety and effectiveness. First, verify the area is well-ventilated to avoid inhaling dust or fumes. Second, clean the floor thoroughly before application to prevent dirt from interfering with the lubricant’s effectiveness. Third, move furniture carefully to avoid damaging it or spreading dust onto surfaces. Fourth, avoid applying powders near electrical outlets or wiring to reduce fire hazards. Keep in mind that excess powder can make the floor slippery, so clean up any spills promptly. Proper floor cleaning before application ensures the powders work better. Also, reposition furniture gently to prevent scratching or shifting, which could worsen squeaks.
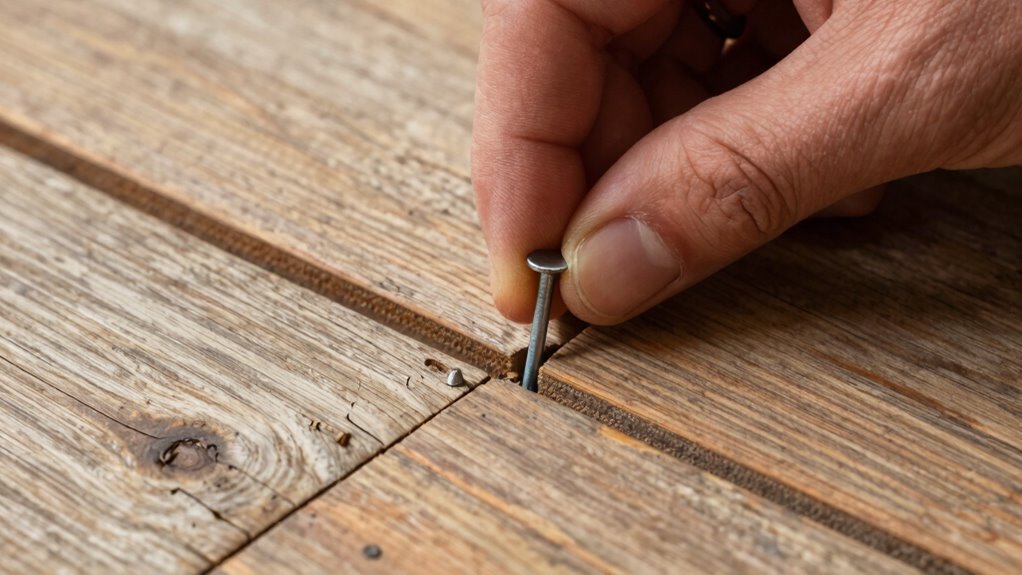
Tighten Loose Floorboards With Finish Nails or Staples
First, identify which floorboards are loose and causing the squeak. Then, select the right finish nails or staples to secure them without damaging the wood. A helpful tip is to use natural materials to ensure a more sustainable repair that supports your home’s eco-friendliness. Using eco-friendly fasteners can also reduce the impact of repairs on the environment. Additionally, choosing sustainable repair methods can help minimize waste and promote responsible maintenance. Incorporating regenerative practices can help maintain the health of your flooring and surrounding environment during repairs. To further support environmentally conscious repairs, consider utilizing renewable resources whenever possible. Finally, make sure you fasten the boards tightly to eliminate movement and quiet the squeak.
Identifying Loose Boards
Loose floorboards often become noticeable when they creak or shift underfoot. To identify these boards, start with a thorough squeak diagnosis. Walk across the floor, listening for creaks or movement sounds, and focus on areas that feel uneven or loose. Different flooring materials may react differently, so consider how your floor is constructed.
You can also check for regulatory/environmental considerations that might impact how you repair or secure loose boards, especially in older or environmentally sensitive buildings. Here are four steps to identify loose boards:
- Visually inspect for gaps or uneven surfaces.
- Press down gently on suspect areas to check for movement.
- Use a helper to listen for squeaks as you walk.
- Mark loose boards with chalk or painter’s tape for easy identification.
This process assures you target the right spots for repair, avoiding unnecessary work.
Choosing Proper Fasteners
Choosing the right fasteners is key to securing loose floorboards effectively. For this, you’ll want to take into account different fastener types, such as finish nails or staples, that are designed for flooring. Finish nails are ideal because they leave a minimal, discreet hole and can be driven flush into the wood. Staples provide a quick, strong hold, especially when used with a staple gun. When selecting fasteners, also pay attention to length—aim for nails or staples that penetrate the subfloor by at least 1 inch. Proper installation techniques involve driving the fasteners straight in without bending or splitting the wood. This ensures a tight fit, reduces squeaks, and keeps your floorboards securely in place.
Securing Boards Effectively
To effectively tighten loose floorboards, you should drive finish nails or staples directly through the wood into the subfloor. This secures the board firmly, reducing squeaks. Once nailed or stapled, fill any gaps with floorboard caulking to prevent movement and noise. For a smoother finish, sand and refinish the area if needed, especially during hardwood refinishing projects.
Here are some tips:
- Locate the loose board and mark the spots for fasteners.
- Use a nail set or staple gun for precise placement.
- Countersink nails or staples slightly below the surface.
- Seal gaps with floorboard caulking for long-lasting quiet and stability.
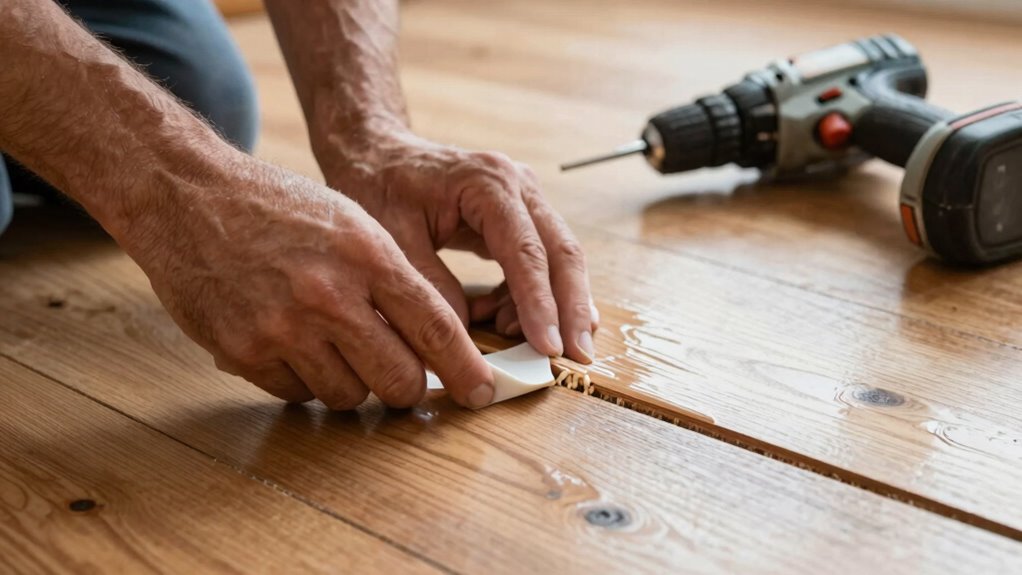
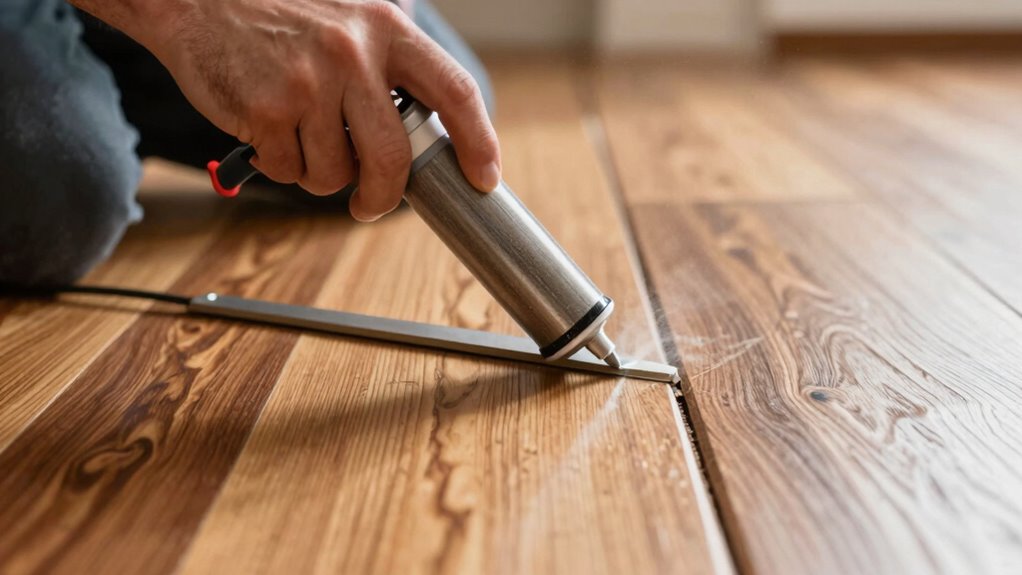
Use Construction Adhesive to Seal Gaps and Secure Boards
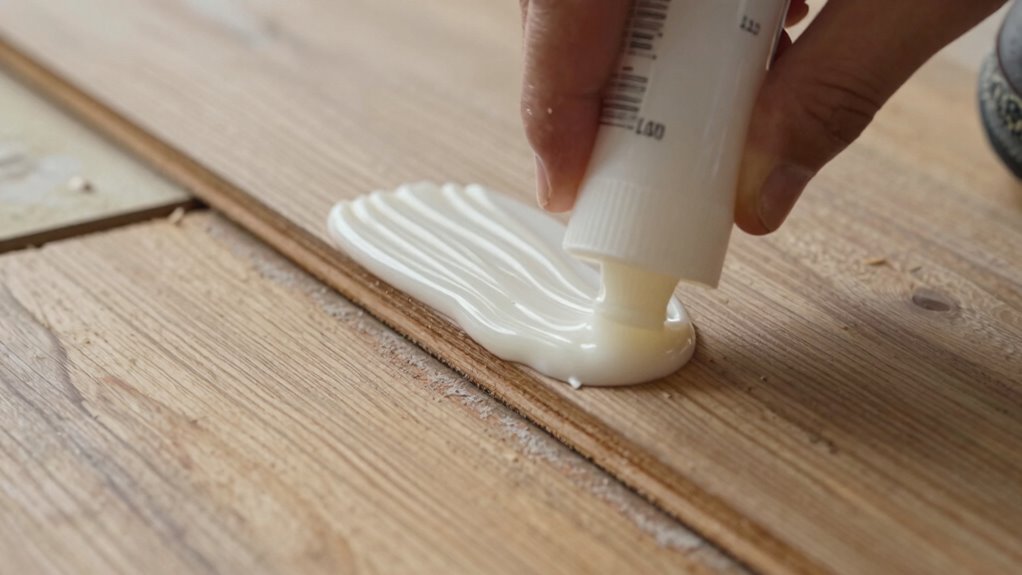
Applying construction adhesive is an effective way to seal gaps and secure loose floorboards, preventing squeaks from developing or worsening. You should carefully lift any loose boards and apply the adhesive along the underside edges, ensuring good contact with the subfloor. This creates a strong bond that reduces movement and noise. Construction adhesive is ideal for gap sealing because it fills small cracks and spaces that cause squeaks. Press the board back into place firmly, and wipe away any excess adhesive immediately. Clamp or weight the boards if necessary to assure a tight bond during curing. Once the adhesive dries, it will keep the boards securely in position, minimizing movement and preventing future squeaks caused by shifting or gap expansion.
Reinforce Joists or Add Shims to Stop Persistent Squeaks
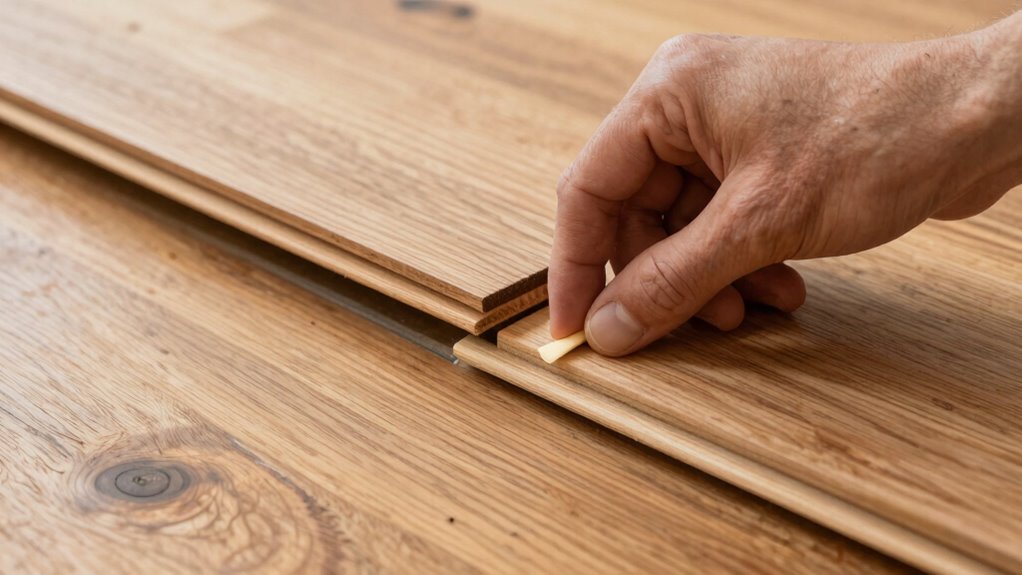
Persistent squeaks often indicate that the joists beneath your floor are loose or weakened. To fix this, you can reinforce joists or add shims to eliminate noise. Proper joist reinforcement stabilizes the structure, reducing movement that causes squeaks. Shim installation is a quick, effective method to tighten loose joists without major work.
Here are some steps to follow:
- Identify the squeaky area and access the joists.
- Insert shims between the joist and subfloor to tighten gaps.
- Secure shims with screws or nails for added stability.
- Consider reinforcing weak joists with additional support if needed.
This approach minimizes noise and enhances floor stability without tearing anything apart.
When Simple Fixes Don’t Work: Advanced Solutions for Stubborn Floors
When simple fixes fail, it’s time to consider advanced solutions for your stubborn floors. You need to identify the underlying causes of the squeaks, which might involve inspecting the joists, nails, or subfloor. Sometimes, professional repair methods are necessary to effectively silence persistent creaks and guarantee long-lasting results.
Identifying Underlying Causes
If simple fixes haven’t stopped your floors from squeaking, it’s time to dig deeper and identify the underlying causes. Understanding the floor squeak causes and noise sources helps you target the real problem. First, check if the squeak comes from loose floorboards or subfloor movement. Second, consider if humidity changes cause wood to expand or contract, creating movement. Third, inspect for gaps between joists and floorboards that may generate creaking sounds. Fourth, identify if structural issues like warped or cracked joists are contributing to persistent noise. Pinpointing these factors allows you to decide whether advanced solutions are needed or if the cause can be addressed with minor adjustments. Knowing the root causes saves time and prevents unnecessary damage during repairs.
Professional Repair Methods
Sometimes, simple fixes just aren’t enough to silence stubborn squeaks. When that happens, professional repair methods can be your best option. Experts use specialized tools and techniques tailored to your flooring material, whether hardwood, laminate, or engineered wood. They might reinforce subflooring with joist sistering, apply specialized adhesives, or install blocking to eliminate movement. These methods address underlying structural issues that cause persistent squeaks. While some repairs might be more invasive, professionals consider aesthetic considerations to ensure minimal visible impact on your floors. Trusting a professional helps ensure the job is done correctly and efficiently, especially when DIY fixes have failed. Their experience ensures long-lasting results without compromising the appearance or integrity of your floors.
Keep Your Floors Quiet: Tips for Preventative Maintenance
Regular preventative maintenance is key to keeping your floors quiet and squeak-free. By caring for your flooring materials, you can markedly reduce noise and prevent squeaks before they start. To maintain noise reduction, consider these tips:
- Regularly inspect and tighten loose floorboards or nails.
- Use area rugs or felt pads under furniture to minimize movement and vibrations.
- Keep humidity levels consistent to prevent wood expansion and contraction.
- Apply a light lubricant or talcum powder between squeaky boards to reduce friction.
These simple steps help preserve your flooring’s integrity and keep noise levels down. Consistent care prevents squeaks from worsening and prolongs the life of your floors, ensuring a quiet, comfortable space.
Know When to Call a Professional for Persistent Noises
Persistent squeaks that don’t improve with basic maintenance are often a sign that professional intervention is needed. If your flooring materials continue to produce noise despite DIY fixes, it’s time to consult an expert. Professionals can assess the underlying cause of persistent squeaks, which might involve complex soundproofing techniques or structural issues. They can identify if your subfloor needs reinforcement or if certain materials are contributing to the problem. Additionally, a pro can recommend targeted soundproofing solutions to minimize noise transmission. Recognizing when to call in a specialist saves you time and prevents unnecessary damage. If your efforts aren’t resolving the squeaks, trust a professional to diagnose and fix the problem efficiently, ensuring your floors stay quiet and stable for years to come.
Frequently Asked Questions
Can Humidity Levels Affect Squeaky Floors?
Yes, humidity impact can cause squeaky floors, as excessive moisture makes wooden boards swell and contract, creating friction and noise. To prevent this, you should focus on moisture control in your home by using dehumidifiers or improving ventilation. Keeping humidity levels balanced minimizes wood movement, reducing squeaks. Proper humidity management is an easy way to maintain your floors and avoid the need for more invasive repairs.
Are There Eco-Friendly Solutions for Squeaky Floors?
Yes, you can use eco-friendly solutions for squeaky floors. Look for sustainable materials like cork or bamboo, which are biodegradable and gentle on the environment. You might also apply biodegradable solutions such as natural wax or plant-based lubricants to reduce squeaks without harmful chemicals. These eco-friendly options help you fix your floors safely, supporting environmental health while maintaining a quiet, comfortable space.
How Long Do DIY Fixes for Squeaks Last?
DIY fixes for squeaky floors can last anywhere from several months to a few years, depending on the method used. Applying floor sealants helps reduce friction, while subfloor reinforcement provides long-term stability. You should expect these solutions to be effective for about 1 to 3 years, but staying proactive by resealing or reinforcing as needed can extend their lifespan and keep your floors quiet longer.
What Safety Precautions Should I Take During Repairs?
You should never underestimate the importance of safety gear and electrical safety during repairs—these are your ultimate protectors! Wear safety goggles, a dust mask, and gloves to shield yourself from debris and dust. Turn off electrical power if you’re working near outlets or wiring to prevent shocks. Stay alert, avoid rushing, and double-check that your tools and workspace are safe. Your safety keeps your repair successful and injury-free!
Can Pets Cause or Worsen Floor Squeaks?
Pets can cause or worsen floor squeaks, especially if they scratch or walk frequently in the same spots. Their scratching sounds can loosen floorboards or create new creaks, and pet allergens can settle into the flooring, making the problem worse over time. To minimize this, keep your pets’ nails trimmed, and consider adding mats or rugs in high-traffic areas to reduce direct contact and noise.
Conclusion
With a few simple tricks, you can silence squeaky floors and restore peace to your home. Think of it as tame the noise beast lurking beneath your feet—most squeaks are easy to tame with patience and the right tools. If stubborn sounds persist, don’t hesitate to call in a pro. Remember, a quiet floor isn’t just a dream; it’s within your reach, waiting to be tamed like a wild stallion.