
To improve your calls without fancy gear, position your webcam at eye level using books or boxes to avoid unflattering angles. Face natural light or soft lighting facing you, and keep backgrounds simple and tidy. For clear audio, place your mic 2-3 inches from your mouth, slightly off to the side, and in a quiet spot away from noise sources. Adjust these tips for better sound and visuals, and you’ll discover even more ways to enhance your setup smoothly.
Key Takeaways
- Position your webcam at eye level using books or boxes to avoid unflattering angles.
- Keep the microphone 2-3 inches from your mouth, slightly to the side, for clear audio without background noise.
- Use natural or soft lighting facing you to evenly illuminate your face and reduce shadows.
- Choose a quiet, clutter-free environment with soft surfaces to minimize echo and background noise.
- Regularly test and adjust your setup to ensure optimal camera angles, lighting, and microphone placement.

30 Inch Webcam Stand Camera Mount, Upgraded Thick Base Flexible Gooseneck Camera Stand Desk Webcam Mount Clamp for Logitech Webcams C930e C930 C920 C922x C922 Brio 4K C925e C615, Gopro Hero 8 7 6 5 4
【Upgrade Thick Clamping Base】We have upgraded the clamp base. It is thicker and more durable. The clamping base…
As an affiliate, we earn on qualifying purchases.
As an affiliate, we earn on qualifying purchases.
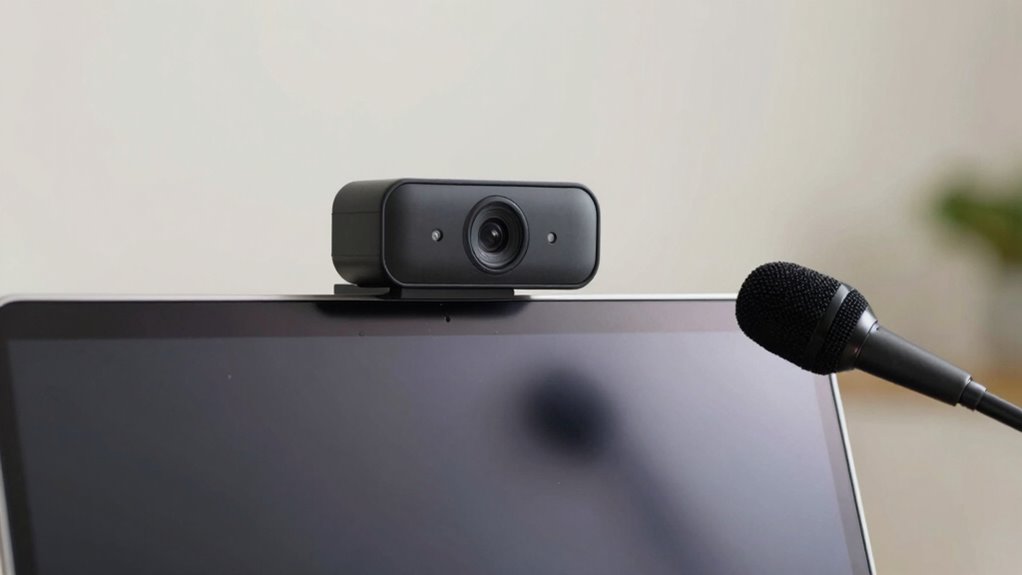
Why Your Webcam and Microphone Placement Matters for Better Calls
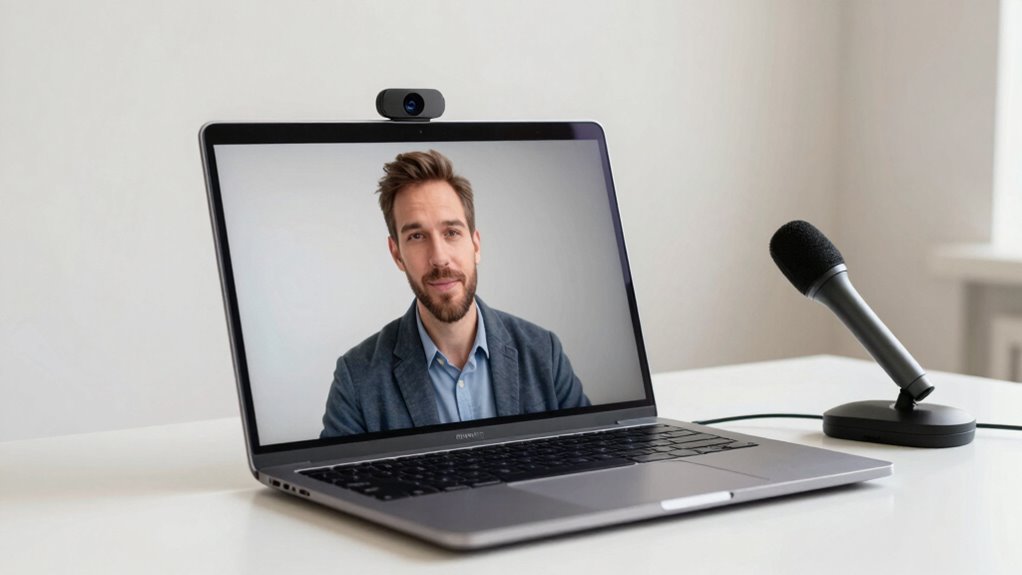
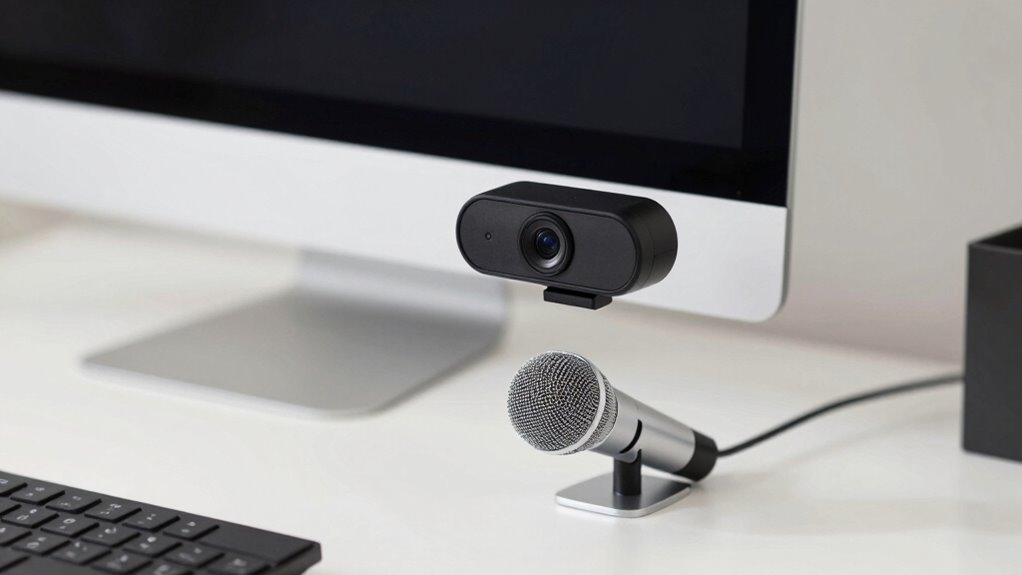
Your webcam and microphone placement directly impact the quality of your calls, making it essential to position them thoughtfully. Camera angles influence how you’re seen on camera; a slight tilt or low angle can be distracting. Keep your webcam at eye level for a natural, engaging look. Microphone types, such as cardioid or omnidirectional, determine how well your mic captures your voice and reduces background noise. Proper placement guarantees clear audio and minimizes echo or muffling. Avoid placing your microphone too close or too far from your mouth, as this can distort sound. Similarly, adjusting your camera angle helps you appear professional and confident. Taking the time to optimize these placements makes your calls more effective, focused, and comfortable for everyone involved. Proper setup and digital concepts are constantly evolving, so staying adaptable ensures you can make continuous improvements. Being aware of audio-visual ergonomics can further enhance your overall call experience. Additionally, understanding hardware positioning can help prevent fatigue and discomfort during prolonged calls, especially when employing ergonomic device placement strategies.
InnoGear Boom Arm Microphone Mic Stand for Blue Yeti HyperX QuadCast SoloCast Snowball Fifine Shure SM7B and Other Mic, Black
Free Position Mic Arm: This professional microphone stand is fully adjustable in all parts with 360° base rotation…
As an affiliate, we earn on qualifying purchases.
As an affiliate, we earn on qualifying purchases.
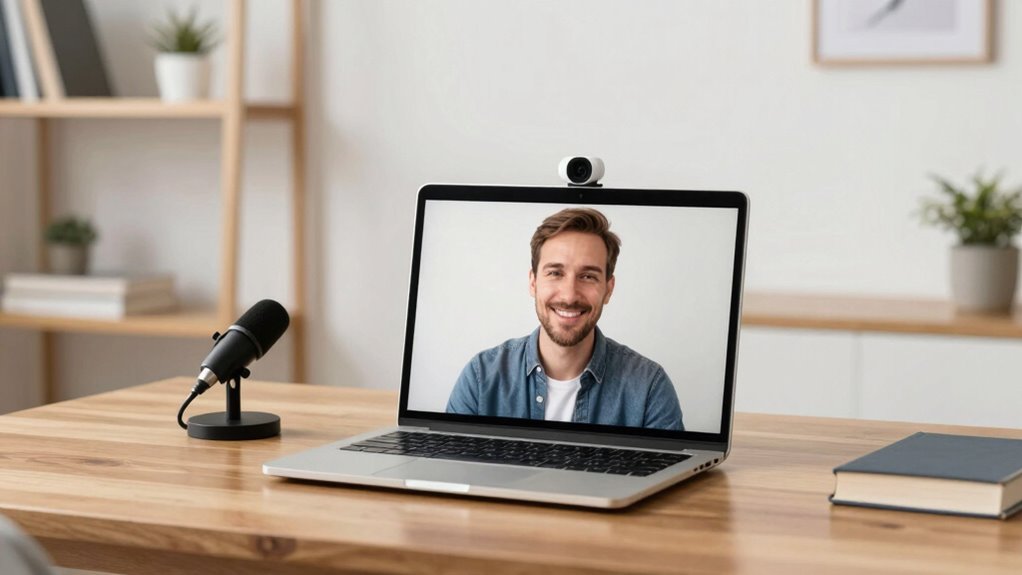
Where to Place Your Webcam for the Best Video
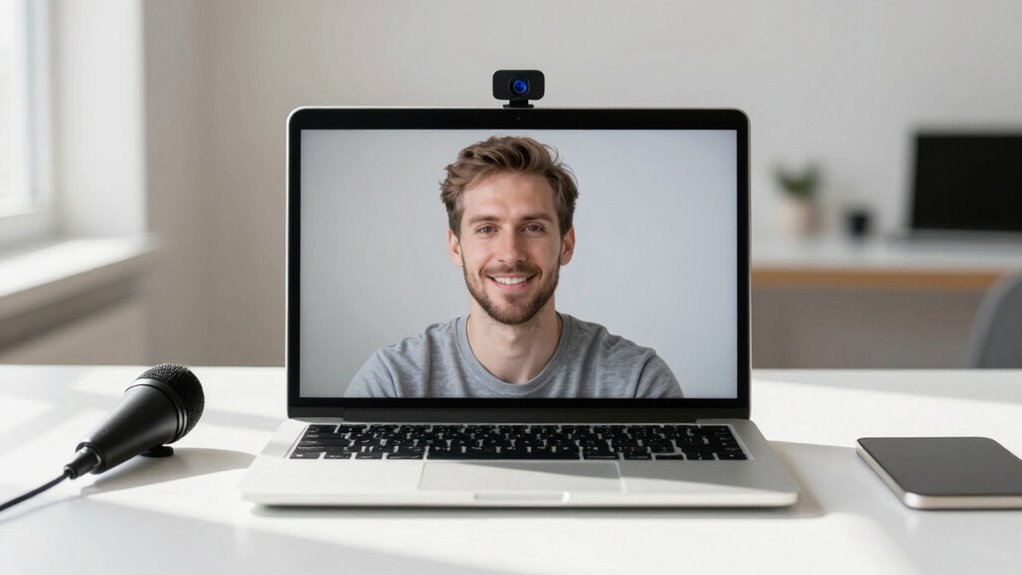
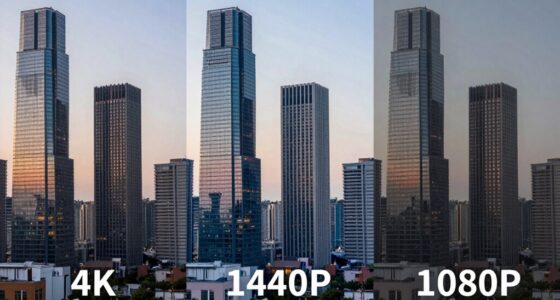
For the best video quality, placing your webcam at eye level is essential. This position creates a natural, engaging connection with your audience. To achieve this, use books or boxes to elevate your webcam if needed. Keep lighting tips in mind: face a window or use soft, diffused light to avoid harsh shadows and ensure your face is well-lit. Avoid placing your webcam too high or too low, as unflattering webcam angles can distract viewers. Position the camera so your eyes are roughly one-third from the top of the frame for a balanced look. Check your background for clutter and good lighting. Clear, even lighting combined with the right webcam angles makes your video appear professional and inviting. Additionally, understanding camera placement can significantly improve your overall video quality. Proper webcam positioning ensures your setup looks polished and professional. Paying attention to lighting techniques can further enhance your image quality and make your videos more appealing. Incorporating visual cues through proper placement can also help communicate confidence and approachability. Being mindful of the background setup can also reduce distractions and keep the focus on you.

Torjim Softbox Photography Lighting Kit, 16'' x 16'' Professional Softbox Lighting Kit with 85W 3000-7500K LED Bulbs, Studio Lights for Photography/Video Recording/Live Streaming/Portraits Shooting
【Illuminate Your Creativity】 Torjim softbox lighting kit is made of high-quality PET fabric and a foldable nylon cover,…
As an affiliate, we earn on qualifying purchases.
As an affiliate, we earn on qualifying purchases.
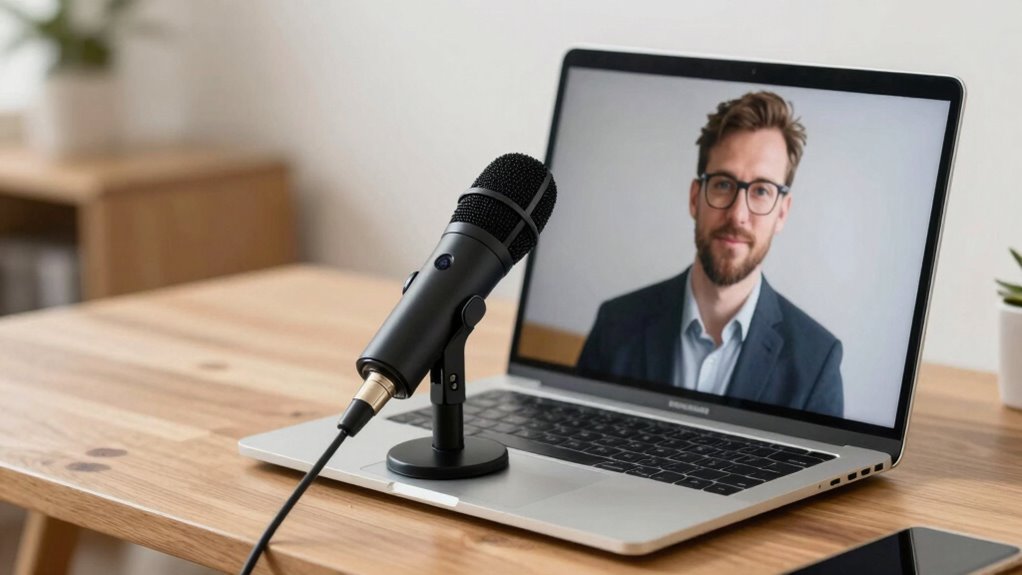
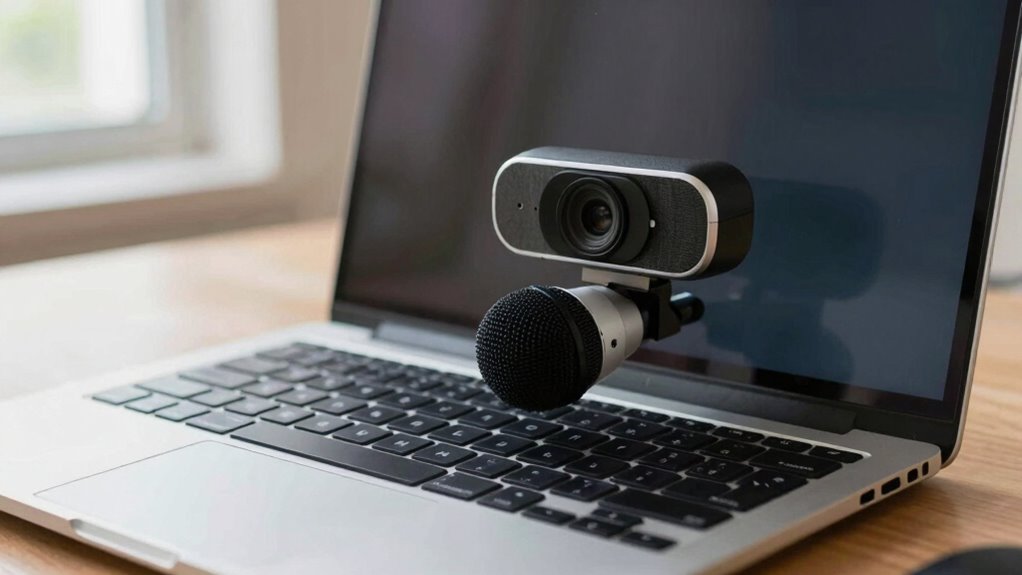
How to Position Your Microphone for Clear Sound Without Extra Gear
Position your microphone close to your mouth at an ideal height to capture clear sound. Keep it away from noisy objects and sources to minimize background noise. Use your natural voice direction by speaking directly toward the mic for the best results. To further improve audio quality, consider the environment around your setup, such as avoiding Free Floating areas that can cause unwanted echoes or noise interference. Additionally, choosing a quiet and sound-absorbing environment can significantly enhance your call clarity. Being mindful of room acoustics can also help prevent sound reflections that distort your voice, and optimizing your support networks for new fathers can provide additional tips for managing your overall setup. Paying attention to soundproofing techniques can help create an ideal space for clearer calls and better communication.
Optimal Microphone Placement
Achieving clear sound with your microphone doesn’t require extra gear; instead, it’s all about how you place it. Position your microphone close to your mouth, about 2-3 inches away, to improve audio quality and reduce echo. Keep it slightly below or to the side of your mouth to prevent breath noises. Avoid placing it directly in front of your face, which can cause plosive sounds or visual distraction. Make sure it’s stable and not moved during calls. Proper placement not only enhances audio clarity but also helps maintain visual clarity by keeping the focus on you rather than the microphone. Experiment with angles and distances until you find the optimal position where your voice sounds natural and clear, without any background noise or distortion. Using ergonomic designs can also help prevent your microphone from shifting during extended calls. Additionally, ensuring your microphone is at the correct distance from your mouth can make a significant difference in sound quality. Regularly adjusting your setup can help maintain consistent audio quality, which is essential for professional communication and overall call effectiveness.
Minimize Background Noise
To minimize background noise, focus on how you position your microphone relative to your mouth and your environment. Keep the mic close to your mouth to reduce ambient noise and prevent distant sounds from interfering. Avoid placing it near noisy objects or vents that create unwanted sounds. If possible, position your microphone in a quiet spot, away from echo-prone surfaces like bare walls or hard floors, to help with echo reduction. Using a makeshift shield, like a piece of cloth or a book, can also dampen echo and minimize reflective noise. Remember, the goal is to capture your voice clearly while blocking out ambient noise. Proper placement ensures your speech comes through crisp and clean, improving call quality without needing extra gear. Additionally, microphone placement plays a crucial role in achieving optimal sound clarity during calls. Ensuring your microphone is positioned at an appropriate distance from reflective surfaces can significantly improve sound quality and reduce unwanted echoes. Being mindful of acoustic environment can further enhance your audio clarity and overall call experience. Understanding how soundproofing techniques can help further minimize background noise is also beneficial.
Use Natural Voice Direction
Using natural voice direction means placing your microphone where it best captures your voice’s normal flow without extra gear. Position it so that it picks up your voice clearly with minimal effort, which improves voice clarity during calls. Keep the microphone close to your mouth, slightly off to the side, to avoid breathing noises and pops. This setup allows you to maintain eye contact with the camera while speaking, making your interactions more engaging and professional. Avoid pointing the mic directly at your mouth or too far away, as this can distort sound quality. The goal is to find a spot that feels natural, so your voice sounds authentic and clear without extra adjustments. Proper microphone placement can also help you stay aware of your surroundings and reduce background noise. Additionally, understanding audio fundamentals can help optimize your setup for clearer sound. This simple step makes a big difference in how well others hear you during calls.

Lamicall Adjustable Laptop Stand, Portable Laptop Riser, Aluminum Laptop Stand for Desk Foldable, Ergonomic Computer Notebook Stand Holder for MacBook Air Pro, Dell XPS, HP (10-17.3'')- Silver
Wide Compatibility: The laptop stand for desk is compatible with all laptops from 10" up to 17.3", including…
As an affiliate, we earn on qualifying purchases.
As an affiliate, we earn on qualifying purchases.
Simple Tips to Reduce Background Noise and Echo During Calls
To improve your call quality, start by choosing a quiet spot with minimal background noise. Incorporate soft materials like curtains or cushions to absorb echo and reduce sound reflections. Finally, experiment with your microphone’s position to find the best angle for clear audio without picking up unwanted sounds.
Choose Quiet Locations
Choosing a quiet location for your calls is one of the easiest ways to improve audio clarity. When you pick a space with minimal background noise, your microphone won’t pick up distracting sounds, making your voice clearer. Look for spots away from busy areas, appliances, or outdoor noise sources. Walls, furniture, and curtains can help with echo reduction, so choose rooms with soft surfaces that absorb sound. Avoid open spaces or rooms with hard, reflective surfaces that cause echo and make your voice sound hollow. By selecting a quiet, acoustically friendly environment, you guarantee your voice comes through crisp and clear, making it easier for others to understand you without the need for fancy gear or adjustments.
Use Soft Materials
Adding soft materials to your environment can make a noticeable difference in sound quality during calls. Soft materials, like carpets, curtains, or plush furniture, help with sound absorption by reducing echo and background noise. These materials absorb sound waves instead of reflecting them, creating a clearer audio environment. Placing a rug on the floor or hanging thick curtains over windows can considerably improve your call quality. Even soft wall hangings or foam panels, if available, can help dampen echoes in a room. The goal is to minimize sound reflections and create a more controlled acoustic space. By incorporating these simple soft materials, you make your environment more microphone-friendly, ensuring your voice comes through clearly without the need for advanced or expensive gear.
Adjust Microphone Position
Adjusting your microphone position can markedly reduce background noise and echo during calls. Start by setting the microphone angle so it points directly toward your mouth, minimizing sounds from your surroundings. Keep the microphone close but not touching your face to improve clarity and reduce echo. Also, consider the webcam height; positioning it at eye level helps you maintain good posture and keeps your voice within an ideal range for the mic. If your microphone is too low or too high, it can pick up unwanted noise or cause sound distortion. Experiment with slight adjustments to find the best angle and distance. Proper positioning ensures your voice comes through clearly, making your calls more professional and less distracting for others.
Setting Up Lighting and Background to Improve Your Call Appearance
Good lighting and a well-organized background can considerably boost your call appearance, making you look more professional and approachable. Your lighting setup should be natural and soft, avoiding harsh shadows. Position a light source facing you or use a lamp to illuminate your face evenly. For background choices, keep it simple and clutter-free, with neutral or tidy elements that won’t distract. Use this table to refine your setup:
| Lighting Setup | Background Choices |
|---|---|
| Face-facing light, soft | Neutral wall, minimal decor |
| Avoid backlighting | Tidy, organized space |
| Use natural light when possible | No distracting clutter |
| Adjust to eliminate shadows | Add personal touches sparingly |
Troubleshooting Common Placement Issues for Better Communication
Even the best lighting and background can fall short if your webcam and microphone are poorly positioned. Camera angles matter; place your webcam at eye level to avoid unflattering angles and ensure natural eye contact. If your camera is too high or low, it can distract or make you appear disconnected. For microphones, consider your microphone types—some pick up more background noise, so positioning is key. If your mic is too close, it may cause distortion; too far, and it won’t pick up your voice clearly. Adjust the placement to capture your voice without obstruction or echoes. Check your setup before calls, testing different angles and distances. Proper positioning makes a noticeable difference in communication clarity and professionalism.
Frequently Asked Questions
How Do I Prevent My Webcam From Capturing Distracting Background Movements?
To prevent your webcam from capturing distracting background movements, focus on minimizing background distractions by choosing a simple, tidy space. Use soft lighting to reduce motion blur and keep the camera steady on a stable surface or tripod. Consider placing a background or curtain behind you to block out movement, and avoid sudden motions while on calls. These steps help keep the focus on you and eliminate unnecessary background distractions.
What’s the Best Angle to Avoid Glare on My Face During Video Calls?
To avoid glare on your face during video calls, position your camera at eye level to minimize reflections. Guarantee your lighting is soft and evenly distributed, avoiding harsh overhead or direct sunlight that can cause glare issues. Adjust your camera height so your face is well-lit without shadows, and consider using natural light from a window, diffused with a curtain, to create a balanced, glare-free appearance.
How Can I Position My Microphone to Pick up My Voice Naturally?
Position your microphone about 6-12 inches from your mouth, slightly below or above your chin, to optimize microphone placement. Keep it steady and angled toward your mouth for better voice clarity. Avoid placing it directly in front of your face to prevent breath sounds. Make sure you’re in a quiet environment, and do a quick test to guarantee your voice sounds natural and clear during calls.
Are There Quick Fixes for Echo Issues Without Additional Equipment?
While some may think quick fixes aren’t effective, you can substantially reduce echo by improving your room’s acoustic treatment and adjusting background lighting. Use soft materials like blankets or cushions to absorb sound, and position yourself away from hard surfaces. Decluttering and adding rugs can also help. These simple changes make your space soundproof enough for clearer calls without extra equipment, enhancing your overall communication quality effortlessly.
How Can I Ensure Consistent Audio and Video Quality Across Different Devices?
To make certain of consistent audio and video quality across devices, focus on lighting consistency by using natural light or uniform artificial light sources. Adjust your camera height so your eyes are level with the camera to create a professional look. Test your setup on different devices beforehand, and keep your environment clutter-free. These simple steps help maintain clear visuals and sound, making your calls more effective regardless of the device you use.
Conclusion
By optimizing your webcam and microphone placement, you can turn your calls from awkward mishaps into professional-grade conversations—no fancy gear needed! Imagine sounding crystal clear and looking so good that colleagues think you hired a production crew. With just a few simple adjustments, you’ll be the star of every video call, leaving background noise and bad lighting in the dust. Get ready to impress everyone on the other side of the screen—your perfect setup is just a few tweaks away!